1972 Porsche 911T - Conversion to 3.6
|
Project Notes |
|||||
|
DIY Notes |
RS Flare Installation
Flares are
relatively easy to install, provided you have a good quality flare. Pelican Parts provided very good quality
flare and the trial fitting in the step one shows that its curves match the
curves of the early 911 tub perfectly.
The process of
installing a flare is fairly straightforward.
As long as you take your time and leave some extra length to trim the
fender to the right shape for an exact butt weld, the bodywork needed to finish
will be minimal.
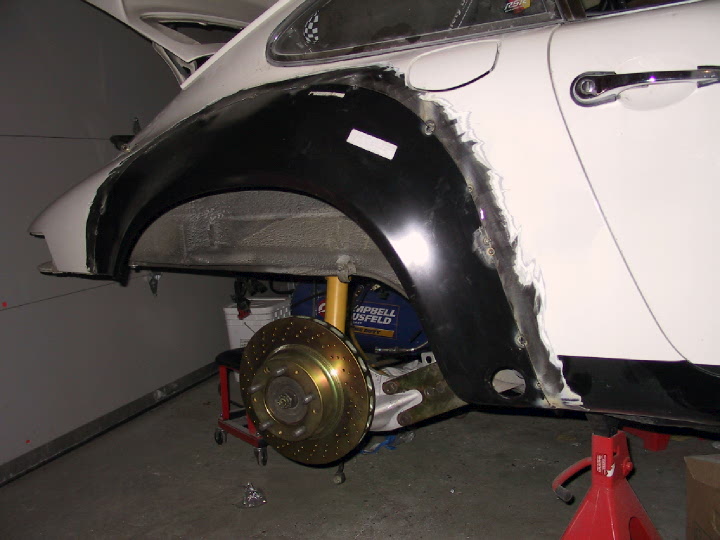
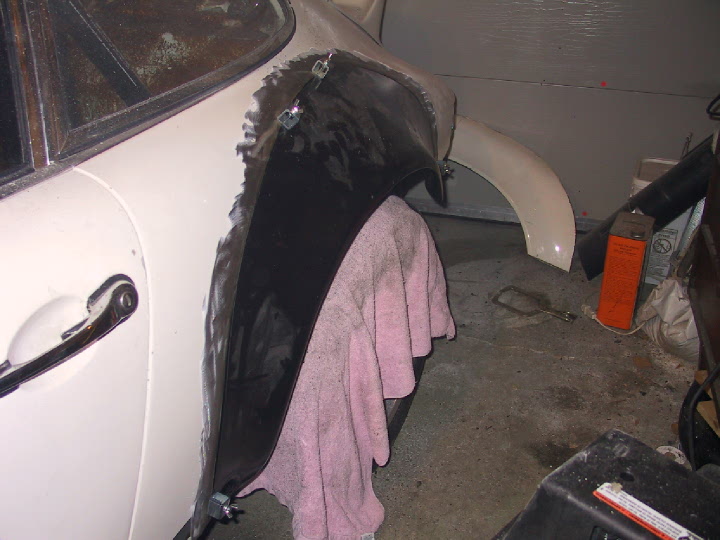
Step 1 : Trial fit
by mating the new flare over the existing fender. Score the cut line on existing fender using a very sharp awl or
carbide tipped cutter.

Step 2 : Take your
favorite grinder with cutting disk ( Dewalt 4 1/2" is my weapon of choice),
take a deep breath and move carefully, undercutting the scribed line. Be sure
to leave an 1/8” around the line to give some trimming room. Take a step back and realize that you have
crossed the point of no return.
Step 3 : Trial fit new flares and adjust fender using gentle grinder
persuasion. Having some sheet metal clamps really help here. Repeat as
necessary until a narrow and even gap is formed.
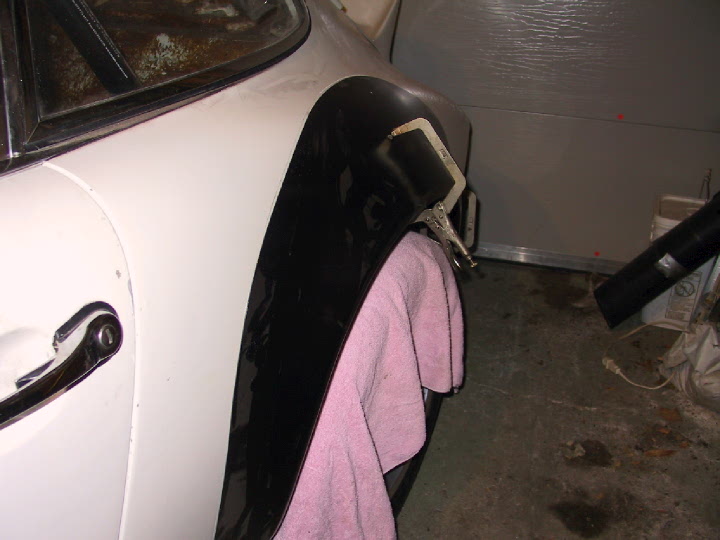
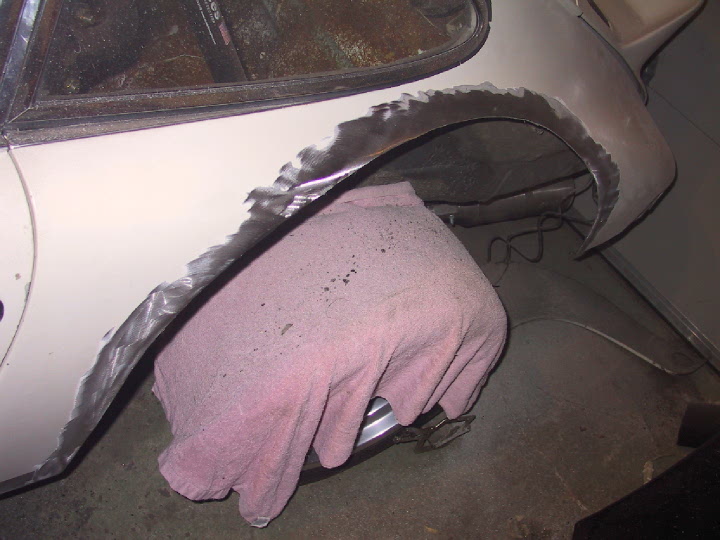
Step 4: Clean up the top and underside of the chopped fender, exposing at least
2 inches. At this point I discovered a very bad prior patch to the fender
covered by 3/16" of bondo.
Step 5: Using the sheet metal clamps, position the fitted flare on the fender and tack weld with your trusty MIG welder. I didn't have
any "IG" so I used flux cored wire, hence the messy tack welds. Additionally, remove the tires before doing
any welding in the area to prevent any sparks or molten steel damaging your rims and tires.
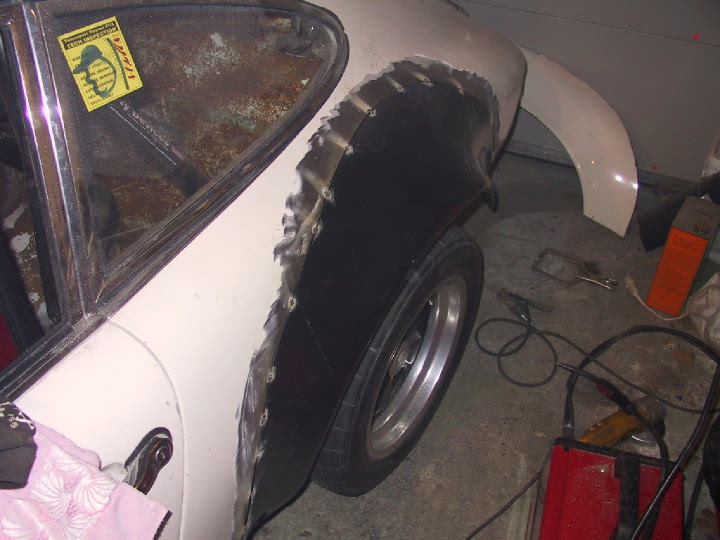
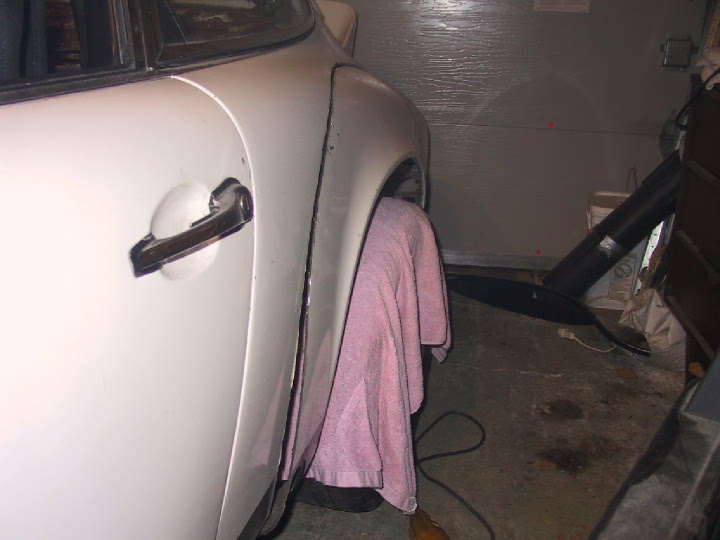
The final steps are
6) Grind the welds flush with the panel.
7) Finish welding the flare with oxy-acetylene and hammer the joint
flat.
8) Prime (no bondo
required due to the perfect hammer welding) ![]()
9) Paint