1972 Porsche 911T - Conversion to 3.6
|
Project Notes |
|||||
|
DIY Notes |
RS Lightweight Door panel Installation
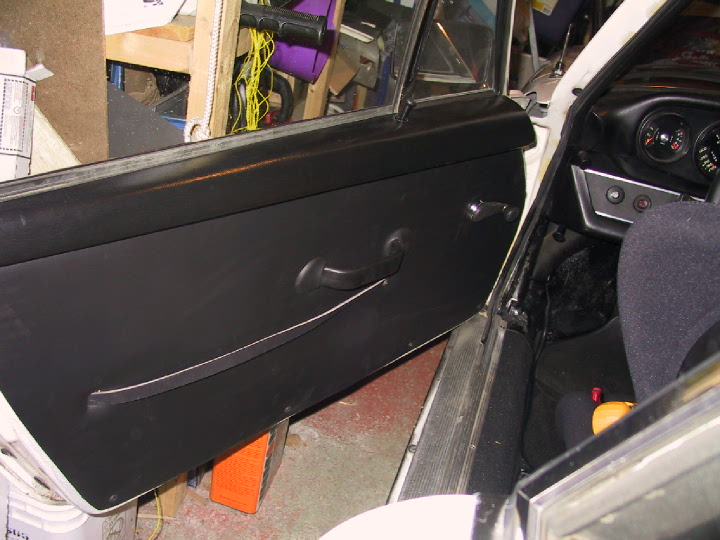
As part of the interior renovation and installation of the rollcage, I needed to update the stock door panel, handle and pockets to an early RS style with plastic pull handles and leather door latch activator. The stock handles and pockets do not allow enough clearance to install a rollcage. Something had to go. I like the RS look anyway and was trying to shave pounds where I could.
Step 1:
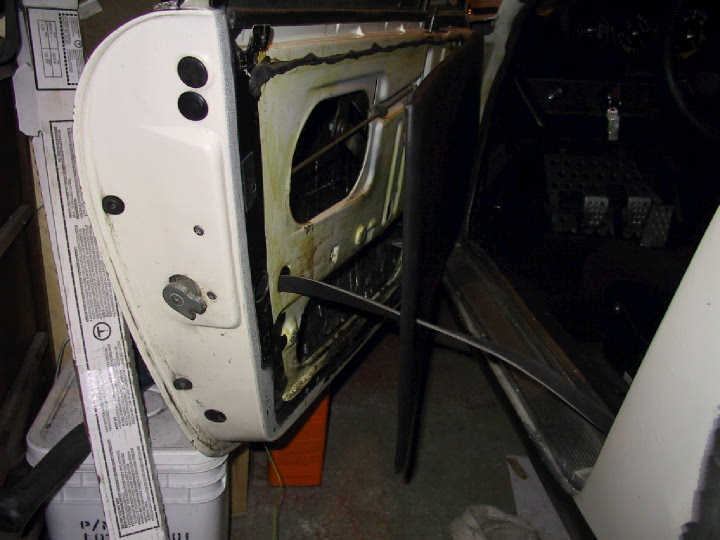
Remove door trim and old panel. Keep as much of the weather-stripping or sound
proofing intact. If you're going “lightweight” ditch those excess pounds (maybe
half a pound). If this is a daily
driver please remember that the vapor barrier/plastic sheeting is there to keep
your panel dry and prevent warping and rotting.
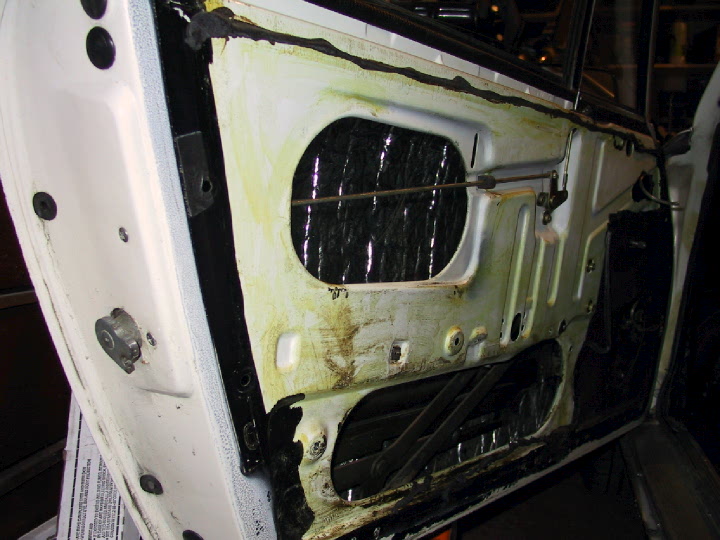
On the door of my 72, Porsche conveniently made an indentation for the location
of the door opening strap exit hole. I don’t know if this exists in all models
up to 89. Using a 1 1/8" hole saw
I cut the exit hole for the strap.
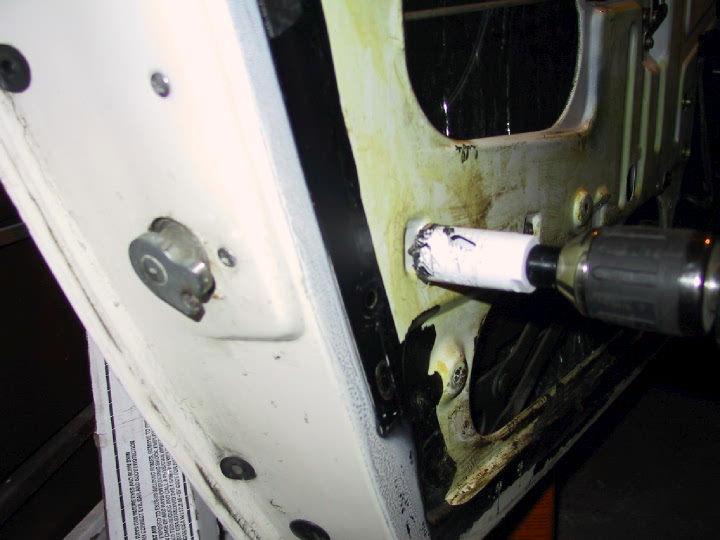
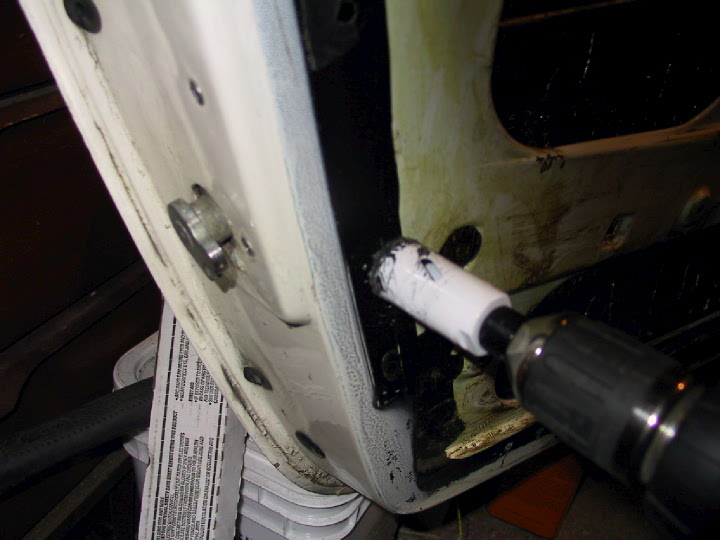
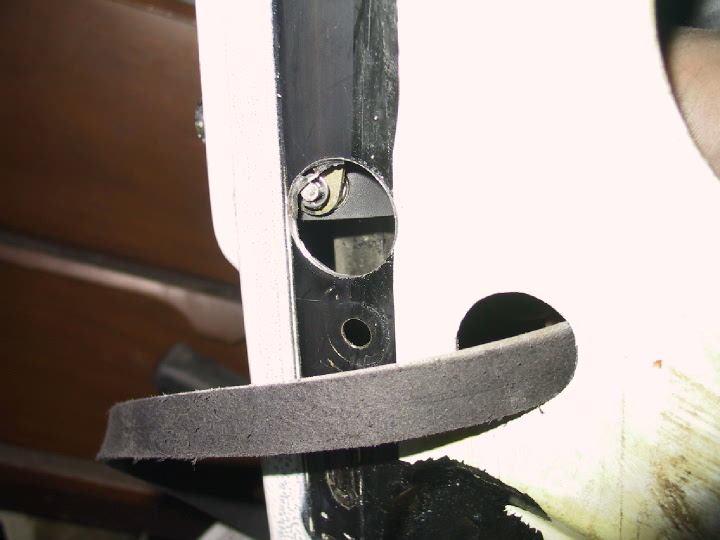
Step 2 : To make life easier I drilled a second hole higher and about 2 inches
toward the rear. This is your access hole to allow the non-contortionists to
connect the strap to the door latch mechanism. Be careful not to drill too far
towards the edge as the panel may not cover the access hole.
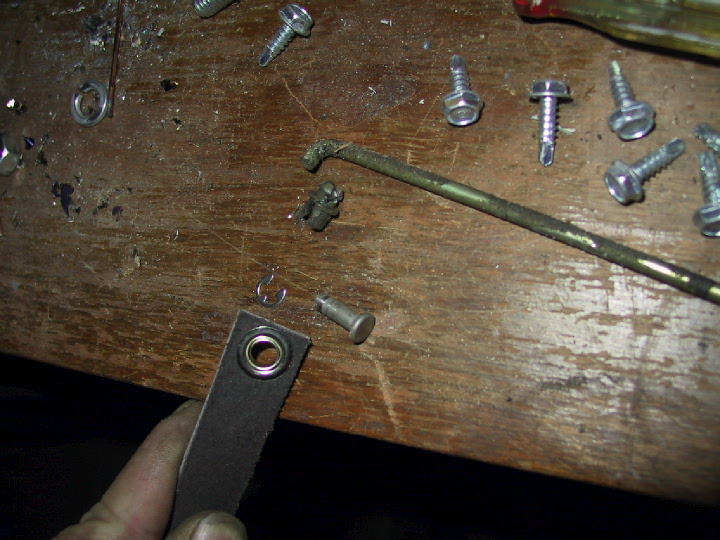
Step 3 : Remove the metal rod connected to the door latch mechanism. There is also
a plastic bushing that connects the rod to the latch. This will need to be
removed.
This pic shows both the old rod and plastic bushing and the new strap and pin
w/E-clip.
Step 4: Vacuum the bottom of the door. You will need this area to be very
clean. Place the pin through the strap and then snake your way into the door.
Locate the old bushing mounting location and place the pin through it. If you
have drilled your access hole correctly, you should be able to see the pin and
allow you to place the E-clip with either your hands or some needlenose pliers.
When you drop the E-clip, you will be very glad you cleaned up as it will be
very easy to find.
Step 5: Take the new panel, my kit included some panel mounting clips and clip
the forward edge using the two mounting clips attached to the panel. This will
allow you to thread the new strap through.
Step 6: Clip the trailing edge of the door and install the top armrest cover
from the old door panel. Secure the door around the perimeter with 4 screws
with washers. You can secure the strap to the door panel with some slack or not
depending on your desires. I used the precise technical standard of using my
cordless drill mandrel. It looked about right. The other end of the strap is
screwed through the panel to the door panel frame with a screw and washer.
The bottom edges screws (4) are spaced about 12 inches apart.
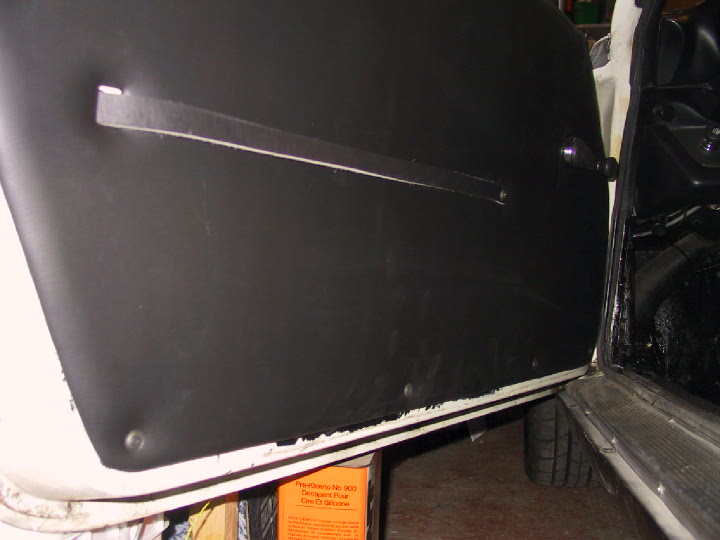
Step 7 : This is the hairy part. Where do you put the grab handle? There are
some voids in the door frame. You are free to put them wherever you desire. I'm
sure that there is a factory spec somewhere. I put mine inline vertically with
the pull strap screw and about 11-12 inches from the bottom of the panel.
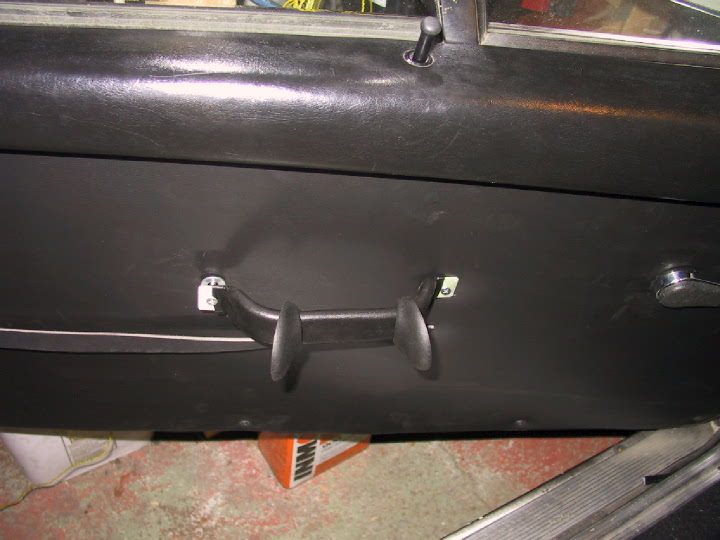
Step 8 : You are done (Well one side anyway)!!! Step back and admire.