1972 Porsche 911T - Conversion to 3.6
|
Project Notes |
|||||
|
DIY Notes |
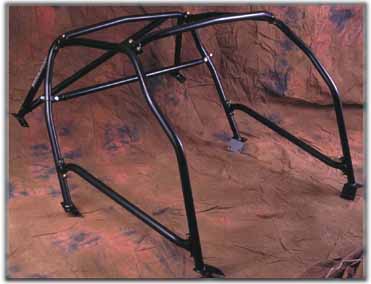
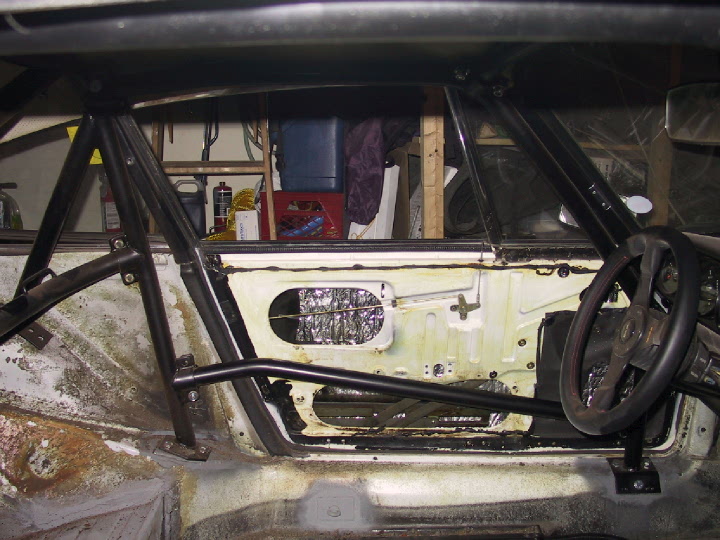
Safety Devices Rollcage
After doing some research and talking with other members in the club, I decided to purchase and install a Safety Devices 6 point bolt-in rollcage to provide some additional rigidity and some protection in case I really lose it one day. Although it is a bolt-in installation, the preparatory work involves the welding of several mounting plates to bolt the cage to. I selected it based on the fact that it the mounting plates are welded to the sills and not the floorpan, providing greater strength. Reviews had indicated that the fit, while not perfect was reasonably tight and did not waste too much interior space. I had selected a bolt-in bar in the mistaken belief that I might be able to use the rear seats and could remove some of the bolt-in diagonal and harness bars and allow for rear passengers. I subsequently removed my rear seats when I changed my carpeting and went with the RS style. Did I already mention that it is important to have clear goals and objectives regarding your project?
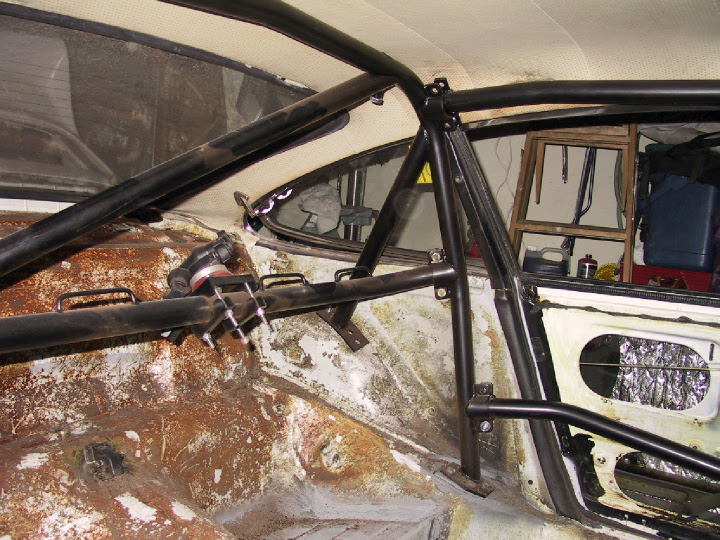
The installation is fairly labor-intensive. It involves removing most of the interior to get at the sill and wheel arches. The rollcage is installed and removed several times during the fitting, marking and welding process.
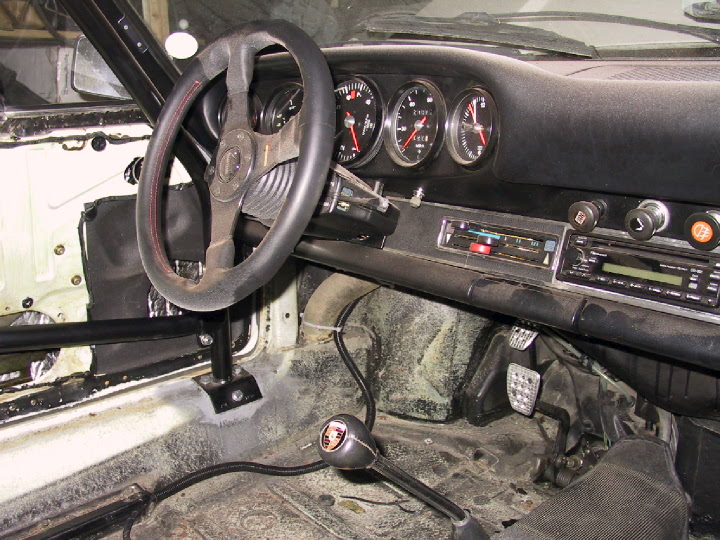
Step 1: Preparation - Remove seats and carpeting from the sill and wheelarches.
Step 2: Trial Setup and Marking – Temporarily install the rollcage with the mounting plates to identify mounting location for the cage. The object is to identify where you need to cut relief holes for the nuts to allow the mounting plates to sit flush on the sill and wheelarches. Because the plates have the bolts welded to the underside, you will have to guess-timate the amount of deflection caused by the nuts on the plates and mark the relief hole location.
Step 3: Relief Hole Drilling – Using a bi-metallic hole saw around ¾ inch, Drill the holes needed to mount the plates.
Step 4: Trial Assembly and Mark Plate Mounting locations – Re-assemble the cage with the mounting plates and verify position and alignment. Torque down all bolts in the cage to “tension” the cage and identify any related movement. Mark the outline of the mounting plates on the sill and wheelarches. Remove the rollcage.
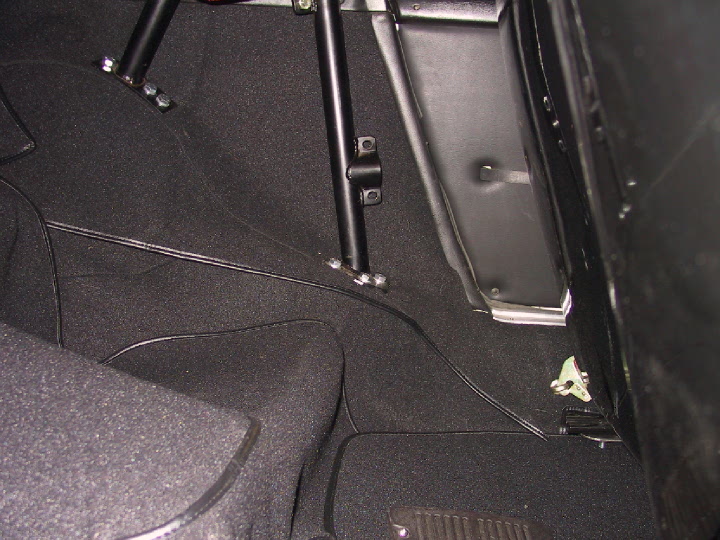
Step 5: Welding – using the marked mounting plate locations, tack weld the mounting plates and then perimeter weld as needed.
Step 6: Finishing – Grind any ugly weld locations smooth and wire brush to remove and welding slag or debris. Prep with Zinc-based primer to prevent corrosion and paint with your choice of paint.
Step 7: Carpet – Re-install old or install new carpeting. Reinstall rollcage and mark cutout location on the carpeting. Cutout marked locations and perform final installation of rollcage. I’ve heard recommendations that bolt-in cages should not be installed over carpeting and should be installed with metal to metal connections. I followed this advice.