The reassembly process was, as the cliche goes, "the reverse of disassembly" with respect to getting the trans/TT assembly back in place.
 I used copper anti-seize for any steel/aluminum contact and regular graphite anti-seize for any steel on steel fasteners. The exception to this rule was any stainless-on stainless, or other exhaust hardware that would see high temps. For these applications I used nickel anti-seize.
The first few pics and steps on this page are a bit out of order chronologically, but they seemed to fit better here than elsewhere. Part of that was logical organization, some was trying to keep the page sizes somewhat under control.
Here is the rebuilt transaxle still on the pallet, after removing the outer layer of cardboard and shrinkwrap. A number of loose parts were in the box on the far side of the pallet to save money as compared to shipping separately. The tag attached to the top vent says to add oil(duh) and carries a warning against shifting the transmission before it is installed in the car. I contacted Tom at 928 International about this because I would need to shift the transmission while setting up the shift linkage, and he explained that it was OK to shift the transmission so long as I didn't do so with the transmission upended. Apparently some folks had done this in the past with the result that they locked up the transmission.
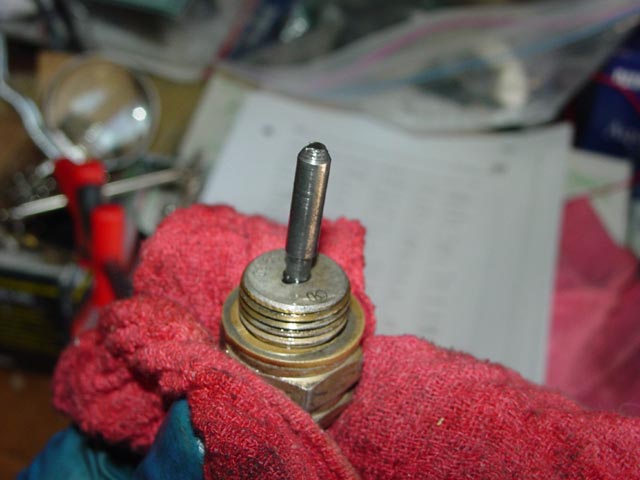
I had to remove the reverse switch from the old transmission and install it in the new one. The plunger pictured below must be transferred over with the switch. It only goes one way, just be careful not to lose it! Also, since both transaxles only had magnets on the front drain plugs, I stole the front drain plug from the core and put it in the rear of the rebuilt unit, and torqued both to spec. I'm not sure why Porsche only saw fit to install one, but I wanted two.
Once I had the transaxle off of the pallet, I had to support it with some wood blocks under the bosses below the output flanges. 2x4 and 4x4 wood blocks were just the right size.
I tied the core to the pallet to hold it down well enough to cover it with cardboard and take it to a local shipping center that had a banding tool to secure it properly.
I covered it with cardboard so the shipper wouldn't see how grungy it was.
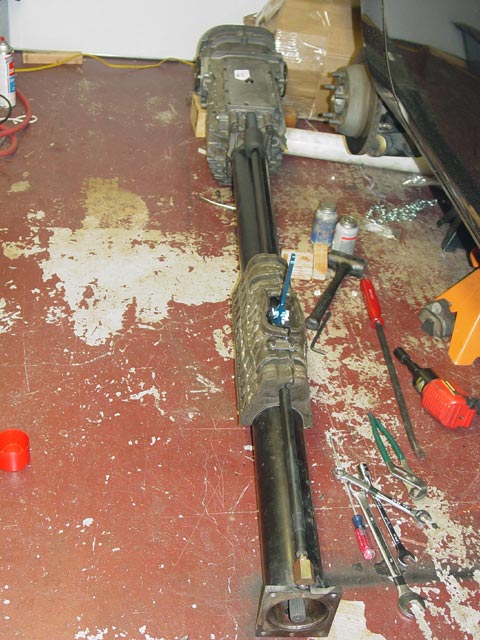
This is where I left off from the previous page, with the trans/TT assembly ready to reinstall.
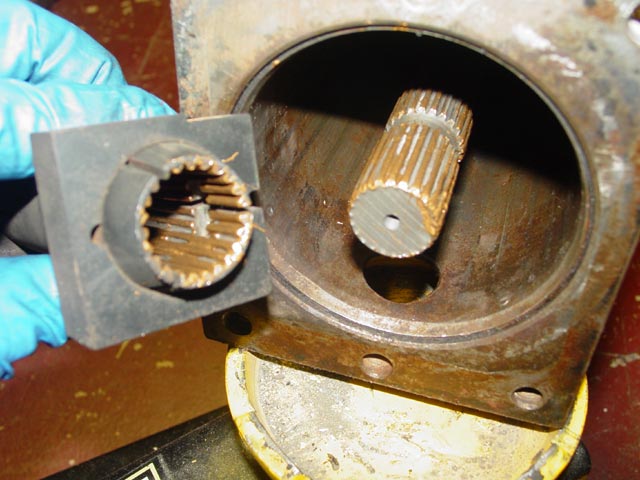
The first step was to install the coupler on the driveshaft. I applied a coat of Optimoly per the WSM recommendation. This part cannot be installed with both the torque tube and the clutch installed. If I had forgotten this one or the other would have to come out.
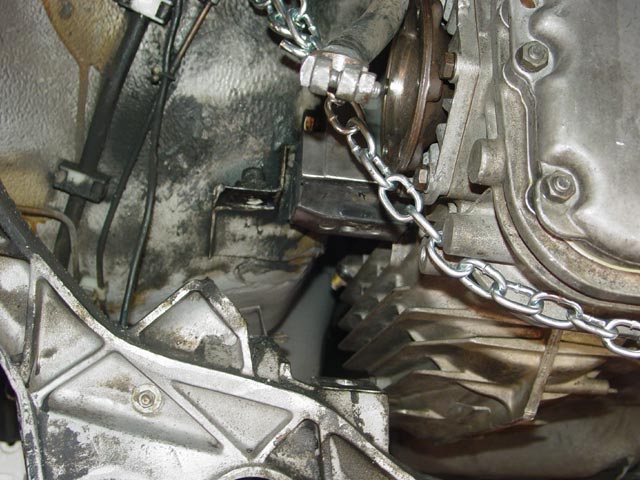
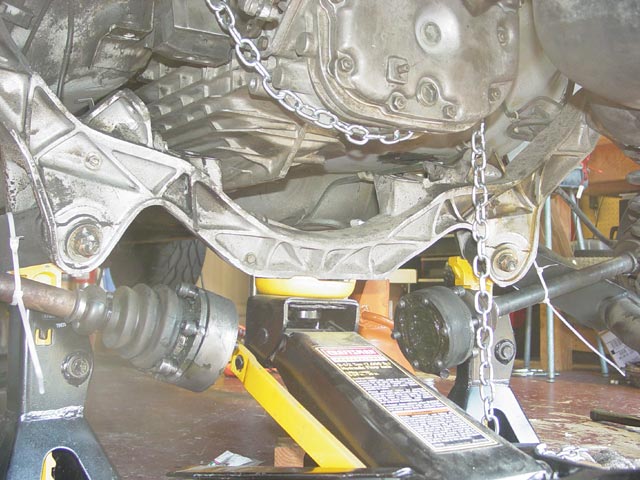
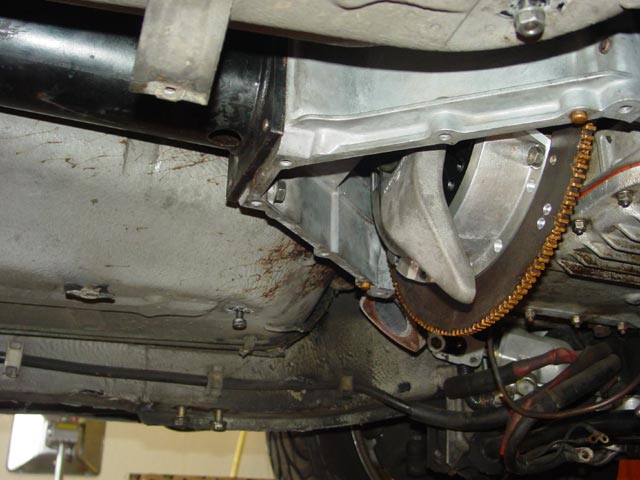
Jockeying the assembly into place was the exact reverse of disassembly, except my friend Brian was able to help me with this step. With the short shifter, there was plenty of room to swing the assembly underneath, reposition it on the jack, and work it back into place. At this point the transaxle has just been lowered onto the support chain in preparation for installing the transmission mounts. The torque tube was attached to the upper bellhousing as well.
I had put some copper anti-seize on the roll pins that locate the torque tube to the upper bell housing(because of the aluminum nearby) as well as graphite anti-seize on the bolts that hold the TT to the BH, and torqued the bolts to spec.
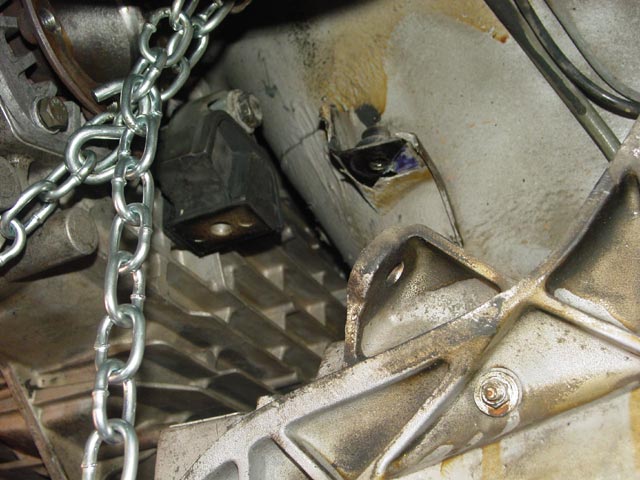
This seemed like an ideal time to get the forward shift bushing mounted up, while I still had the ability to move the transaxle up or down. It turned out that this is fairly easy to reach and to position, so the set screws may have been a bit of overkill.
I pulled the bushing into alignment by pulling upward on the shifter while maneuvering the bushing with one finger. The set screws helped me get it lined up.
I replaced the set screws with the mounting bolts one at a time. Piece of cake.
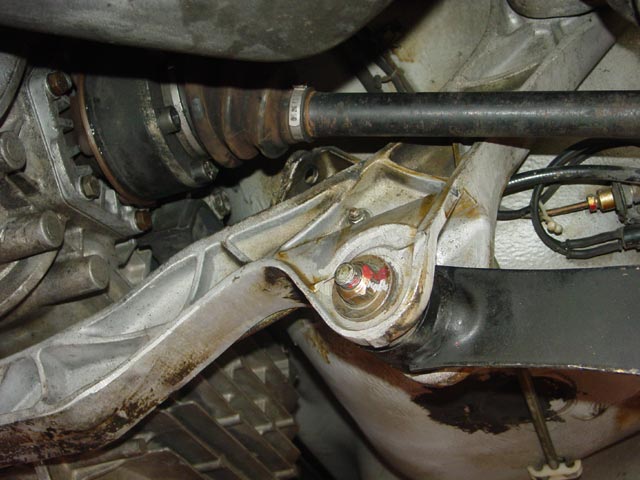
With the transaxle still hanging somewhat low, I installed the new transmission mounts. Again, having the transaxle lowered like this gave me an easy, straight shot at the bolts on top of the mounts. Note the much wider mount on the driver side. This is only the case on '78 cars. This side is beefed up sine it must also support the battery.
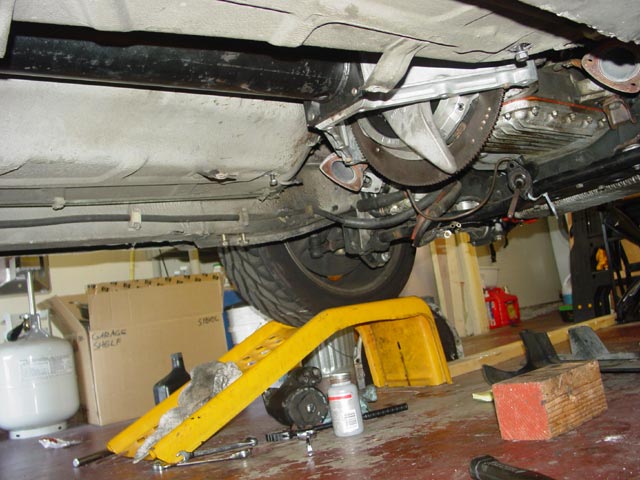
I routed and reconnected the reverse switch and the speedo sensor, and lifted the transaxle tight against the body and reset the chain to hold it there. As you can see, there is now lots of room to raise the crossmember into position.
I lifted the crossmember into position with a jack under the center, and started all 6 bolts with anti-seize on each. The end holes in the driver side of the cross member are round, the end holes in the passenger side of the crossmember are slotted, so I started tightening on the driver side. I lined the crossmember up with the paint marks I had made on disassembly and snugged the driver side just enough that it wouldn't slide around easily. I then moved to the passenger side and did the same so that overall it would be lined up as close as possible. Next, I went back to the driver side and gave it a final nudge or two into position, and torqued it to spec. Then I went back to the passenger side and did the same. Finally I torqued the bolts near the transmission mounts that hold the crossmember to the body.
After that I lowered the transaxle onto the crossmember carefully. There were no shims, and the mounts both contacted the crossmember at the same time so it did not seem to need any shims. I installed the trans mount bolts with anti-seize and torqued them to spec.
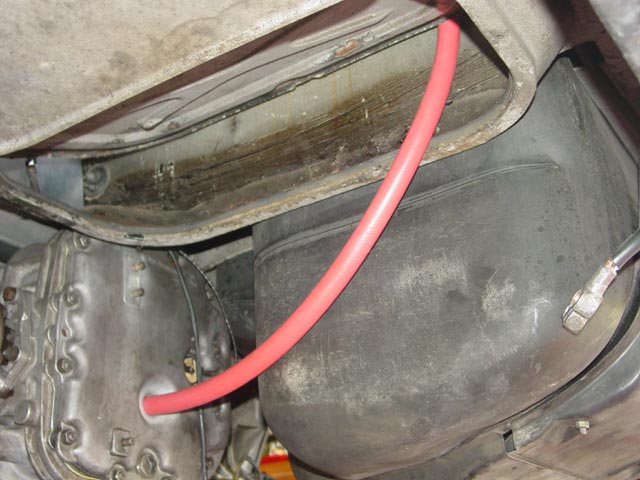
I decided to fill the transaxle with grease before going any further. Most people will tell you that it takes about four quarts, but mine took closer to 5. I'm guessing that the people in the "4 quart" camp didn't bother to remove the front drain plug when changing the gear oil(this seems to include Reitmeir, who when he first had my car in the shop told me that the 4 quarts I had given him were adequate). I had a piece of hose that fit perfectly in the fill plug and extended up through the battery door.
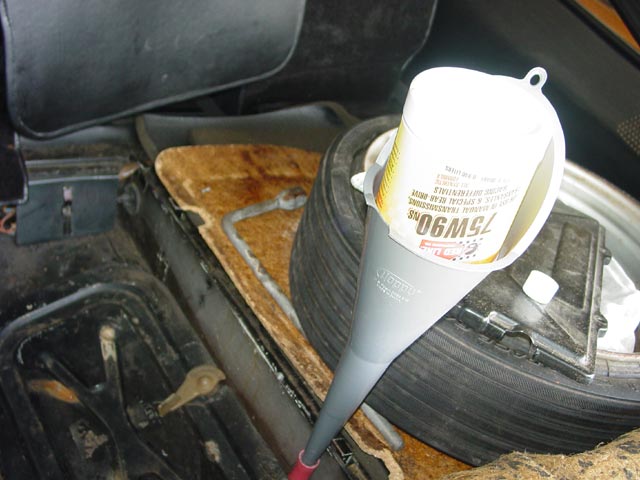
I stuck a funnel in the end of the hose and started filling. The battery door did a great job of wedging the hose in place. I had intended to fill with 1 quart of redline 75/90 NS and three quarts of Redline 75/90. Luckily I had another quart of NS on hand. Total fill ended up being 3 quarts of RL and about 1-3/4 quarts of RL NS, bringing the oil level to about 1mm higher than the bottom edge of the fill plug. I then installed the fill plug and torqued to spec. Side note -- when changing transaxle lube, always remove the fill plug before you remove the drain plug. Sometimes the plugs freeze in place, and you don't want to drain the transaxle if you're not going to be able to fill it. This can be a big deal if you have a daily driver that you are servicing, and you didn't think to get a rear cover gasket. The job can turn into a huge PITA, especially if you have a '78 where the battery box has to come out to remove the rear diff cover.
While the transaxle was filling I applied the recommended coat of Optimoly to the ring gear, turning the engine with the crank bolt as I proceeded. I also put the recommended Optimoly in the slave rod cup on the end of the release arm. Since I still had some on the brush at the end I also coated the dowel pins with Optimoly. I then reinstalled the lower bellhousing, the starter and the slave cylinder, applying copper anti-seize to all bolts and torquing to spec.
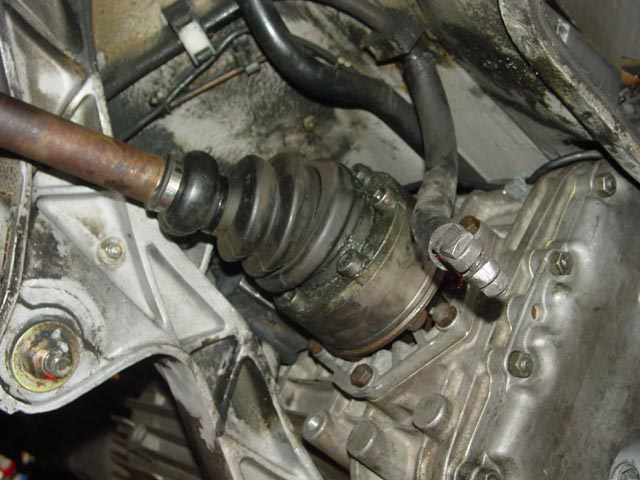
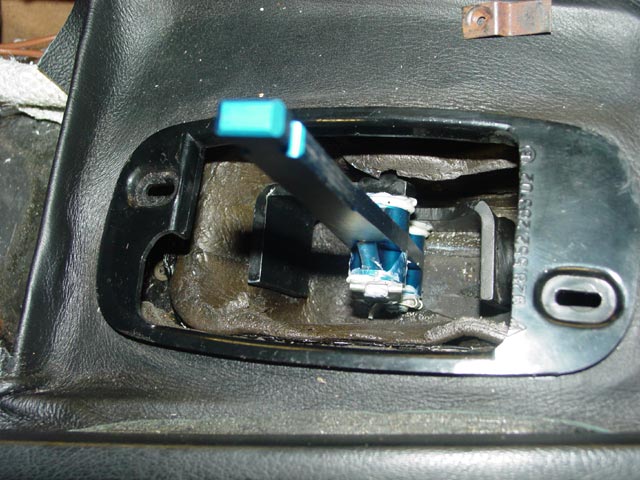
Next I installed the new CV gaskets on the output shafts, put a handful of fresh grease in each CV, and installed them, torquing to spec. Note on the second pic, there is a metal clip holding the reverse switch wire to the top of the transmission(above the battery cable end). There is a series of such clips along the top of the transmission securing this wire. Then I mounted up the battery box and dropped the battery in, connecting it long enough to verify that the reverse light worked, then disconnecting it again.
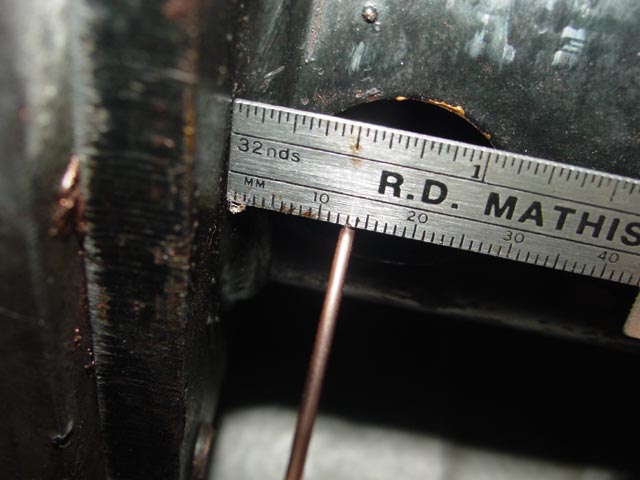
Before installing the front heat shield, I made a gauge out of welding rod to check the front carrier location. I made the gauge in such a way that this check could be performed with the heat shield and cat in place. Here is the initial measurement recorded for posterity.
Here is a similar measurement of the rear carrier.
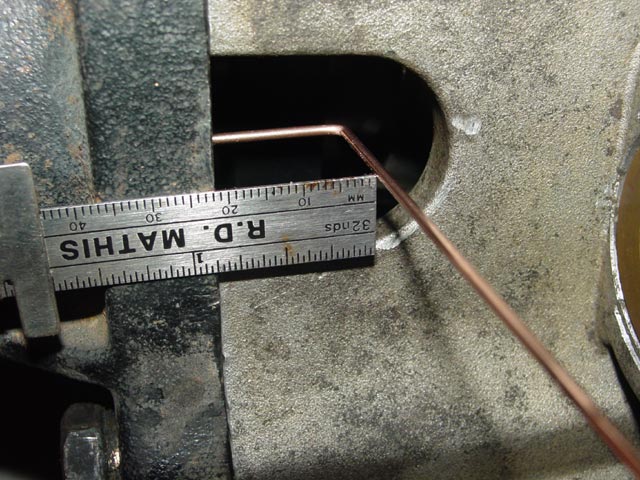
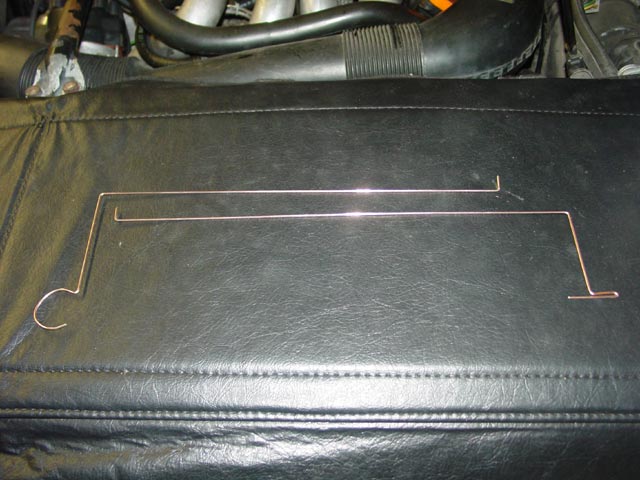
These are the gauges I made up for checking carrier position. The front one has a "C" formed in it to indicate "Clutch End" and the rear one has a "T" formed in it to indicate "Transaxle End". The gauges themselves and their exact dimensions would not be of use on any other car, but the concept may be of general interest.
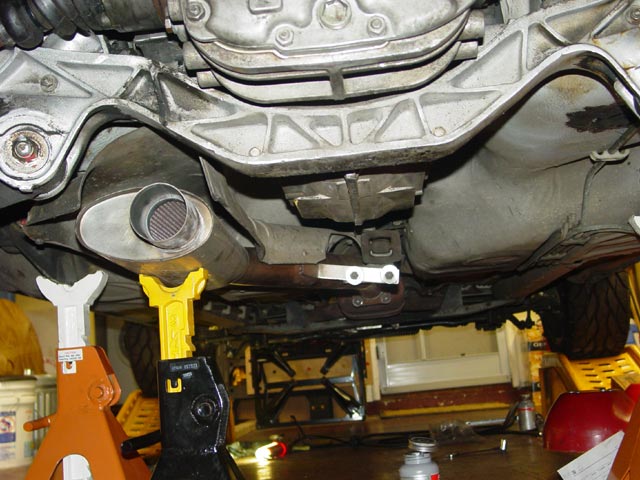
With that done, I proceeded to install the heat shields and exhaust, double-checking as I went to ensure that nothing was going to rattle.
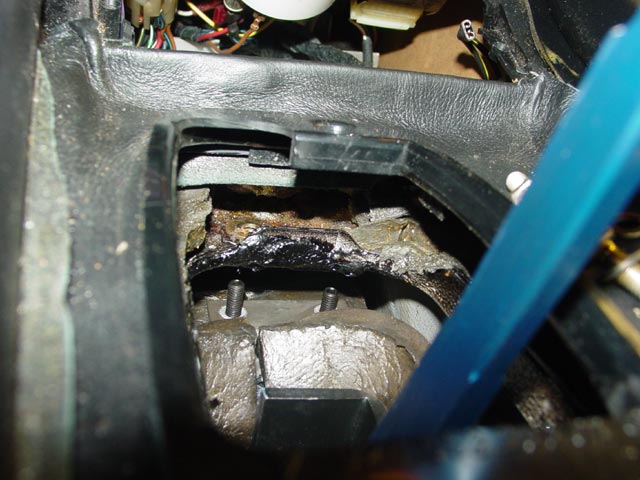
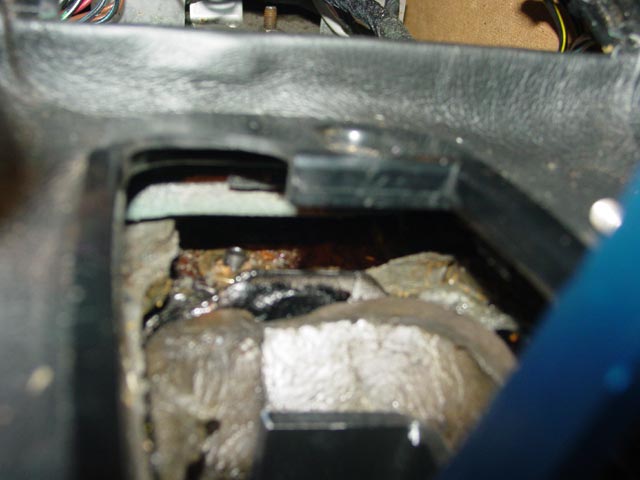
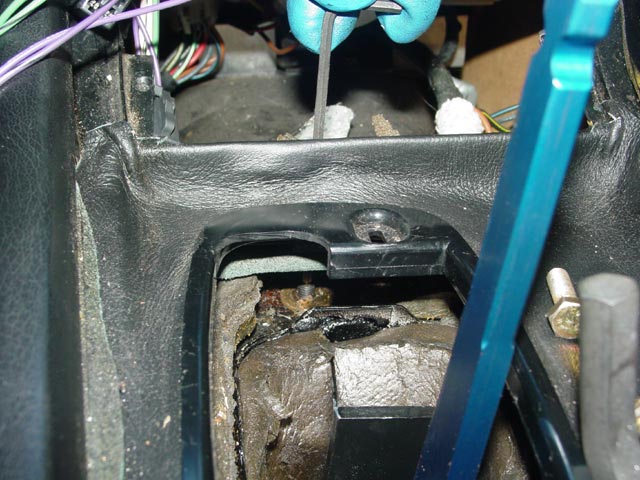
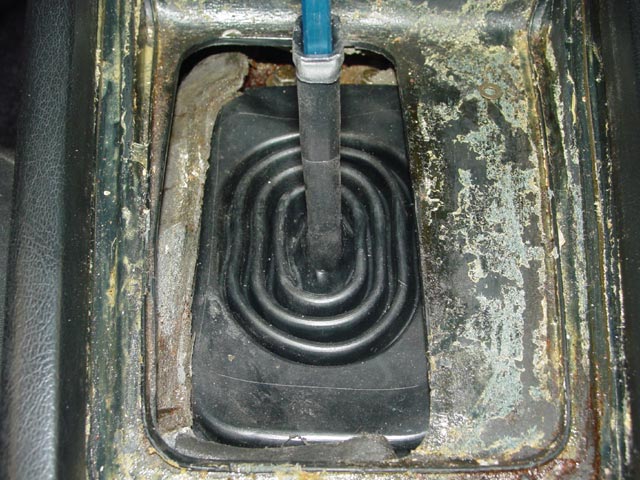
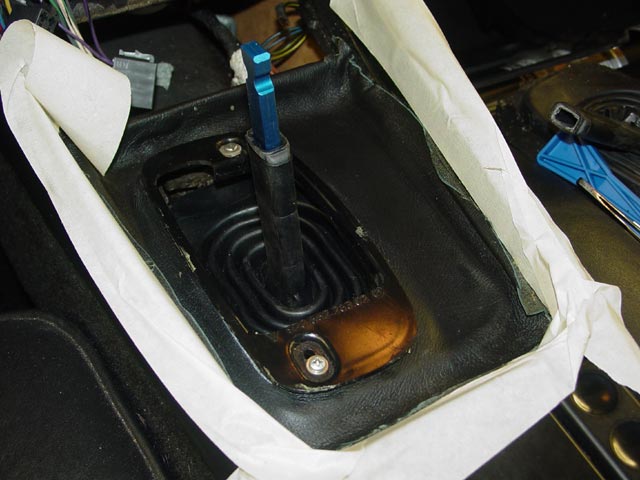
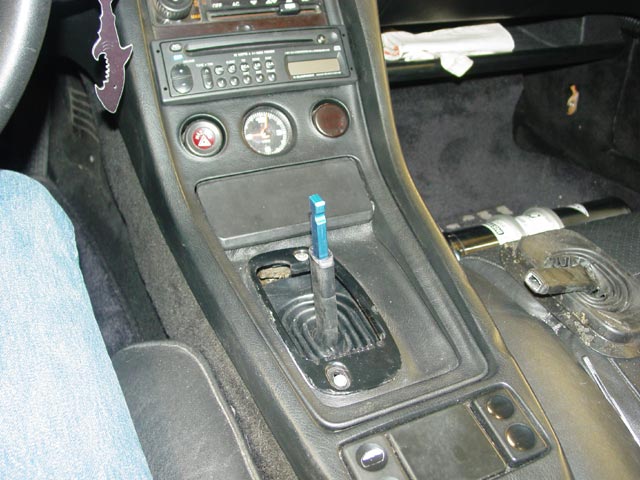
The shifter ended up a bit right of center of the shift gate. I was able to move the shifter into all gears without interference. The metal clip at the top of the pic is the one retainer that was still holding the shift gate in when I started this project. I found the other one after removing the shift gate to gain room to install the lower shift boot. The vinyl piece surrounding the gate had to be removed to get the gate off.
The lower shift boot was a bit of a pain to install. I used a pair of curved forceps to grip it and push it between the sound-deadening material and the metal of the tunnel.

Lower shift boot installed.
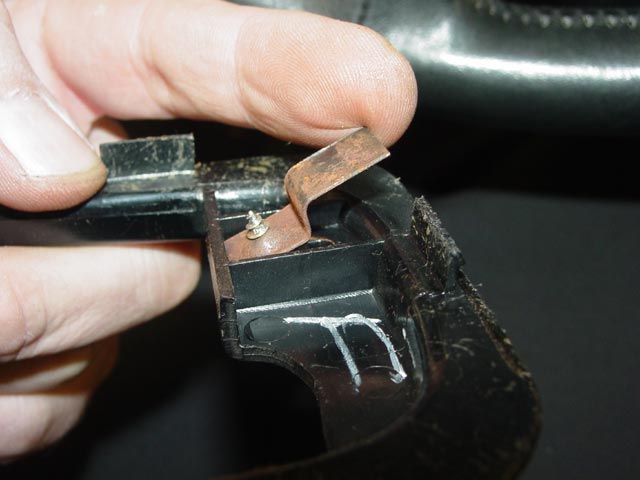
The retainers are a simple device that hold the shift gate to the console once it is snapped into place. They are not meant to be unscrewed completely, rather they should be loosened and slid in the slots to release the gate. Easy mistake to make I suppose. I'm just glad I found the second clip and didn't have to make one.
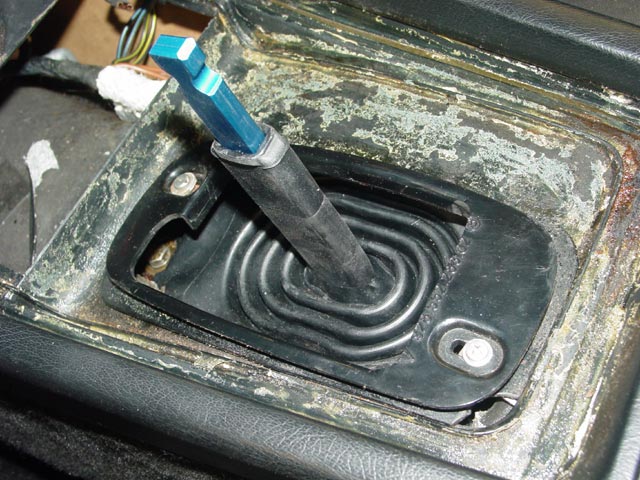
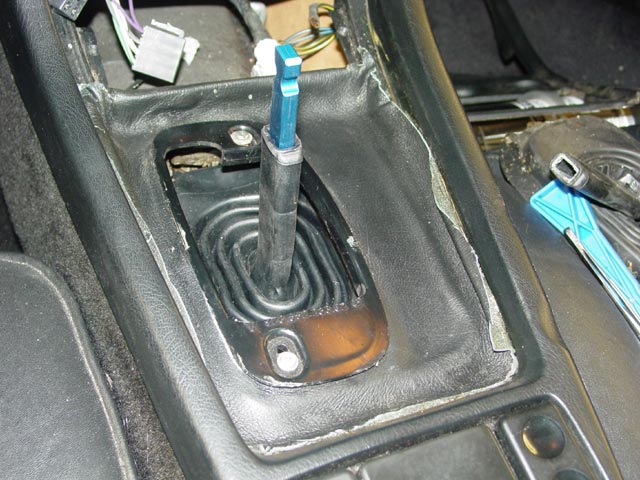
Shift gate reinstalled.
Before gluing the vinyl piece back in, I masked off the console to avoid getting glue on it.
I sprayed some 3M trim adhesive on the vinyl and pressed it into place. There is a small hiccup in the vinyl forward of the shift gate that I could not straighten out(it's just the way this piece was, nothing to do with the gluing process). I wasn't too worried about it; I figured it would be hard to see once everything was back together.
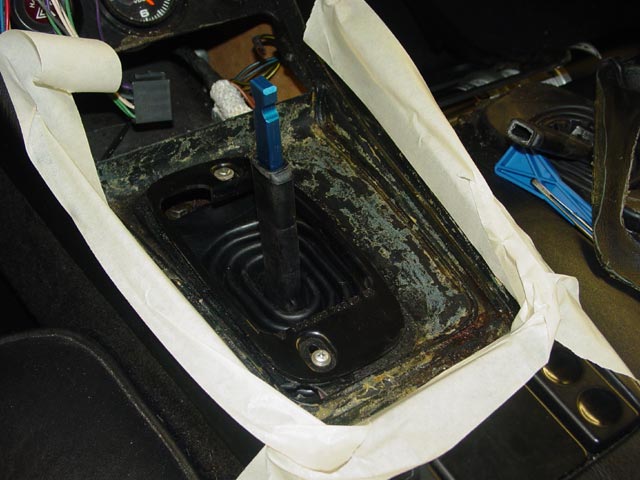
With the masking tape removed, it didn't look half bad.
Next, I started the trim installation by slipping it under the vent.
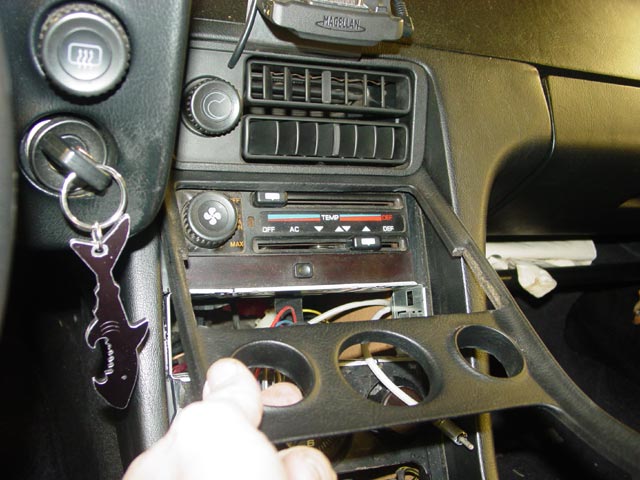
Partway down I pulled the stereo wires free.
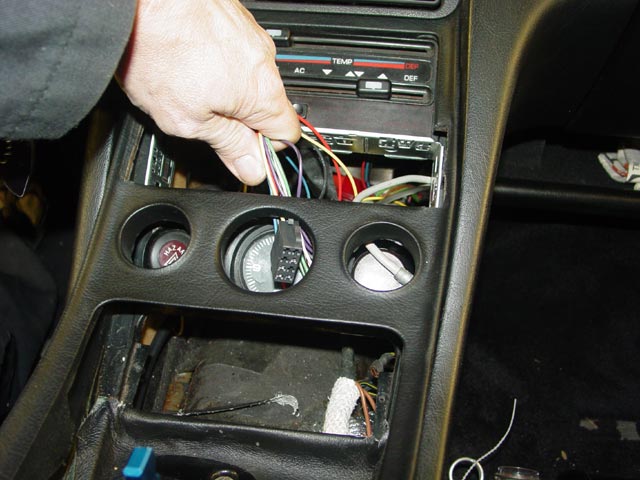
I quickly realized I was going to have trouble getting the ashtray installed, so I pulled the trim back up a bit, attached the wires for the lighter socket and the bulb, and screwed it in.
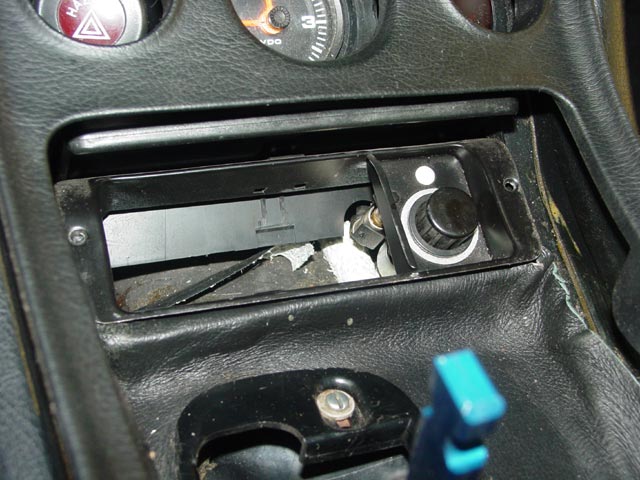
Finally, I pressed the trim back into place and reinstalled the stereo.
I had left the shift knob and boot soaking in Leatherique rejuvenator oil in this ziplock for a couple of days. It had been pretty stiff, but this softened it up quite a bit.
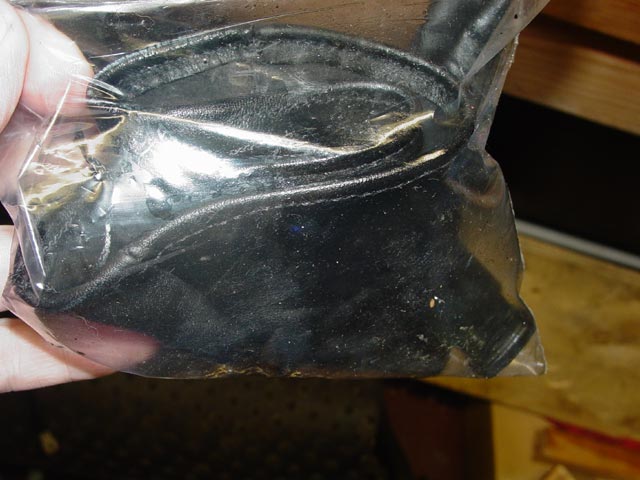
Here are the parts after cleaning with Prestine Clean. I had worked a lot of the rejuvenator oil into the inside of the boot and I just left it there, figuring it would only do the boot good.
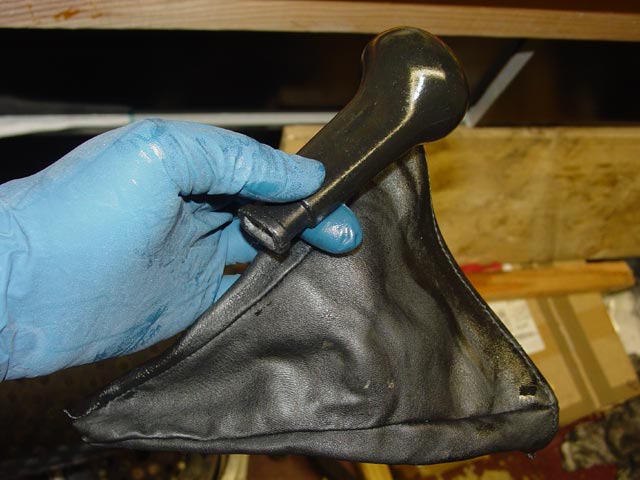
I loosely attached the boot to the shift knob with a tie-wrap. I actually had to loosen it a bit, disengaging the tie wrap with a dental pick, to get the knob all the way on to the shifter because of the way it tapers.
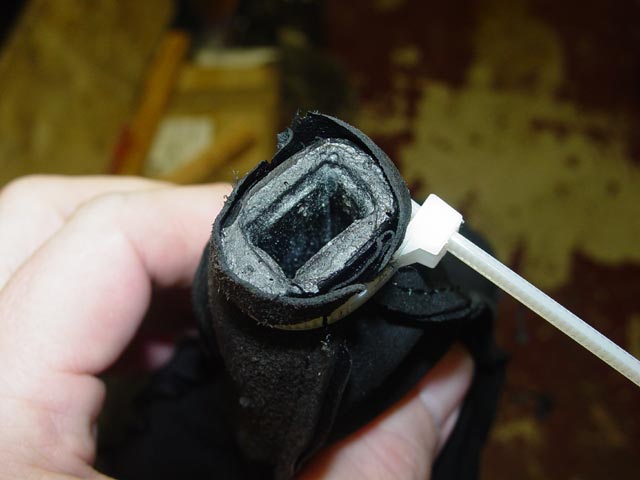
With the shift knob all the way on, I tightened and cut the tie wrap.
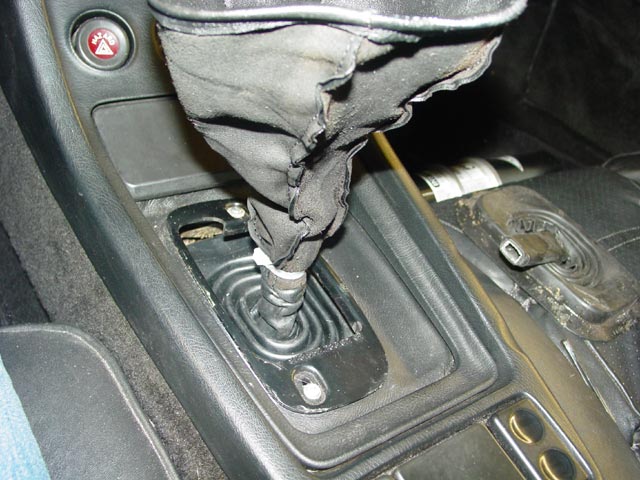
Getting the boot installed proved to be a bit of a challenge. It has a drawstring that is used to tie it over the exposed ridge on the shift gate. The boot was still a bit stiff(though nothing like it was initially) and I had to work it under the ridge carefully. Also, my fingers are a bit fatter than would be ideal for tying the drawstring in the limited area between the boot and the ashtray, but I finally managed to tie a bow knot and tuck the loose string under the boot. It took some fiddling to get the boot arranged the way I wanted it with the shorter shift lever. Below is what I ended up with.
Not long after this I realized that there was not enough clearance between the shifter and the gate in the 4-5 plane once the shift knob was on, partly due to the larger girth of the shift knob vs the bare shifter, and partly due to the portion of the boot that now folds down into the gate. I had the revlimiter sit in the car with the trans in first gear, applying pressure to the left while I loosened the clamp on the rear shift coupler. It didn't take much movement to provide the clearance that I needed. Sounds easy, doesn't it? In fact, getting the shift coupler boot pulled back to access the clamp, and especially putting it back when I finished, was a huge PITA. My hat is off to anyone who tries to refresh the shift coupler/boot/linkage/ball cup while the trans and torque tube are still in the car.
 I know it can be done but I'm sure it was easier this way.
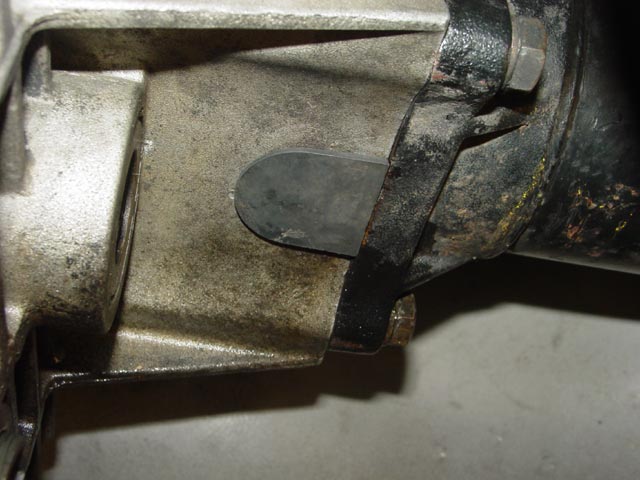
To help prevent water from getting into the clutch or torque tube, I put new inspection covers on the torque tube and bellhousing. There was already a plug on the rear, which I replaced. Note, the pic of the rear plug was taken on a subsequent weekend after I had been hosing off the ground under the car, which is why the area was damp.

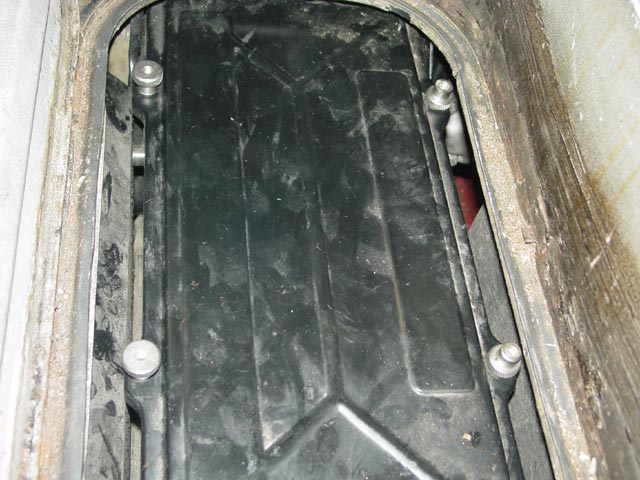
I connected up the battery and tested all of the electrical in areas I'd touched, starter, stereo, re-checked the reverse switch and speedo, lighter, ashtray bulb, etc. then replaced the lid over the battery and packed up the spare tire, etc.
The transmission is now sitting quite a bit higher on the new mounts. So much higher that I couldn't get the lid fasteners on the right side started until it occurred to me to turn them upside down to clear the lip of the opening.
The next step was to take a test drive.
 For now, I'll say that it felt like a new car. More detail on the Long Term Results page.