| Mark Litherland's '73 914 Track Car Conversion or, how to efficiently clear out your bank account |
|
| Updated 06/18/2000 |
| Mark Litherland's '73 914 Track Car Conversion or, how to efficiently clear out your bank account |
|
| Updated 06/18/2000 |
Check out the first outing for this car, post-construction!
Driver's Education at Road
Atlanta, June 24-25, 2000.
| Inspection Suspension Brakes Fuel System Roll Cage Fire System Engine - New 2.0 pics! Engine - Installation! New Rust & Repair Bodywork Gauges and Electrical |
|
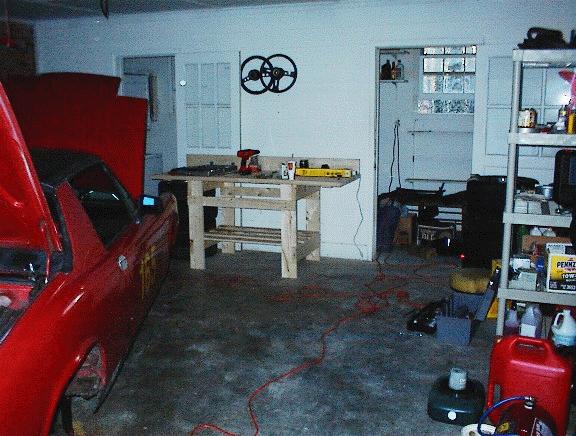
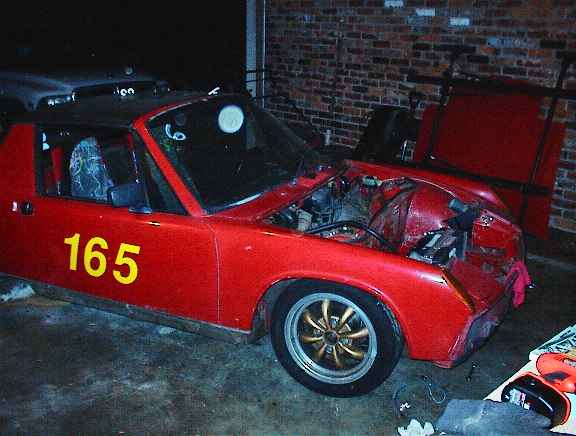
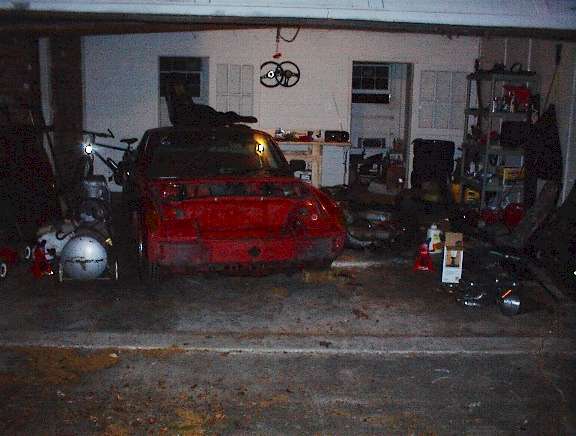
| Inspection | garage1.jpg
- Just the place to work on a car. It's amazing how much fun it is taking stuff
apart! I just bought the bench and shelves. It really helps to be organized
when you start something like this. Believe it or not, everything used to be
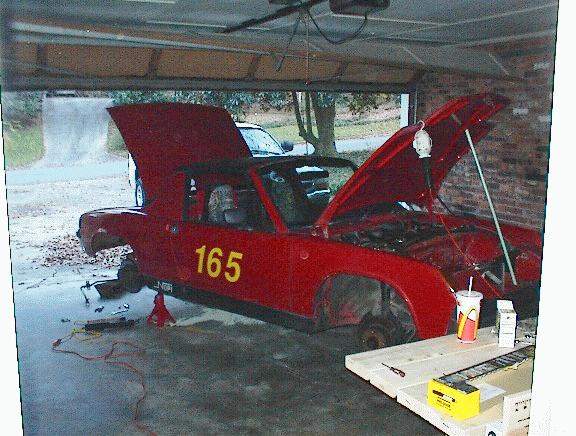
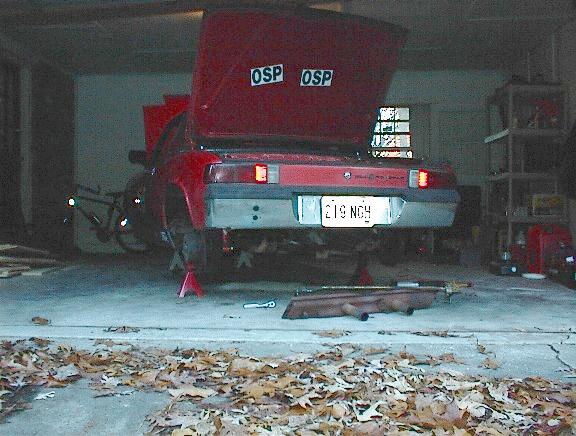
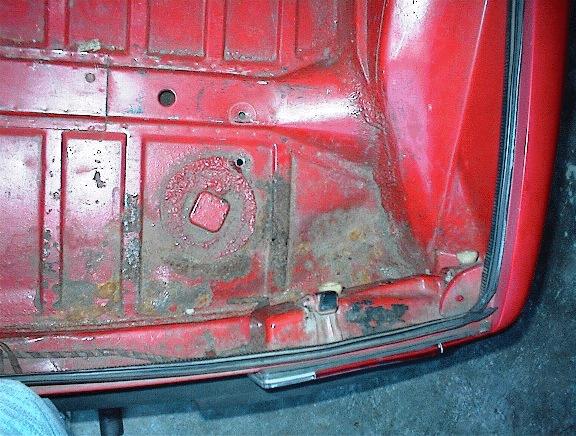
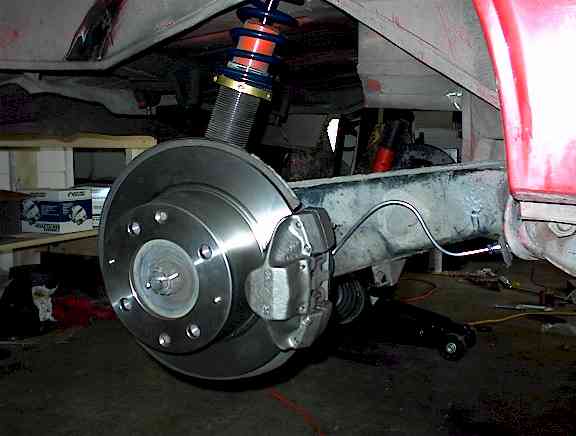
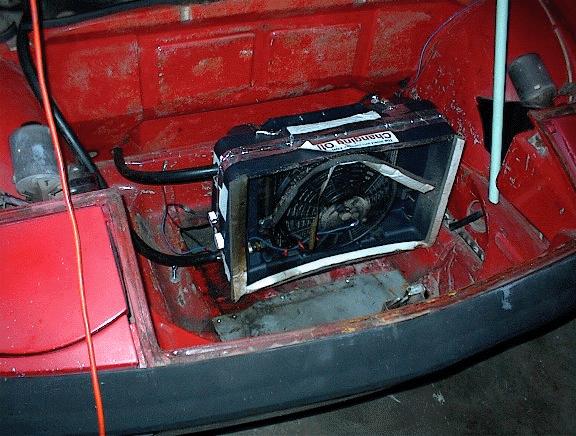
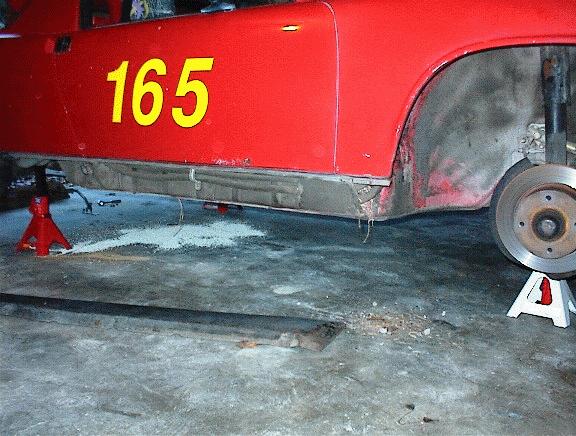
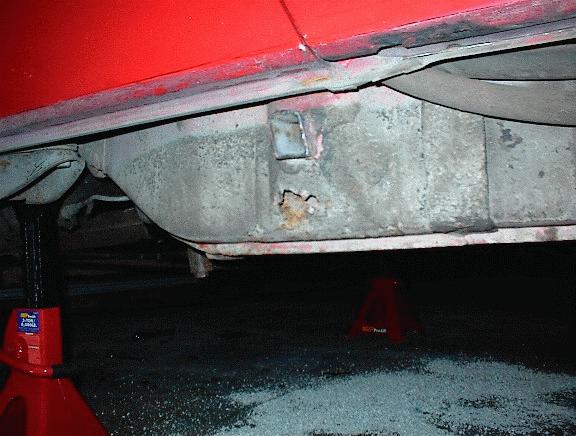
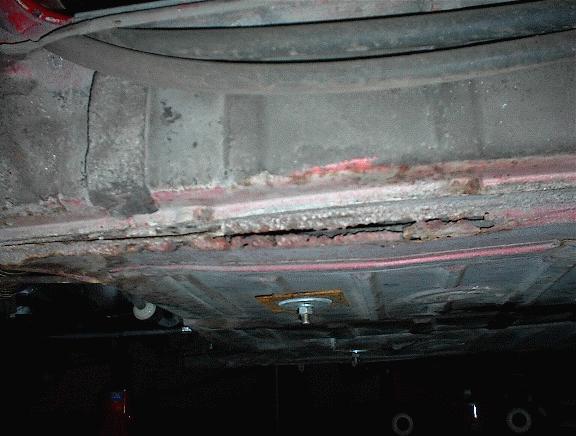
on the floor! garage2.jpg - Another garage shot. How do you like my drooping garage door? Gotta fix that. muffler.jpg - The old muffler comes off. It's a stock 914 muffler with the single exit welded up and two pipes welded on for a homemade "sport" muffler. Works for me, and it sounds pretty good too. Won't compare to the megaphone going on the new engine though! I also pulled the rear sway bar. It wasn't connected anyway and the car handles much better without it. Glad to get rid of it and I save a few pounds. Anyone want it? rearrust.jpg - Some minor rust in the rear trunk. There are a couple of tiny holes, but for the most part all is well. Lawrence, I feel for ya! You can also see the holes where the rear sway bar used to be mounted. rearsusp.jpg - Here's a shot of my rear suspension. Koni coilovers work wonders for the handling. You can also see my tire rubbing problem. It's only in that one spot (both sides) and appears to happen only under load. Stiffer springs should do the trick. I'll probably put in 180s and see how that changes things. oilclr.jpg - This is a home built oil cooler setup made from two plastic oil pans sandwiched together with an electric fan. It was mounted horizontally on the floor with a duct from the bumper holes for fresh air. It exhausts through one of the two rectangular holes in the floor -- I guess this car had a/c sometime in the distant past. It really works very well, but I'll be replacing it with an aluminum cooler mounted vertically, with braided lines, AN fittings, and such. I've also decided to mount the fuel cell in the floor, which means the cooler has to be vertical. rocker.jpg - For the first time in my ownership, the passenger rocker cover comes off. The little pile of debris under the front jack point is a little reminder of my gardening expedition at Roebling Road. Two months later and I'm still pulling grass, dirt and rocks from the car! jackpnt.jpg - Some rust found in the passenger side rear jack tube. After careful inspection, I found the rust is only in the little cover piece surrounding the jack tube. The actual longitudinal is solid and strong. Whew! I had a little scare over this one. passpan.jpg - Ok, here's the bad news. This is the passenger pan and you can see where it has separated from the longitudinal. Not too bad really, because all the rust is exactly what you see, and nowhere else. What caused this? Sometime in the long ago past (more than 15 years), someone repaired the underside of the passenger door and did a really poor job. The welds are grotty, the patch piece doesn't match at all, and the whole thing rusted out the bottom of the door. Wouldn't you know I just happen to have a perfect passenger door? Ha! I'll be putting that one on right away. All in all, I'm very pleased with the first stages of deconstruction and inspection. Not too many structural problems present and most of the problems found are pretty easily repaired. Next step, removing the gas tank! |
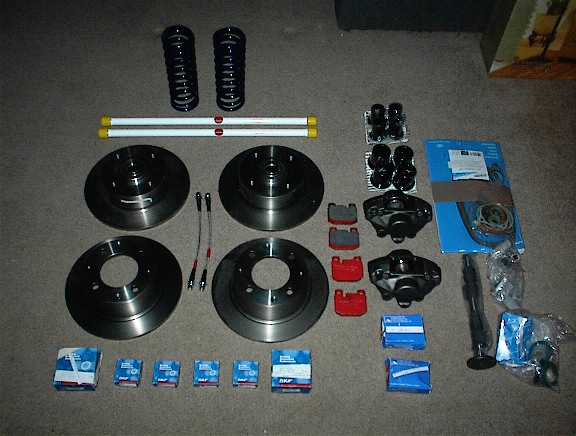
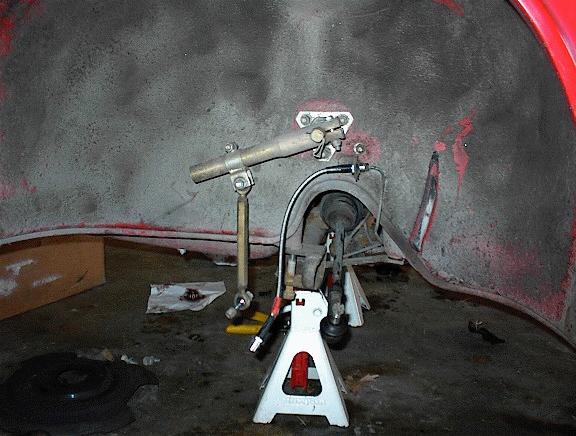
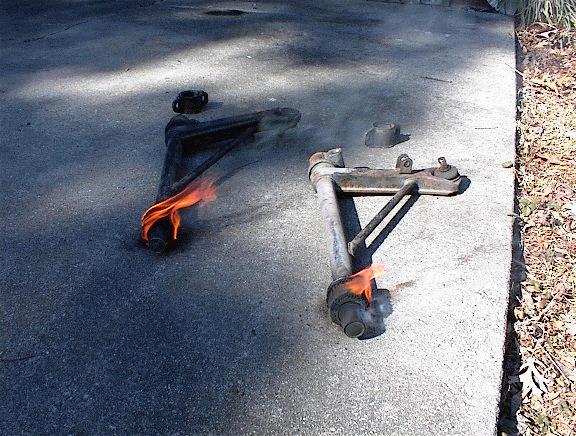
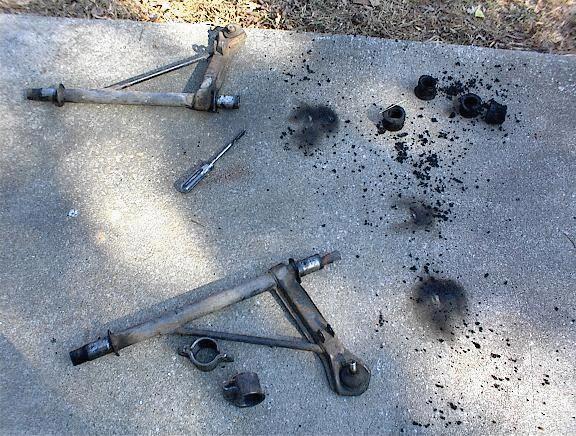
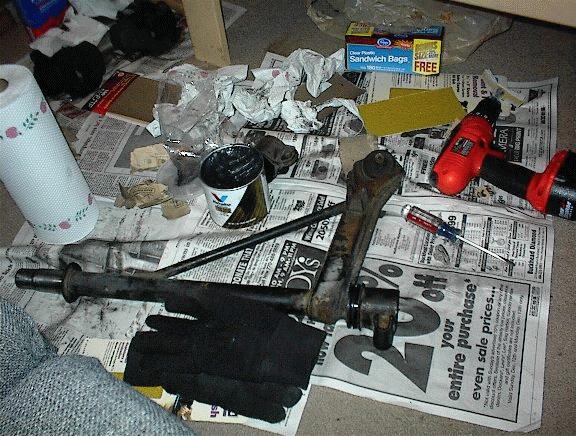
| Suspension | parts.jpg
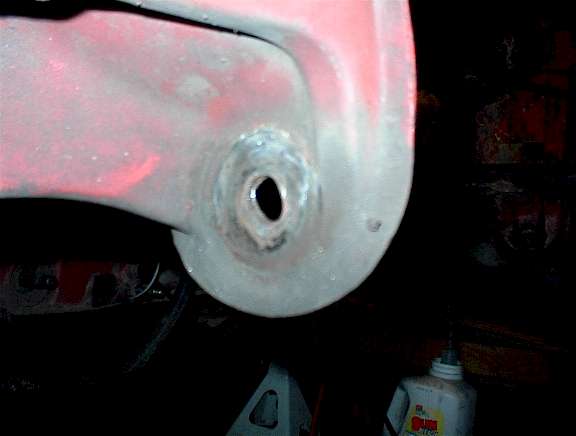
- All new stuff, ready to install. susp1.jpg - Out with the old! Looks kinda naked. swaybar2.jpg - After pulling the gas tank, here's what we found. I will be changing the swaybar mounts right away. Those "staples" work fine for every day, but a track car needs something a little more substantial. bbq.jpg - Nothing like a little fire to remove the old, dead rubber bushings. Marshmallows anyone? bushing1.jpg - the aftermath carm1.jpg - Prepping for the new poly bushings. I've got the rear fitted and about to do the front. tbar1.jpg - A comparison between the old stock torsion bars and the new 21mm bars I'm installing. suspnew.jpg - Back together, complete with a brake upgrade. ground.jpg - She hits the ground! Maybe it doesn't seem like much but this is the first time I've ever torn a suspension apart, then reassembled it. She looks really nice supporting her own weight again. oval.jpg - When I took the trailing arms out this is what I found on both sides. Not good! To make the repair we welded in large washers, then redrilled the holes. Now the metal is twice as thick as before and maybe my alignments will hold! rearsusp.jpg - Finished the rear suspension and put it back together. Those are 175# Hypercoil springs on top of the Koni reds, just the ticket to match the 21mm t-bars up front. Surprisingly, it already had polyurethane bushings installed and they were in great shape, so I didn't touch them. |
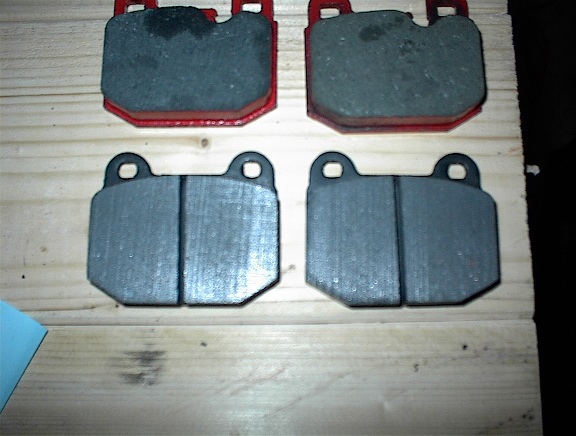
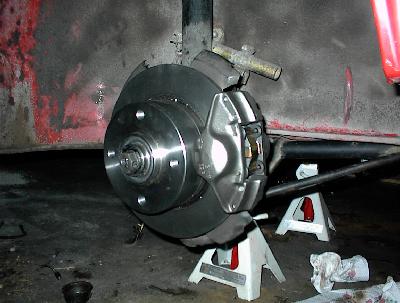
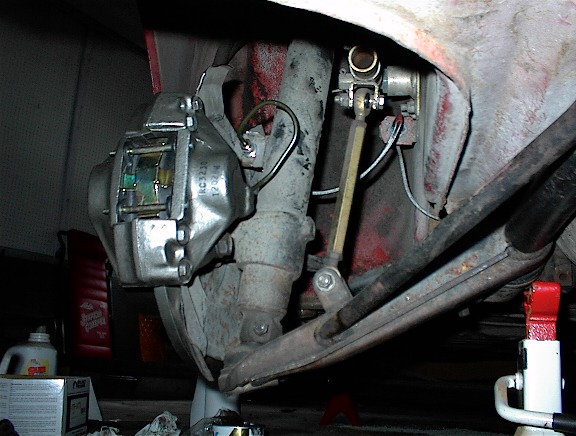
| Brakes | parts.jpg
- New brakes, among other things. These are new stock rotors, BMW 320i calipers and
pads and SS braided lines. I've also got a 19mm master cylinder already fitted.
I bought the calipers from a local import shop, suspension and some brake parts
from Paragon Products, and the rest of the
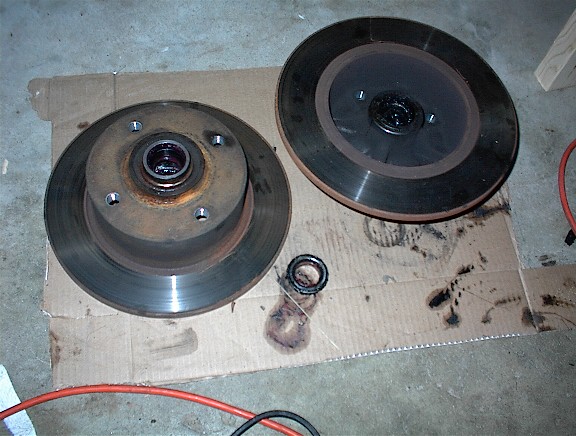
brake setup from Pelican Parts. pads.jpg - The top pads are stock 320i pads, and the bottom ones are the new racing pads. They are slightly larger than the stock 320i pads, which are much larger than the stock 914 pads. This should be a great upgrade! oldrtrs.jpg - The old front rotors come off. They are actually in great shape and I'll keep them for spares. caliper1.jpg - New rotors, 320i caliper and competition pads installed. caliper2.jpg - Inside view of the new installation. rearsusp.jpg - If you're gonna upgrade the fronts, you might as well do the rear brakes too. Those are 914 front calipers installed on the rear with new SS lines, new hard lines and new rotors. I've also re-used my Pagid orange pads. We'll see if this balances the 320i calipers with Cool Carbons up front. |
| Fuel system | (Coming soon) |
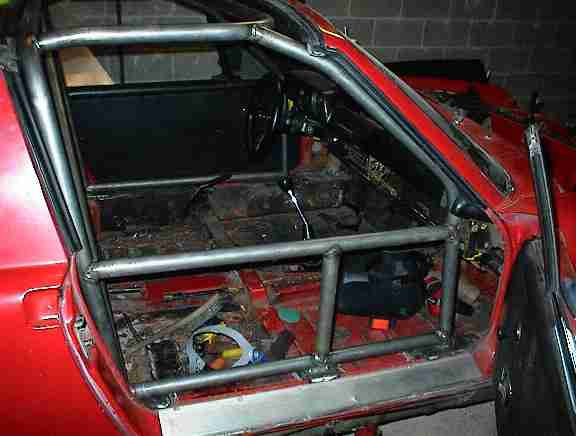
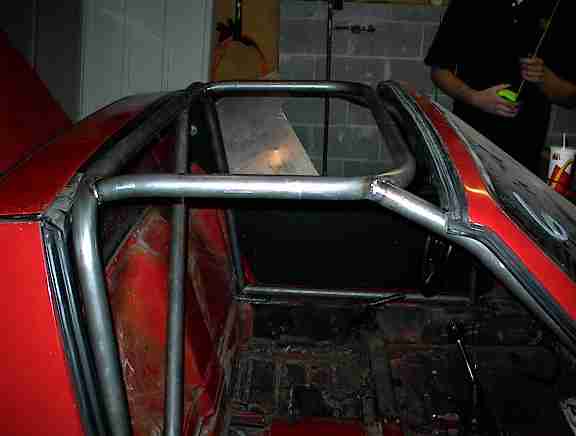
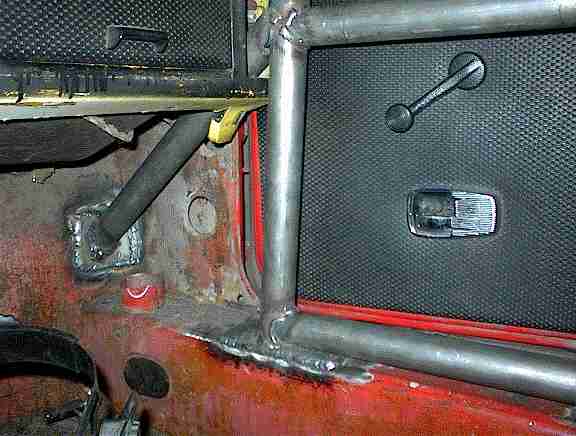
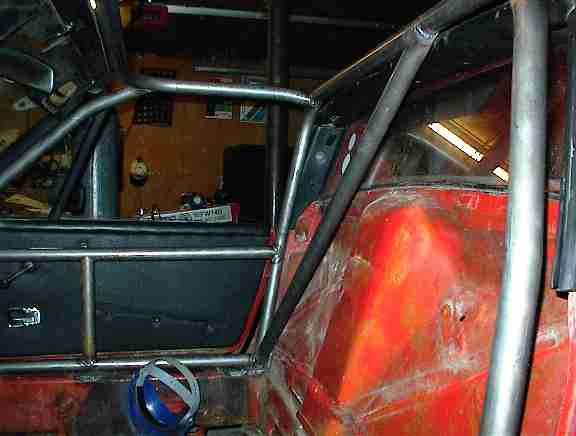
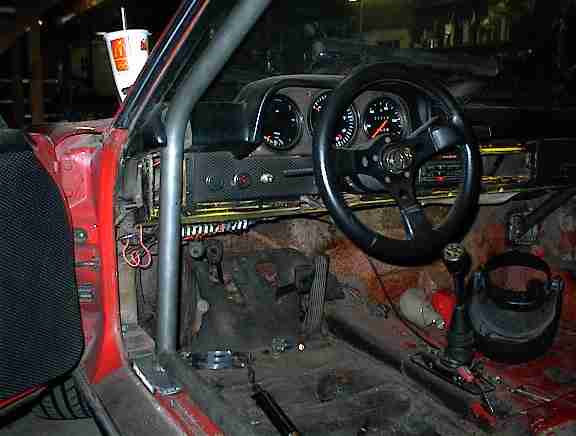
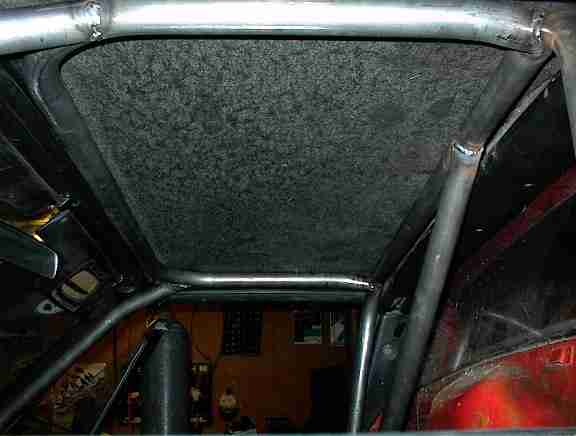
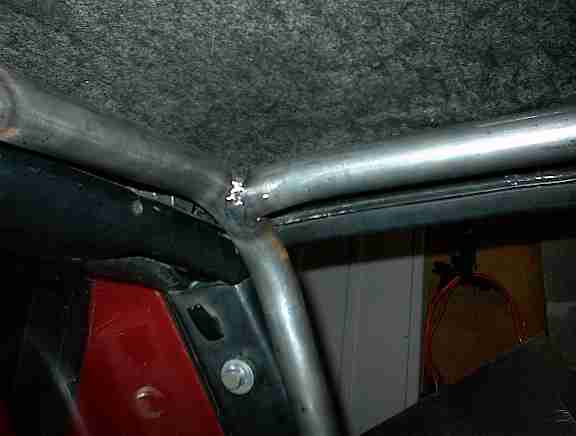
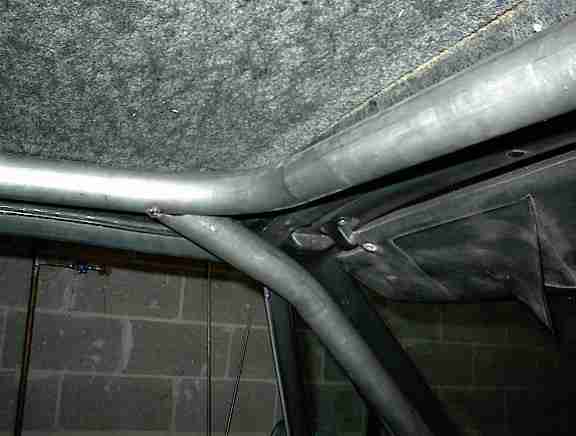
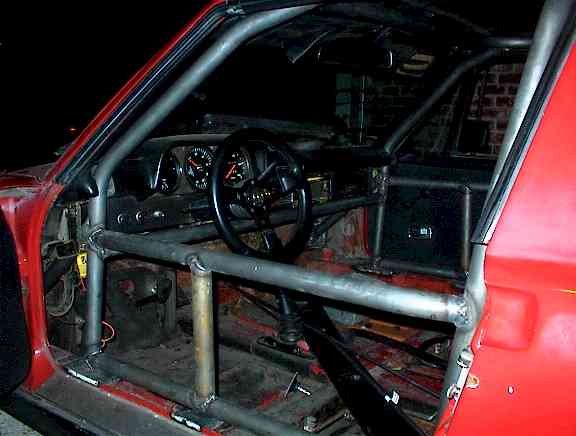
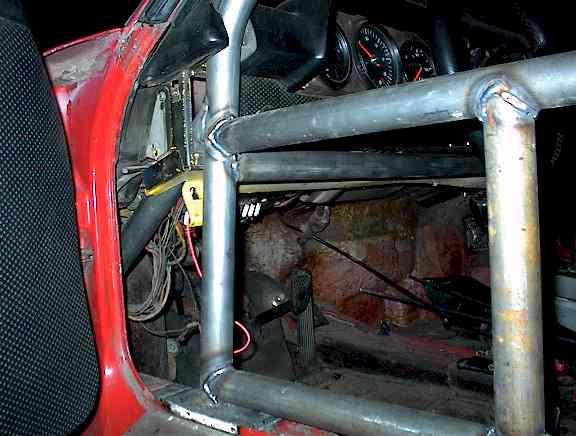
| Roll Cage | cage1.jpg
- Passenger side is complete. It's a little tight to get into, but we're all a
dedicated bunch, right? cage2.jpg - a shot of the halo hoop. This was a real pain to get right but believe it or not, the top fits! I'll prove it in a minute. cage3.jpg - Passenger side detail at the front of the cage. According to PCA Club Race rules, the cage must be within the passenger compartment. So this is the best way we could find to get some forward support. cage4.jpg - The back of the cage showing the crossbrace. We still need to install the horizontal and the back brace. cage5.jpg - Driver's side, still have a little work to do. cage6.jpg - The top of the cage WITH the roof on. It's tight, but a beautiful fit! cage7.jpg - Detail of the fit to the roof. cage8.jpg - Another detail of the roof fit. cage9.jpg - The completed cage from the driver's side. Notice how tightly it fits to...er...through the dash! Also the upper side bar is bent outward slightly to aid entering and driving. cage10.jpg - Detail of the driver's side. fullgarg.jpg - How one small car can take up an entire garage! This is the evening I brought her home after the cage installation, around 11:00pm. I don't know how this happened.... cgpaint.jpg - It's starting to look good, but let me tell ya. Painting a cage that's already installed, when you don't want to paint everything else...a lot tougher than I thought! |
| Fire System | (Coming Soon) |
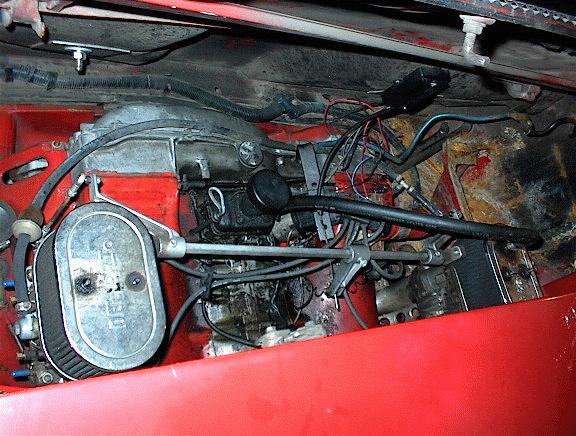
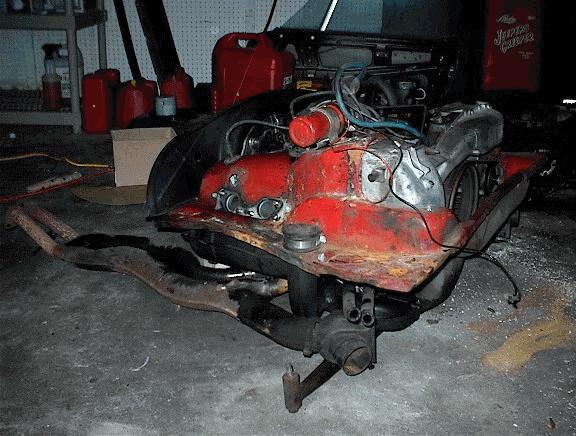
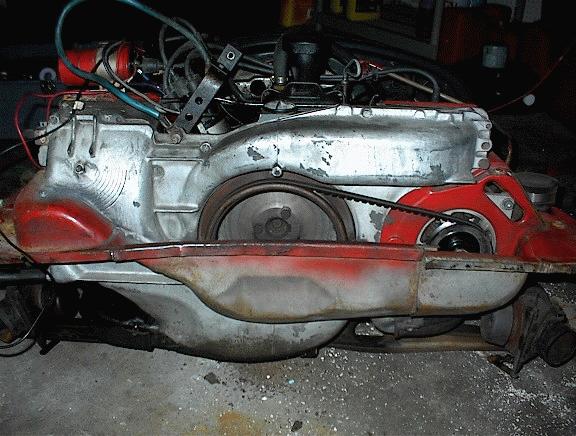
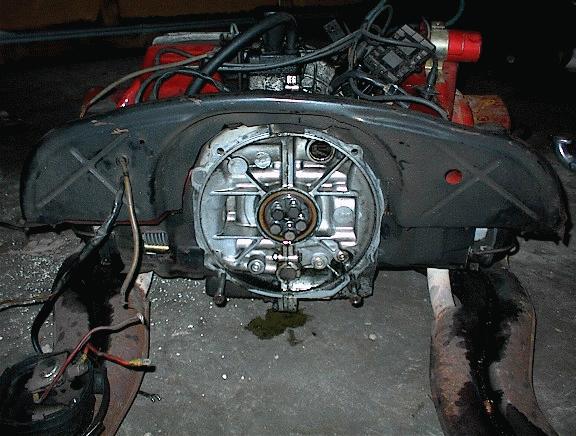
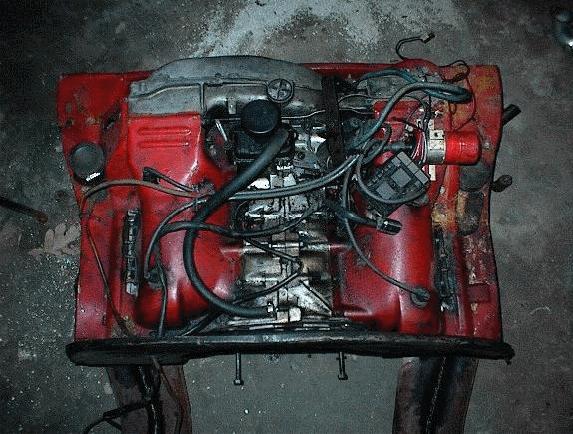
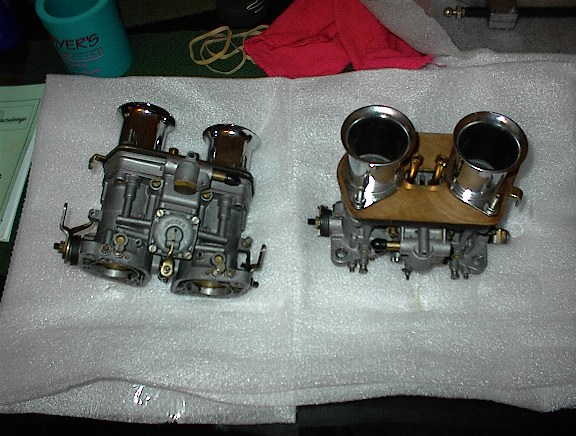
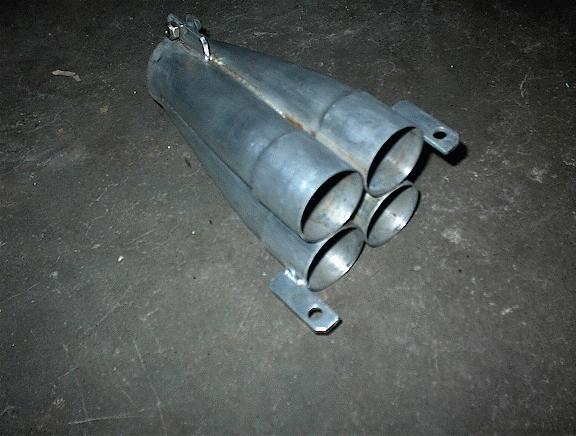
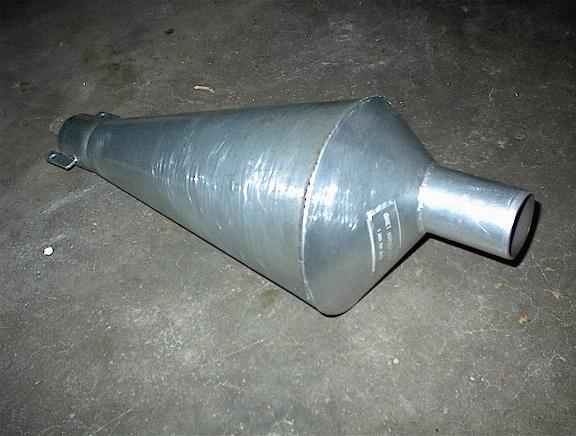
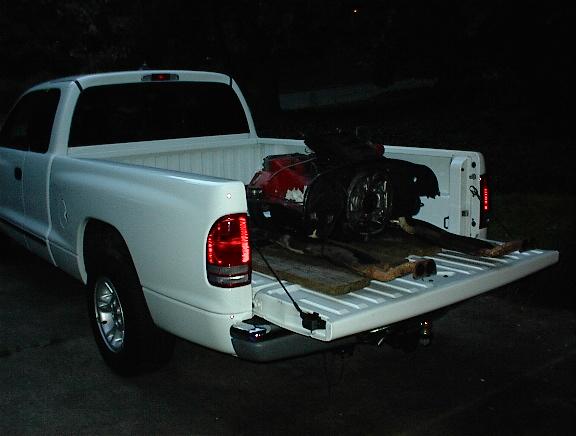
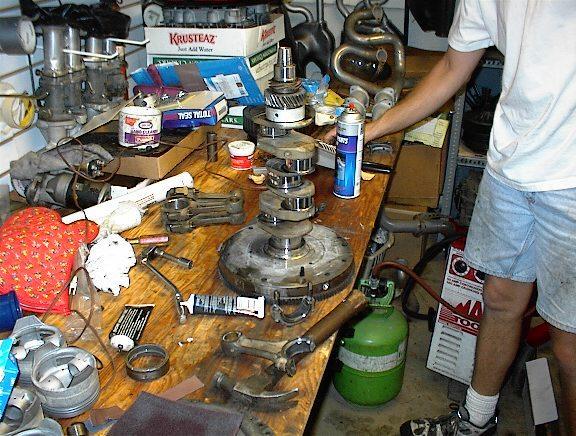
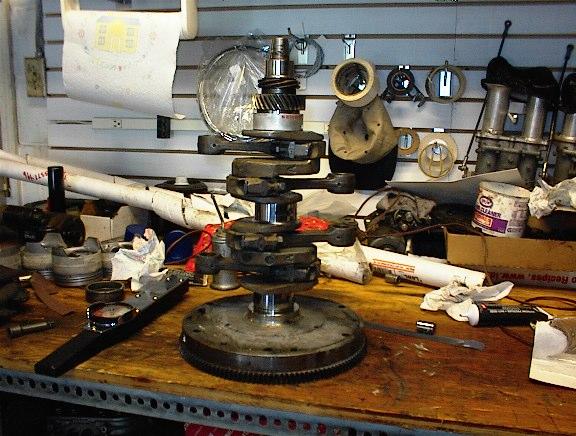
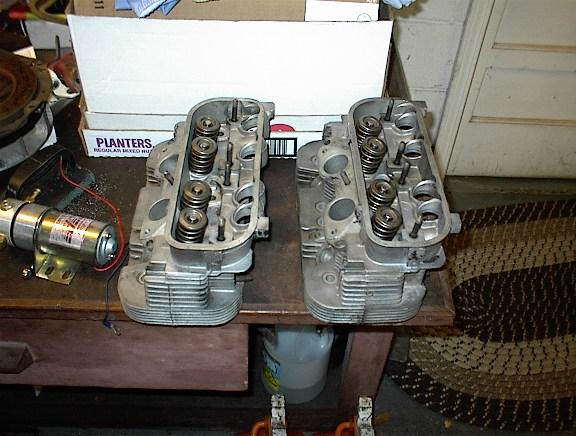
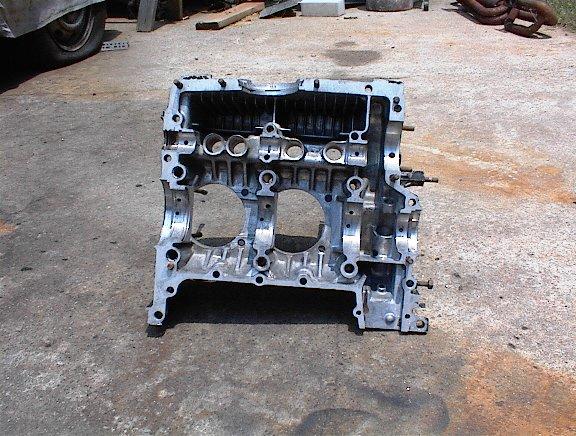
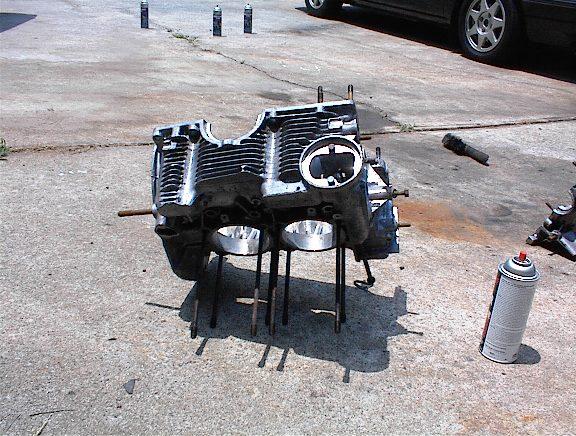
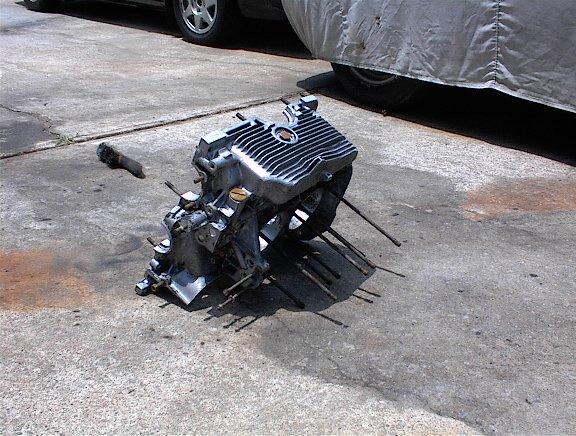
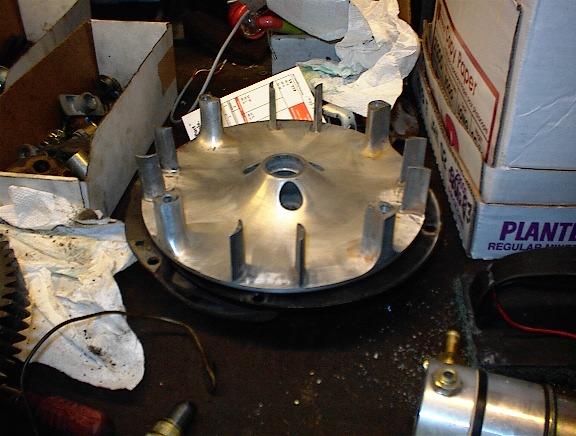
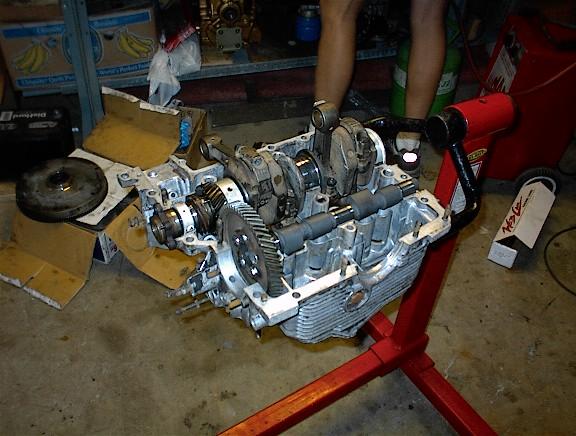
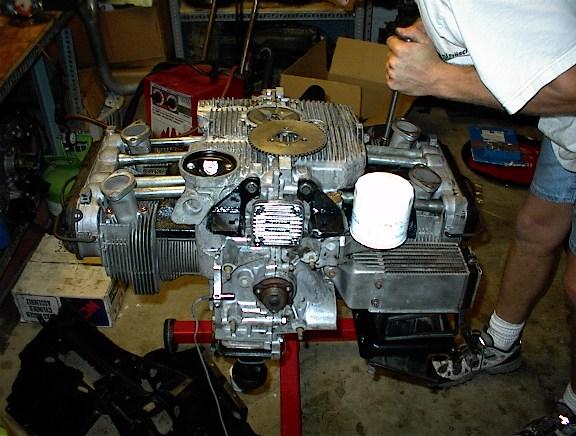
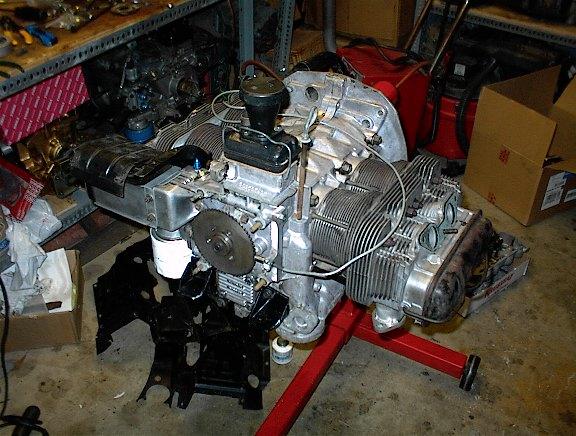
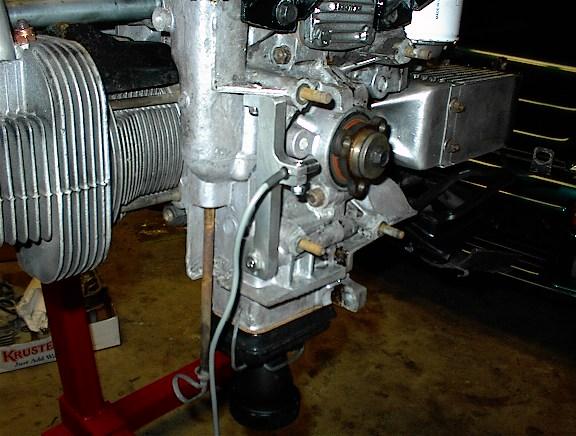
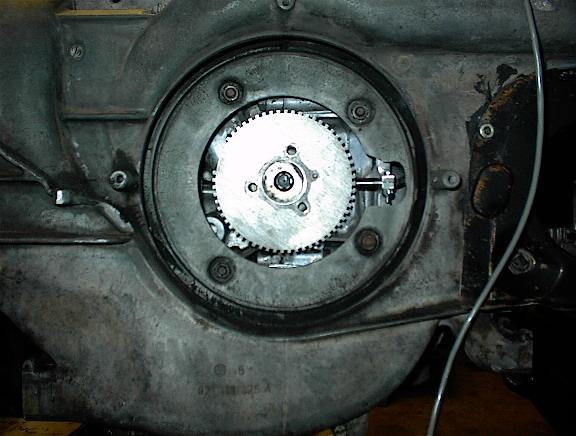
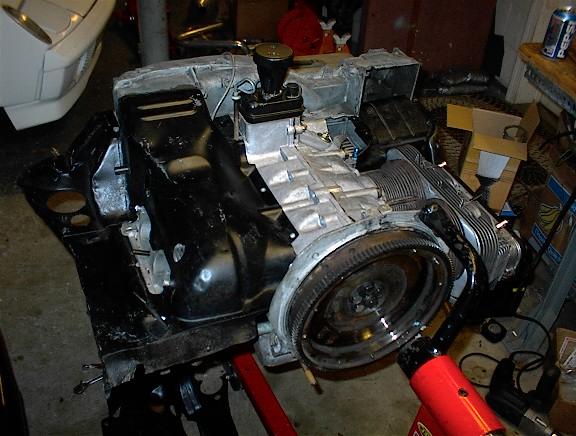
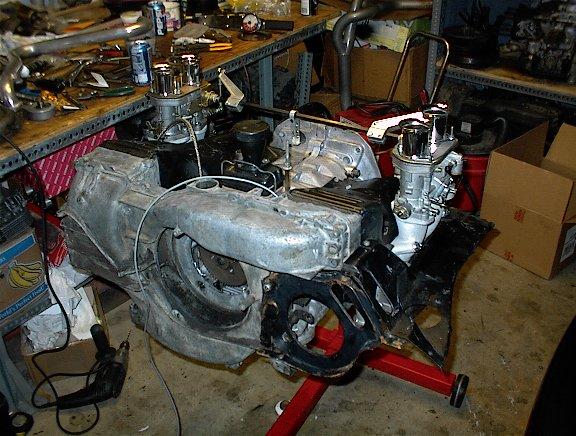
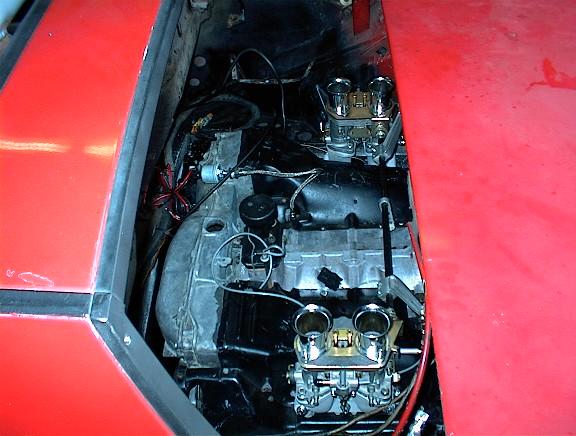
| Engine | engine.jpg
- My current 1.9 engine with twin Dellorto 40s. This engine has been a real trooper,
running for lap after lap at redline and just keeps coming back for more. I hate to
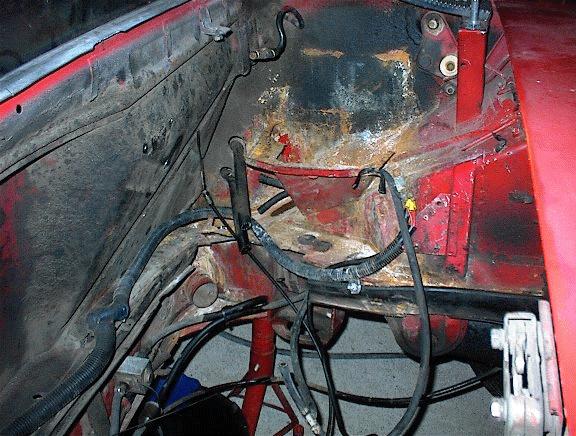
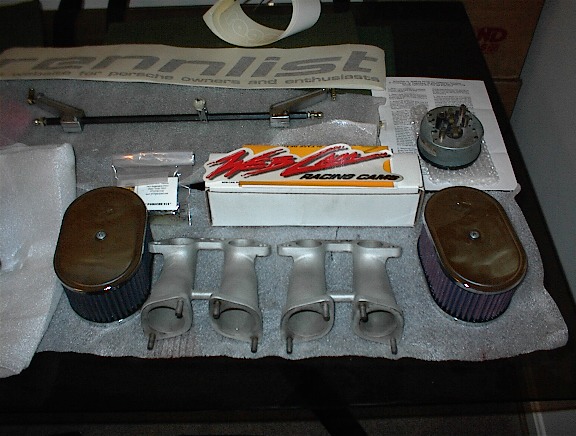
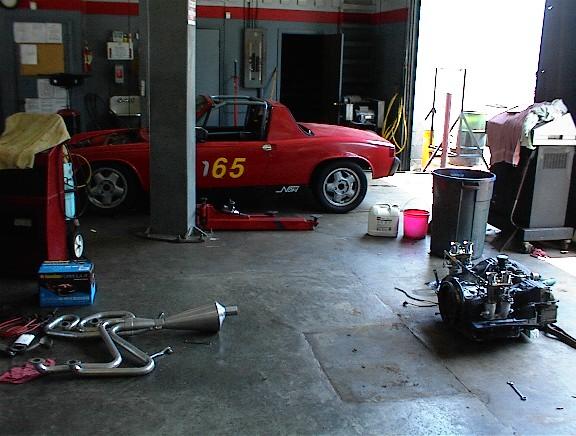
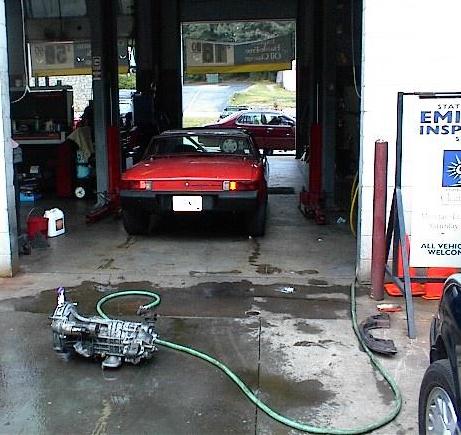
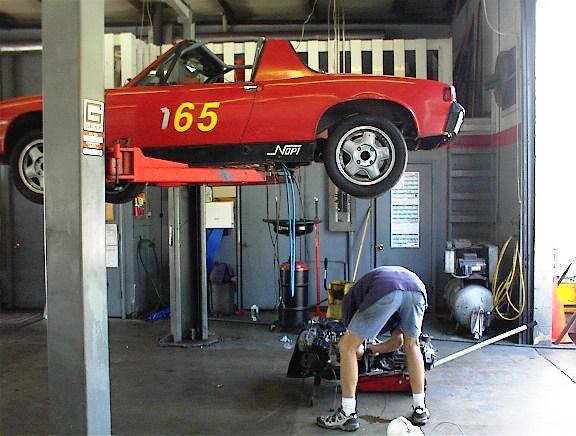
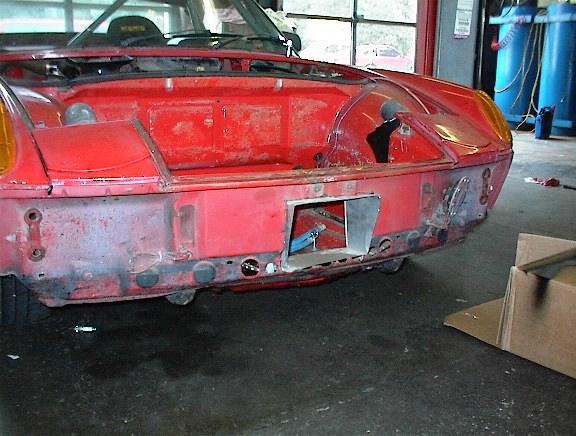
pull it. engside.jpg - Ok it's pulled and currently for sale. Make me an offer. batttray.jpg - That my friends, is what you call a goner. Luckily it's only the battery tray that's toast. All the rust you see is relatively recent, a result of my explosive battery problems. The metal underneath is completely solid. Woo Hoo! carbs1.jpg - New air cleaners, intake runners and linkage. carbs2.jpg - Ahhh, the new Weber 44s. Aren't they pretty? Thanks to Rich Johnson for the entire setup! exhaust.jpg - What a beautiful thing! This is a custom racing exhaust, fully ceramic coated, 1 5/8" diameter, complete with fittings for EGT gauges. I bought it from a local guy running a 13.5:1 engine and it just wasn't big enough for him. coll1.jpg - This collector is a work of art. Handmade and flawless. I'd really like to mee the guy who made it. pwmufflr.jpg - Supposedly this is a Pete Weber muffler, designed for low low restriction while still keeping reasonably quite. According to the guy I bought it from, it keeps noise down around 90-92db and doesn't restrict much at all. engtruck.jpg - The old 1.9 engine loaded up and ready to ship to a new owner. Gotta make room for the new engine! New! 2.0 Engine is finally going together crank1.jpg - First shot of the assembled crankshaft, complete with main bearing, timing gear, distributor gear (which I won't be using) and flywheel. We put the gears in the oven for a little while and they went on like butter. Very very hot butter and you have to work fast. You can also see one of the drill spots in the flywheel -- gotta be balanced, you know. crank2.jpg - Now the rods are on and it's ready to install in the case. heads.jpg - Here are the assembled heads. These had never been touched and looked nearly new. All we did was clean and true them. Then we installed new SS valves, new springs and new guides, all stock of course. case1.jpg, case2.jpg, case3.jpg - Some shots of the naked case, thoroughly cleaned and prepped. fan12.jpg - A 12-bladed fan from a friends E-Production car. I'll be using a 24-blade fan instead of the stock 48. The stock fan cavitates at 4500rpm and basically stops pushing air above that, but it's very efficient at low rpms -- the opposite of what you need in a race car. A 24-blade fan won't move as much air at low rpm, but a race engine spends most of its life above 4500 where the lighter fan is more efficient. The engine should run cooler this way and be more responsive. engine1.jpg - The crank is in the case. engine2.jpg - Now the cam has been installed. We had a problem with the timing gear on the crank. It looked like someone had used a hammer to take it off and several of the teeth were bent, if you can believe that. The gear was perfect when we dropped it off to be removed. After lots of filing, I got them true and when this picture was taken, the gears meshed perfectly. Whew! engine3.jpg - Another shot of the crank and cam installed. That's an aircraft sealer on the case which should do the job much better than RTV. It's thin, impervious to oil and heat, and won't come off in globs like RTV. engine4.jpg - Now we're making progress. Pistons, barrels, heads, pushrods, oil cooler and oil temp sensor have been installed and Blake is tightening up the exhaust stubs. It's gonna be running soon! engine5.jpg - All right, now you're talkin'. If you look just left of the oil filler you'll see the blue AN fitting where the oil pressure sensor will be installed. Just below that is a cap over the distributor hole. Since I'm running Electromotive, the distributor is history. No points for me! You can also see the toothed timing wheel for the crank-fired Electromotive. Look to the right of the timing wheel and you'll see the optical trigger and the custom aluminum bracket made by Robinson Racing. That bracket is absolutely perfectly machined, a beautiful job. trigger.jpg - A closeup of the trigger and mounting bracket. trigger2.jpg - Here's a shot of the trigger fan housing installed. You can see where a relief has been cut. That's to make it a little easier to replace the trigger when it fails. Still not easy...maybe "less difficult" is a better way to put it. engine6.jpg - A flywheel view of the nearly-assembled engine. engine7.jpg - Weber 44 carbs installed and those polised trumpets look great. It's a shame to cover them with a filter. engine8.jpg - A flywheel view of the complete engine. install2.jpg - After many trials and tribulations, not to mention a last-minute crush to get the trailing arms installed, I loaded her up on the trailer and headed to the shop for transplant surgery. Here we are at the shop and car and engine meet for the first time. She was a little shy at first, but really warmed up nicely! That octopus to the left is the new exhaust system. Cool, huh? tranny.jpg - A little cleanup on the tranny was in order. Can't have a grimy gearbox attached to a nice clean engine now, can we? install3.jpg - Up on the lift and ready to install. And a nice shot of Blake's ass too. Sorry girls, he's married. install4.jpg - It's in!!!!! Looks soooo much better this way. cooler1.jpg - And at the other end of the car, the beginnings of the remote front oil cooler. I've got the hole for the duct and the first test fit looks ok. |
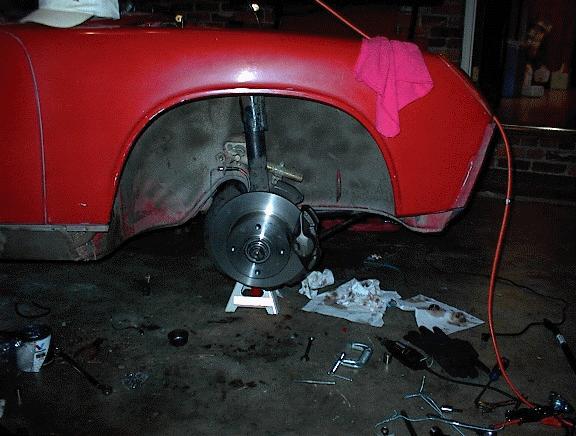
| R&R (that's Rust and Repair!) |
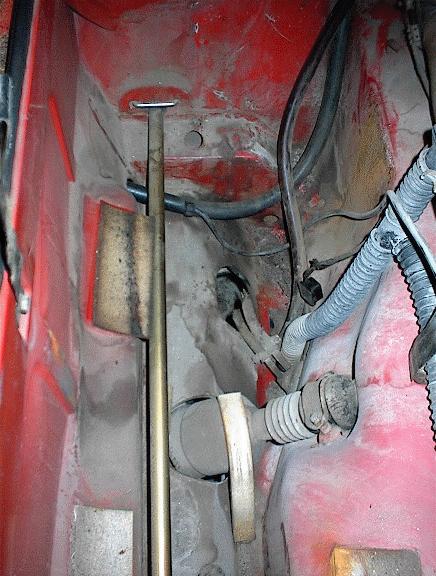
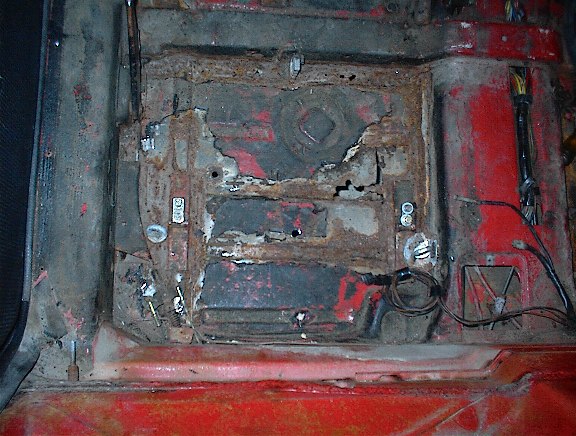
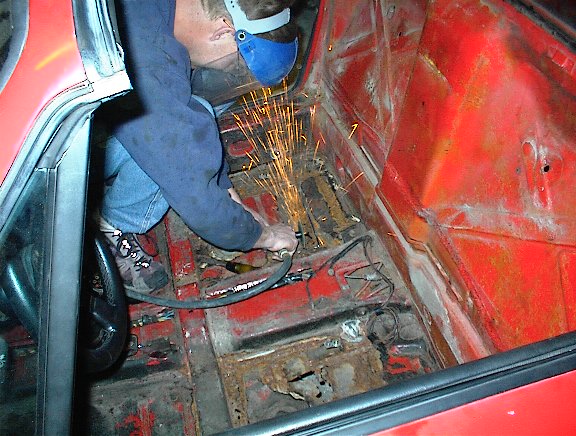
carjack.jpg
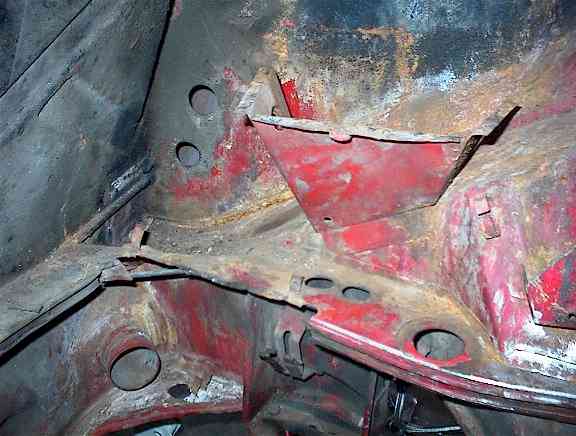
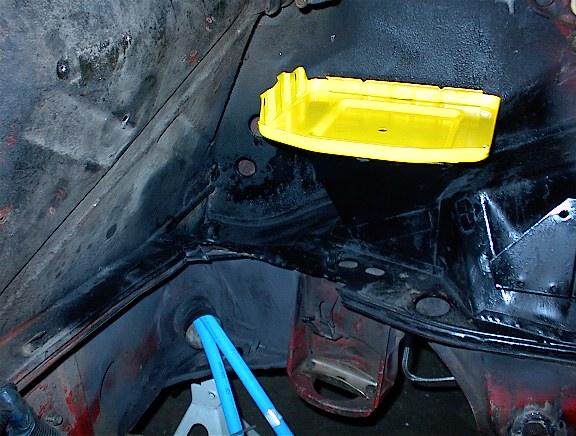
- The engine is out...let the rust repair begin! drfloor.jpg - Look closely and you will see a large tear just about centered, and rust holes along the front crossmember. sparks.jpg - Nothing like a good cutting wheel to make the day fly by. Ok so it's not a sawzall, but I want to keep this car! battray.jpg - Not a pretty sight. The old battery tray is pretty much nonexistant, so I'll have to replace it. The good news is the support is fine and the structure is completely sound. That's only surface rust you see. batt2.jpg - This is an intermediate shot. I've removed the battery tray and I'm getting ready to clean it up and treat that surface rust. Then I'll paint it a nice flat black using some high-temp paint. batt3.jpg - The next stage. I've cleaned up the rust and done a little painting. I've also test-fitted the battery tray and will tack it in as soon as everything else is ready to go. Kinda stands out, doesn't it? BTW, the blue lines coming out of the heater duct are for the new front oil cooler. Really really clean way to run the lines, but a real pain to fish 'em through! |
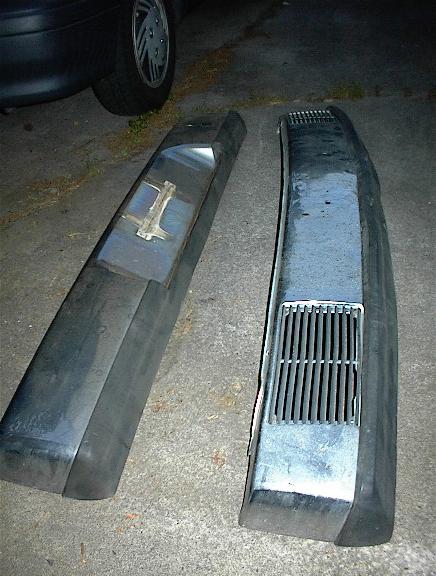
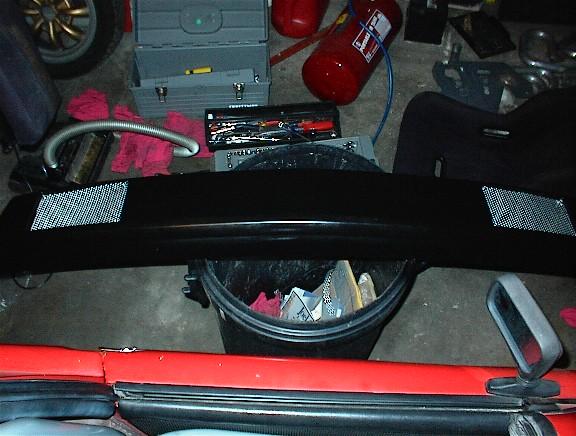
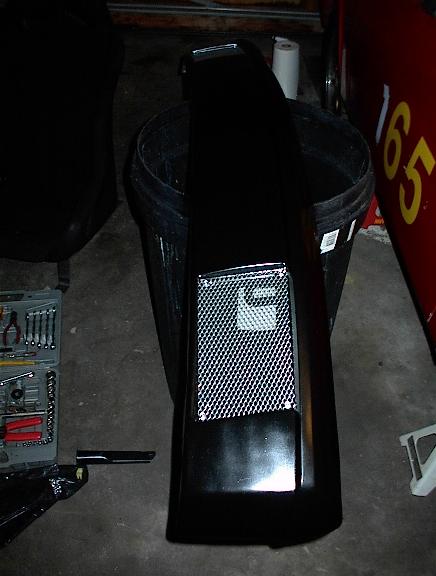
| Bodywork | oldbump.jpg
- The old bumpers. I found a guy with a fiberglass bumper who wanted to trade, so I
swapped him. newbump.jpg - The new fiberglass front bumper, painted, screens installed and ready to mount up. bdetail.jpg - Detail of the screens. |
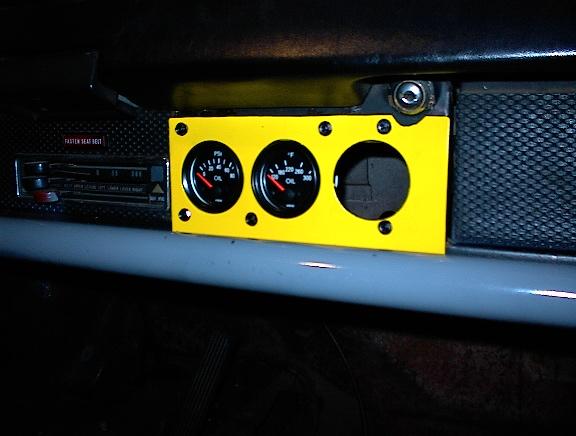
| Gauges and Electrical | gauges.jpg
- I made a new gauge panel to fit in the stock radio location. Oil temp, oil
pressure, and cylinder head temp. I haven't installed the CHT gauge yet, but will
shortly. Yellow? Hey, I had the paint so why not? |
|
