To all home 911 mechanics, doing a Home Alignment is an important hurtle to reach. Many guys will drop their engine in a weekend but will never do an alignment. And it is not hard, just methodical. You will intimately learn how your suspension works and how very small changes can have a major impact on driving. And you can be one of the smug few who can do it. Which let's you shake your head with disgust as you read the forums & see people repeat useless advice about alignment, toe & camber as if they had done it themselves instead of just dropping the car off at a temple of fine German sports cars & paying the $500 to have some hung-over job-hating garage flunky use the fancy computer system (insert appropriate oohs & aahs here) that is never any better than the guy who's operating it. When you do it yourself . . . you know it's done right. And the next time you blast through a major road crater, you can check it in an hour & adjust it as needed.
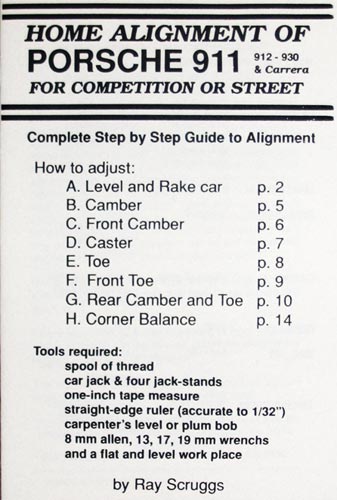
A booklet written by Ray Scruggs called Home Alignment of Porsche 911 For Street or Competition is the bible.
To get a copy of the booklet, contact Ray Scruggs raystrax@yahoo.com For $15, it is a great deal - rare in the Porsche world.
Other resources:
You will need:
Lots of time to fiddle the 1st time.
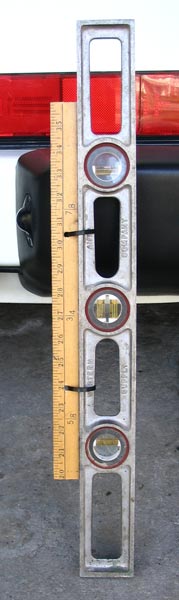
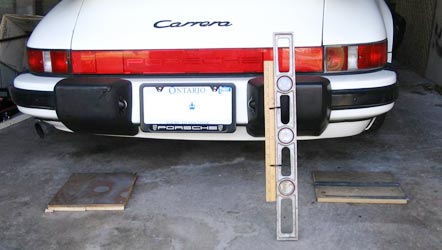
A camber tool. Be inventive. See mine below or you can buy a fancy one from the ads in Excellence.
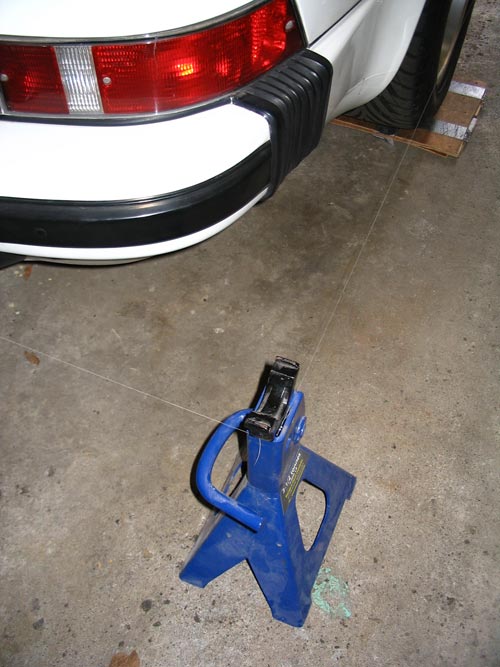
White string or thread (thread allows finer measurements & you can see white better).
19mm sockets & wrenches - breaker bar, torque etc . . .
8mm Allen Socket for your torque wrench
12mm Allen wrench (tough to find but online guys have them as a last resort & you might as well get the 17mm one - if you have an SC - you need for transmission fluid change while you're at it. 12mm again for Carreras).My alignment tools:
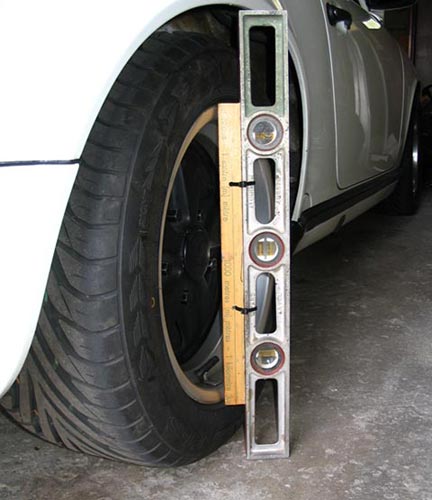
An old metal bubble level is an excellent camber tool. I cut an old yardstick to match the wheel diameter & tie wrapped it to the oblong openings in the level. That way, it can shift up & down to make measuring easier. Different tire profiles have different heights front & back. With some practice, sitting on the ground, you hold the bottom against the wheel with your knee & use a tape measure to measure the top as you center the top bubble. Subtract the 'known' width of the yardstick & you have your camber figure - use 32nds.
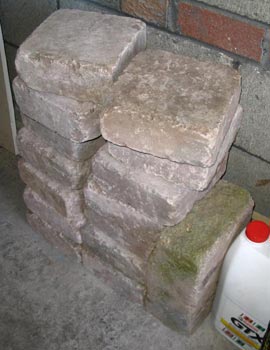
Decorative paving stones piled on blankets & planks (for protection & weight distribution) on the front seat & floor are a great way to simulate driver weight. These weighed 10 lbs each. Fuel should be 1/2 to 3/4 full.
I fashioned wooden platforms
(of layers of wood & old paneling) that I could drive up onto to level the garage floor or the car on the garage floor or . . . whatever . . .