|
|
||
|
Rear Panels |
||
|
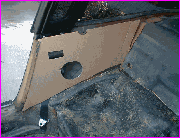
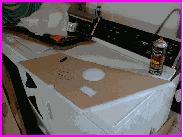
I cut a template from cardboard to fit check to the inside of the car for correct placement of the speakers. |
||
|
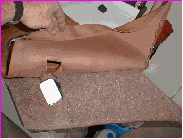
After removing the rear panel and seeing the condition of the padding and backing board I decided to make new panels out of hardboard. |
||
|
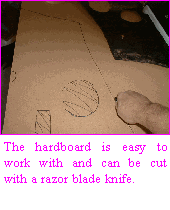
With just a few minor changes the template fit very nicely and I was ready to transfer it to the hardboard. |
||
|
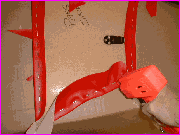
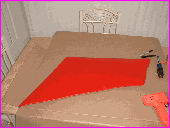
Start by putting staples in on one side in the middle then go to the opposite side and do the same so that the material gets stretched evenly without any wrinkles. |
||
|
This is the hot tip - buy a electric staple gun ! I was going to use a manual one but with the number of staples and the force you need behind it this is a wise investment for $20. |
||
|
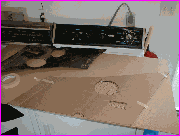
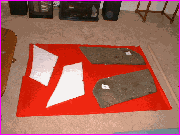
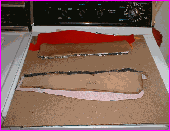
Front and back door panels laid out for cutting the material. |
||
|
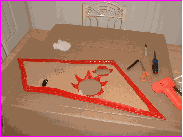
The hardboard cut to match the original panel. |
||
|
There is a piece of material the goes on a post at the rear of the door opening. I used the old piece as a template to cut a new one. |
||
|
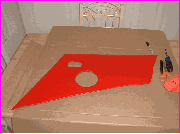
Trim off ant excess material that is beyond the staple line and you have your completed panel ready for the speaker installation. |
||
|
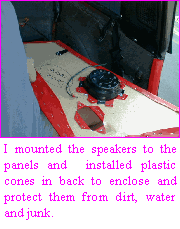
Cut the speaker hole with a pie cut and pull the material back and staple down. Do the same with the seat belt hole ensuring a tight fit around the edges. |
||

|
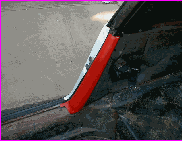
Here is the door piece in place. It is glued into the channels on the outside in the door jamb and the inside where the rear panel attaches. |
||
|
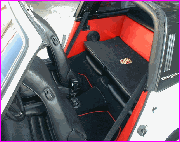
With the rear panel in place and the door post covered it allows the color to run from front to back unbroken. The red and black are a great contrast. |
||
|
Here is the completed rear seat area. The large panel in the back was covered in the same way as the sides. I originally didn't plan to do this in red, but it didn't look very good in black. |
||
|
|
||
|
Back |
||
|
Forward |
||
