|
Removal of Old Interior |
||
|
The removal of the front seats is very easy. It's a tight fit for the socket inside the rail so if you use a thin wall socket it will be easier. |
||
|
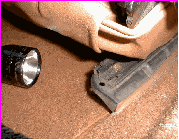
Move the seat as far forward as possible to get access to the rear bolts. The nuts are secured on the bottom of the rail so you only need the socket on the top. |
||
|
Once you remove the four bolts the seats lift right out. I left the drivers seat in so that I could get the car in and out of the garage while working on it. |
||
|
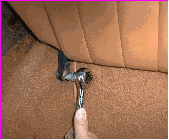
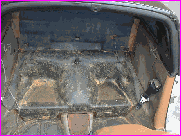
Removal of the back seats requires a broad flat blade screwdriver to remove the bolt on outside leg. The other leg slips over a large pin that is secured to the top center of the tunnel between the seats. |
||
|
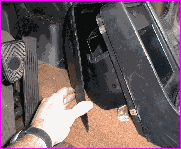
With the panel removed you can see the seat belt retractor and the sound deadening material. The floor was covered with a heavy sprayed on sound deadening material as well. Note the baggie - I used these to hold all of the small parts removed in each area. |
||
|
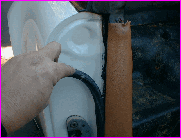
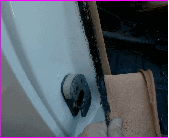
The material on the side posts required the removal of the weather stripping to access the material that was folded and glued into the channel. |
||
|
After the weather stripping is pulled out of the way I was able to pull the material away from the channel. |
||
|
The new carpet kit did not have a separate tunnel cover so I removed the old carpeting and screwed the cover in place. The seat belt anchors had to be removed to pull out the old carpet. |
||
|
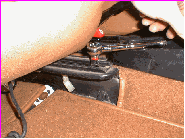
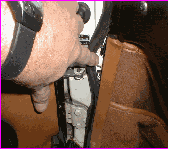
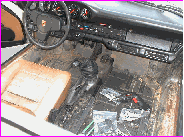
There are four screws on the center console rear cover then two more screws on the bottom that go into the center tunnel. One more screw is located between the shifter and the handbrake lever. |
||
|
To remove the section of carpet that have the map pockets in the footwells, you will have to pull the weather stripping away from the channel and pry the material out of the channel. |
||
|
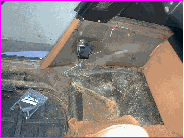
With all of the carpet removed you can check the floors and tunnel area for any rust or other things that might need attention. |
||
|
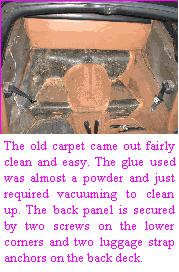
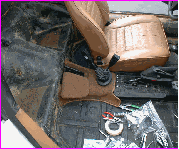
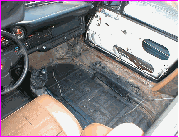
The door panels were removed and the interior was ready to be cleaned up and do a trial fit of the new carpet. |
||
|
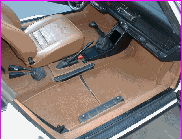
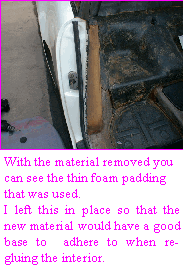
THAT'S MY CAR !!!!! You have to be brave at this point and keep saying to yourself "I WILL NOT forget how to put it back together". Neighbors are no help at this point - they just start laughing. |
||
|
|
||
|
Back |
||
|
Forward |
||
