Things have been pretty quiet with the shark lately... I feel like I've really been getting the upper hand with it(knocks wood). I was away camping most of the week and today, Friday, I decided to get moving on a couple of things that have been bugging me. I had taken the whole week off of work rather than come back after camping, work Friday, then come back the following Monday. Anyway, I picked up the stainless hardware that I wanted to use on the belly pan, and picked up the stuff I would need to fix my stripped rear visor mounts. The driver side rear visor was especially bad; it would fall off at the slightest bump. For the last week it had been sitting in the cargo area, and the headliner panel on the hatch was beginning to sag. Time for action!
First, I did the easy project; the belly pan. The stickers came right off after soaking in lighter fluid(naptha) for about a minute.
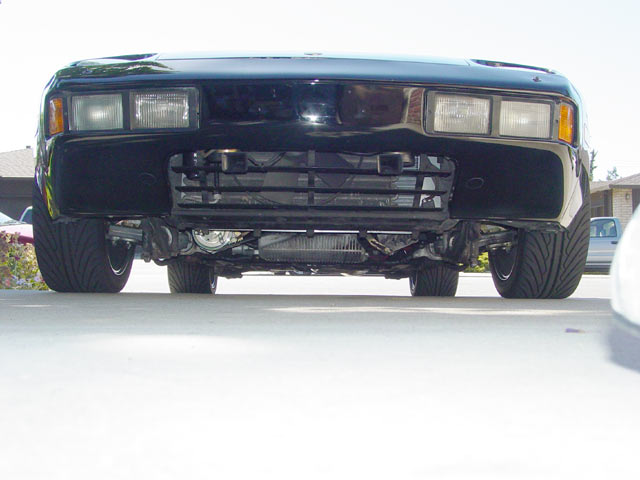
Here is one last look at the vulnerable A/C compressor and alternator; actually any of the belts could get entangled if debris were to get up in there. Marc at Devek also told me that lacking the belly pan, air pressure builds up in this area at speed which can reduce airflow through the radiator. Having recently had reason to worry about the cooling system, this cinched the deal for me.
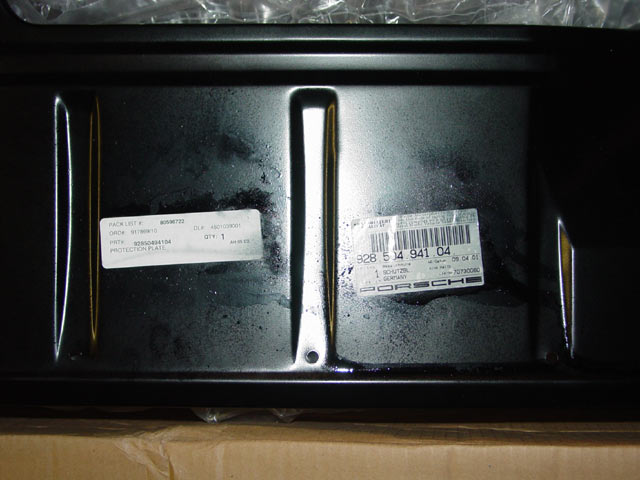
So here is the belly pan. A very unassuming bit of metal; apparently not much to it at all. It mounted up easily with two #12x3/4" stainless self-tapping screws at the ends and five #10x3/4" stainless self-tapping screws along the front edge... all with appropriate stainless flat washers, of course.

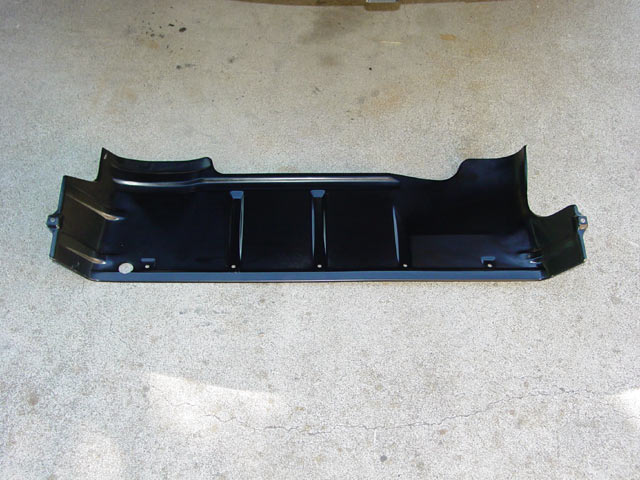
Nope, not much fuss. It installed easily. The radiator drain hole didn't line up very well, but I left it for now. Maybe later I'll widen that hole. It would be a snap if I could borrow an electrician's punch... Anyway, I think I may have just barely noticed a difference in cooling rate at speed; e.g. idle till it gets nice & hot then head off down the freeway & note how fast the temp drops. I think it took about 10% longer to reach normal temp from the same elevated temp before adding the belly pan. I have noticed a very slight improvement in stability at triple-digit speeds. Those are some very worthwhile side benefits If I consider the belly pan's primary purpose to be protection for the belts.

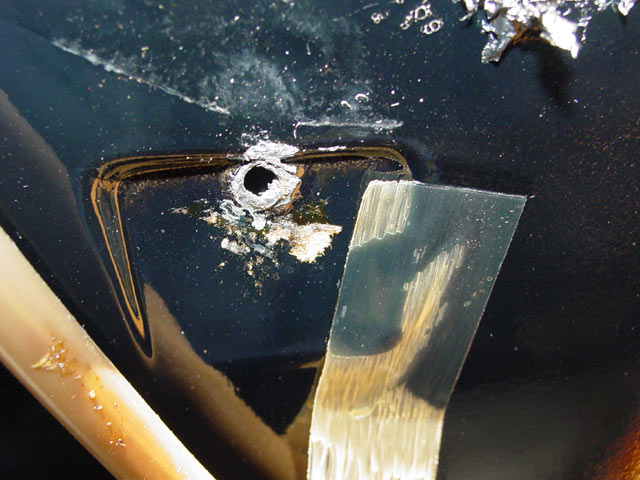
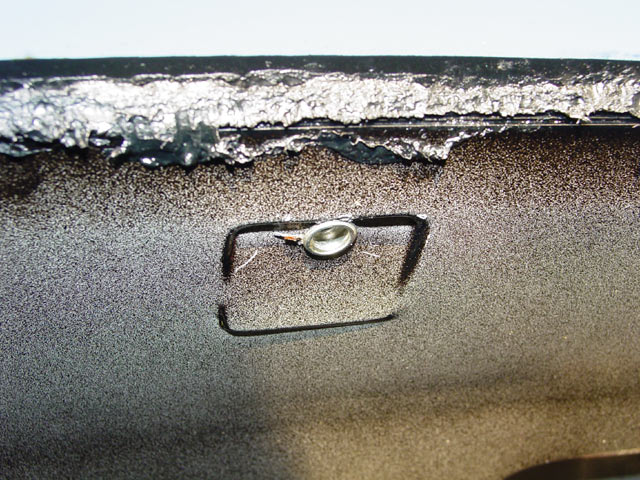
Next up... The rear visors. Space is extremely limited on the backside of the panel where the screws penetrate. I didn't want to simply go to a larger screw size, as I feel it would weaken the plastic of the visor mounts. Welding and re-drilling is not a viable option either, at least not until I re-paint. Here is what one of the stripped screw holes looked like after I carefully flattened the metal back out with a ball-peen hammer:
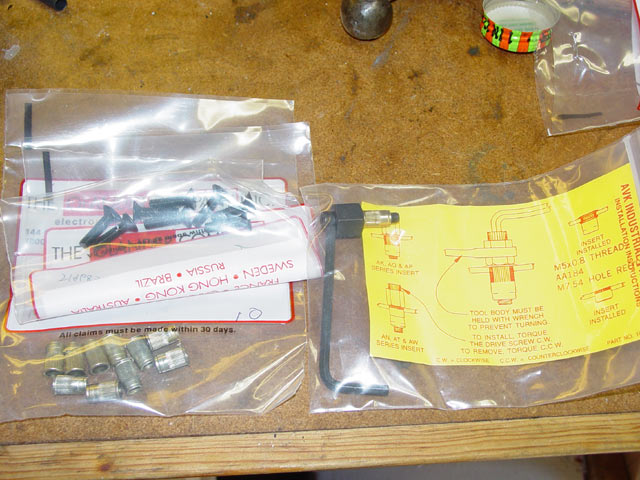
This is the hardware -- 5mm flathead allen screws -- and the nutserts and nutsert installation tool. These are designed to expand into thin material such as sheet metal and provide machine screw threads. I used a ton of these on my Ramcharger over a decade ago, mounting interior panels and they have held up beautifully. The difference is, on the Ramcharger I used standard hardware and on the shark I'm using metric.
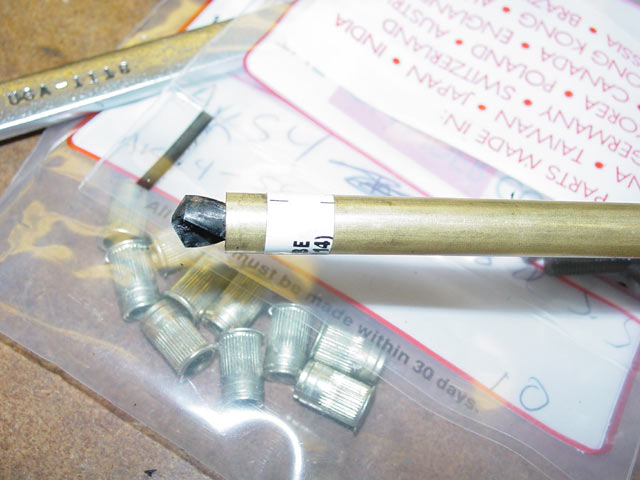
I performed a quick test on an old piece of cracked fender liner. The pic below shows the installation tool and the nutsert inserted in the hole I drilled through the plastic. The tool has a special recess for the head of the nutsert. I filed one edge of the face of the tool down, so that it would fit near the sheet metal contours in the hatch where I was working.

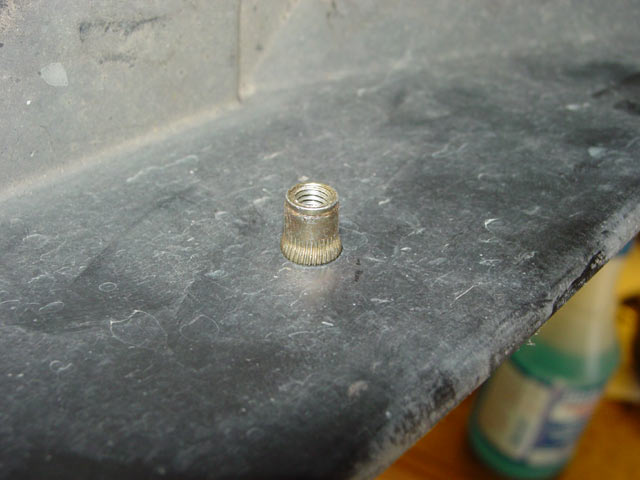
Here is the expanded nutsert on my test piece. As you can see, it expands quite a bit. Just the same, I drilled the holes just barely big enough for the nutsert to slide in with only minor cussing.
I made a drill stop out of some tubing, since the hatch leaves little room for mistakes. The last thing I wanted to do was slip and drill through the outside skin of the hatch!
When the nutsert is installed, most of it goes on the blind side... as you can see from the pic below, it sits very flush on the installation side.
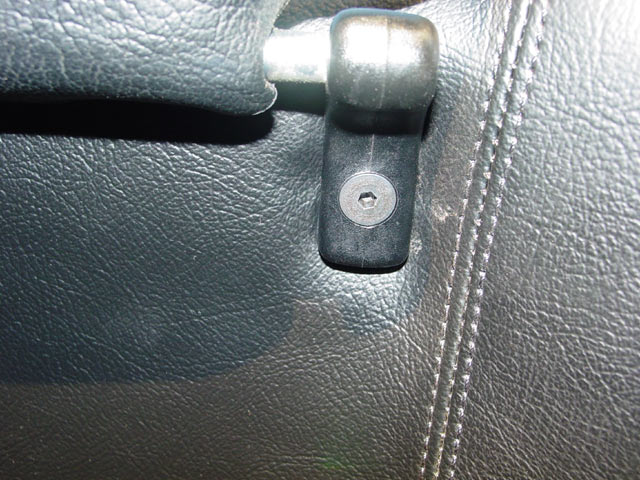
Here is the final installation... looks a bit more modern than the phillips head screws that were there originally, and they aren't going to strip!
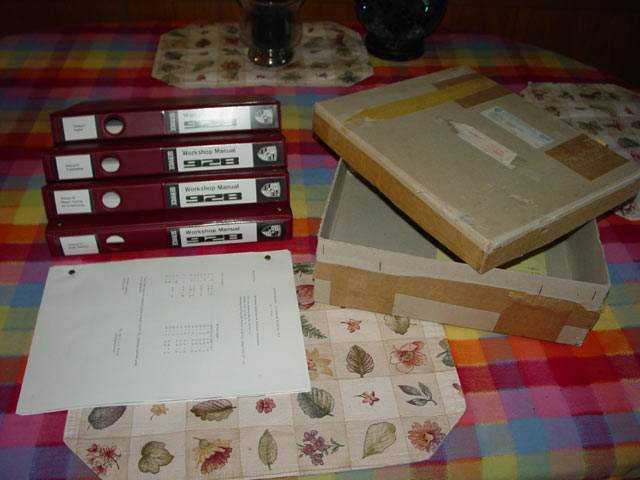
BTW... a little side note here. Some weeks ago I was at a downtown music festival with a car show on a side street. I was showing my shark, and Ron H. was showing his. About halfway through the evening, a guy walks up to me and asks a few questions then goes off on a long diatribe about how he had a 928, he spent $12K+ trying to chase down and eventually replace a cracked block, electrical problems, blah blah blah. I listened politely and ended up having a very interesting conversation with him. About halfway through the conversation he told me that he had a set of workshop manuals and that I could have them.

I politely thanked him and took his contact info. It took several weeks of patience to finally work out a time and place to meet... and sure enough, he gave me a pristine set, with a bundle of updates... in the original box, with the original packing slip. There aren't any wrinkled pages, thumbprints, grime, stains... like new! I still can't believe the luck... That this guy had become fed up with lousy Porsche service, dumped the car yet kept the manuals all these years, and just happened to think of it when he saw me showing my car off.