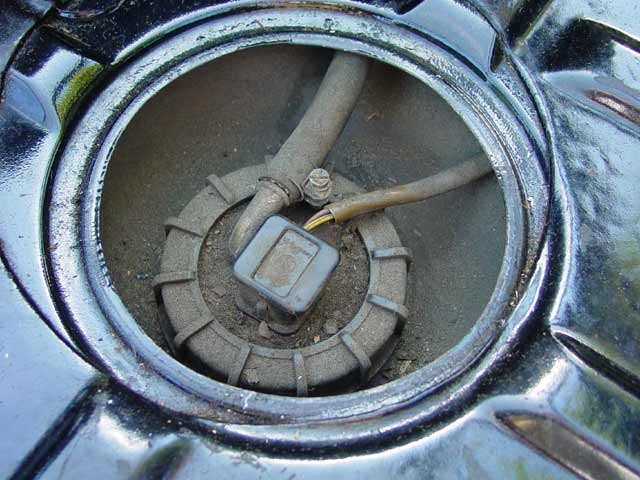
Well, just putzin around this weekend. My gas gauge exhibited the typical weird behavior... It would take a long time to get down to half full, then it would move a bit quicker to about 1/3 then it would plummet quickly, going through the last "1/4" tank very quickly. It's located under the rubber plug pictured below, which resides in the middle of the cargo area that is next to the tire well:

Ugh.... looking pretty bad in there. I used a paint brush and a shop vac to clean the area up... I didn't want any of that crud in the tank. Note: Don't mess with this unless you're sure the fuel level is far below the bung!

I disconnected the hose and the electrical plug, then unscrewed the ring holding it in. The gasket on it was still fine, which I found encouraging.
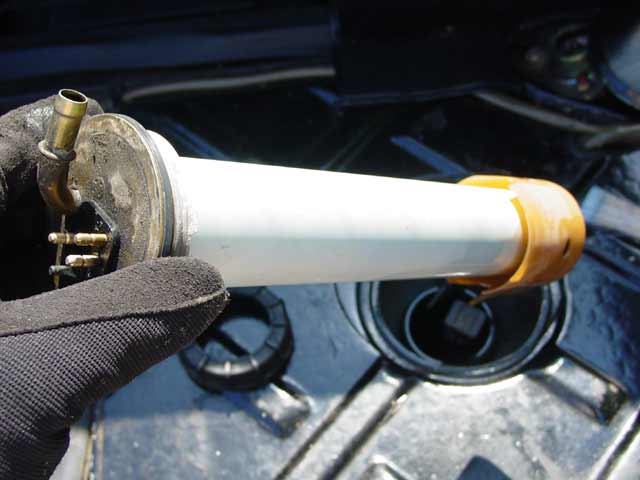
The plastic piece on the bottom seems to be intended to prevent any crud from getting sucked up, but looks as though it will leave a good 1/2" or so of fuel in the tank minimum. The nut is 5.5mm so be sure you have the right wrench.
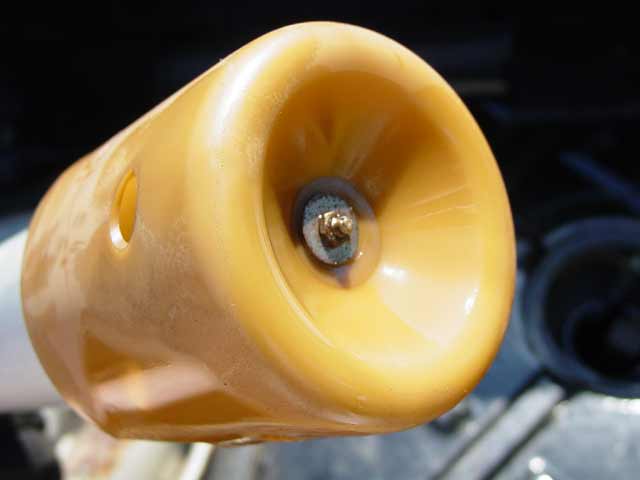
The plastic piece on the bottom was keyed so that it could only be mounted to the sender in one orientation. No big deal, just worth noting for reassembly. One more 5.5mm nut and the black plastic endpiece and the aluminum tube come off. Careful, the innards are delicate!
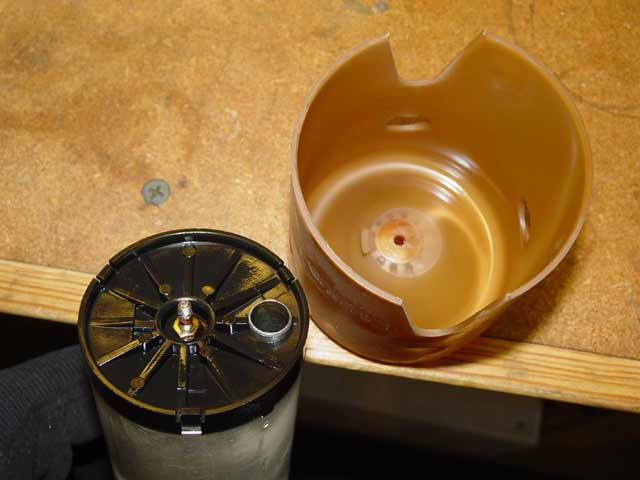
Here are the electrical connections that come through the top flange. The float moves up and down along the two wires, varying resistance. Very unusual in my experience; I'm used to floats on levers that run a wiper past a section of wound wiring.

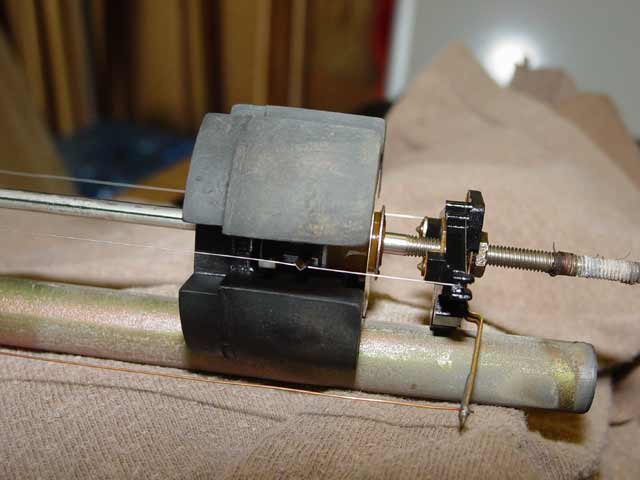
At the very bottom of the unit are these two pointy contacts that are shorted by a metal disc on the float when it reaches the bottom of it's travel; this engages the "low fuel" warning light. I cleaned everything up and put it back together. I filled the tank and checked for leaks. I'll know as I go through this tank what sort of results I get. If my fuel gauge still misbehaves I'll just replace the sender.

My next project was the cruise control. I pulled it out from under the console. All you need is a phillips to take the console side covers off, then a 7mm to unscrew the mounting bolts that hold in the brain. I went top to bottom through the tests listed in the workshop manual. The first two tests were with the battery hooked up... I tested for power and ground, and I had to short some pins on the connector with the ignition on while I had my girlfriend watch to see if the solenoid opened the throttle as expected. Then it was on to a number of checks right at the cruise brain connector: a resistance check of the vac solenoid, testing of the switch on the clutch pedal, the one on the brake, and a check that the stalk switch activated properly in all 3 positions. Additionally the speed sensor was checked by jacking up the rear wheels and rotating them with a continuity tester on the cruise brain connector to see if it pulsed. All tests passed, the resistance measurement of the solenoid was off less than 1%.
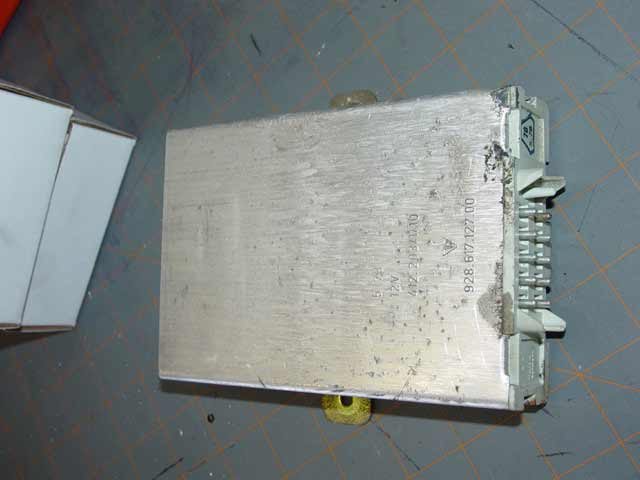
So, with all those tests passing, the Porsche Workshop Manual recommended replacing the brain. I have to say the prospect of paying $200 for a used brain or 5-600 for a new one made me research the issue to find out what I could. I have heard of problematic solder joints on the brain PCB, so of course I had to take a look. The brain is a very unassuming looking little box... maybe $5 for a single chip solution these days, but we're talking 1978 here...
After gently prying back the aluminum casing where it was crimped to the connector that makes up one side of the unit, the PCB pulled right out of the case. To my dismay, it looked to be in perfect, brand-new condition. I was hoping to find a cold or cracked solder joint... an overheated component... anything of that nature. The PCB looked perfect though, the solder joints even looked OK to me, and I used to be in the PCB assembly business. Bah, you can't always tell by looking.
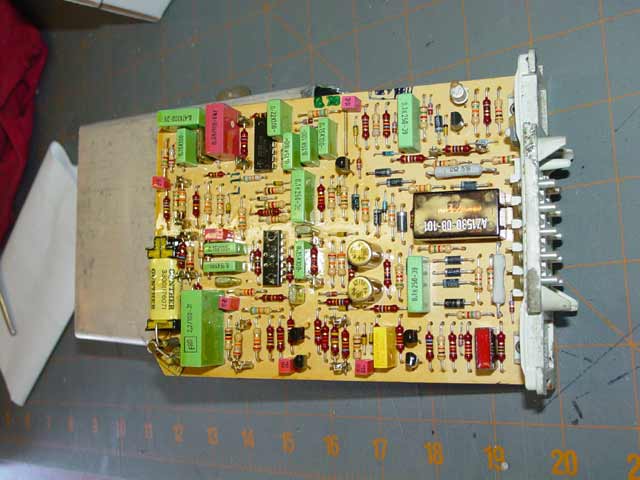
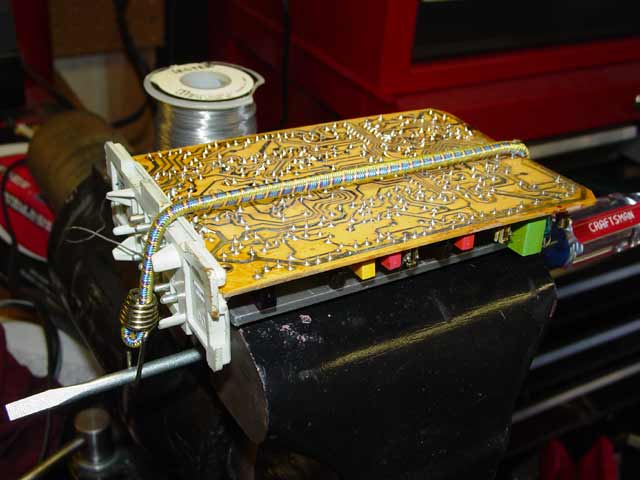
So I cleaned all of the varnish protectant off of the solder side of the PCB with some Berryman's B-12 and resoldered every lead on the board, including the ones on the long leads riveted to the external connector. Careful with the Berryman's, don't get any on the component side of the board; it may dissolve some of the plastic component cases! You'll be fine if you keep it only on the solder side. Here is my pro electronics project vise:
So, hoping for the best, I re-installed the brain and put everything back together. Wonder of wonders, it works now!!! No surging, it kicks you in the butt when you push the stalk to accellerate, and it holds speed like the speedo was locked in place with a nailgun, even on the steep sections of Highway 280. Damn, I love it when a plan comes together.
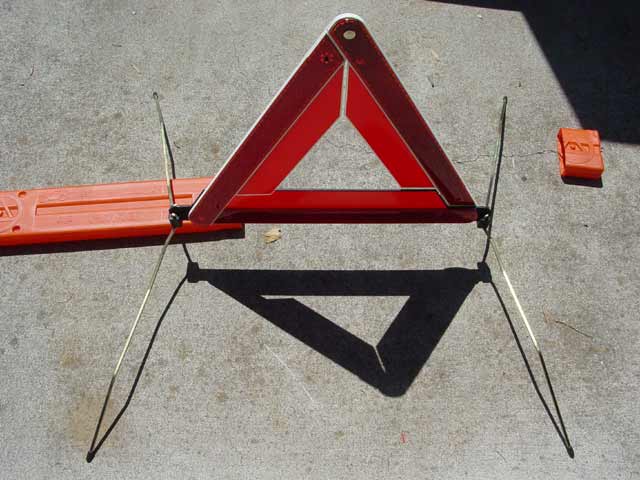
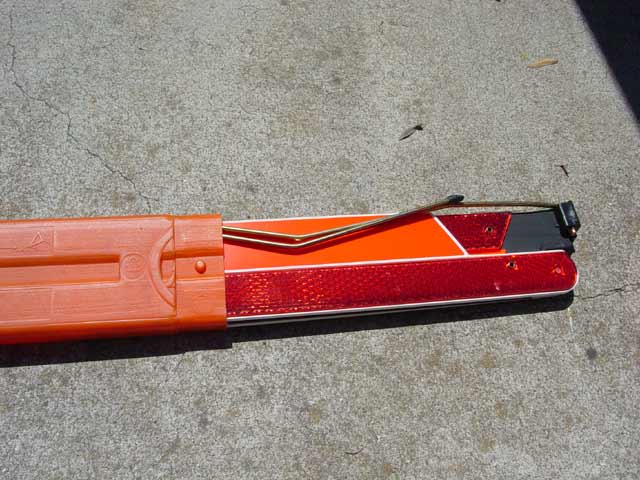
So, I picked up this reflector from Scott M. He had posted on Rennlist that he had this reflector that he didn't have a use for and "Make him an offer". I did, we came to an agreement and now it's mine. My impression from Rennlist is that these are pretty doggone rare in the states, so I'm posting pics for the curious. Later, when I figure out where I'm going to stow it, I'll post a pic of it stowed. Folded up, it's still a sizeable package, perhaps 18" long.

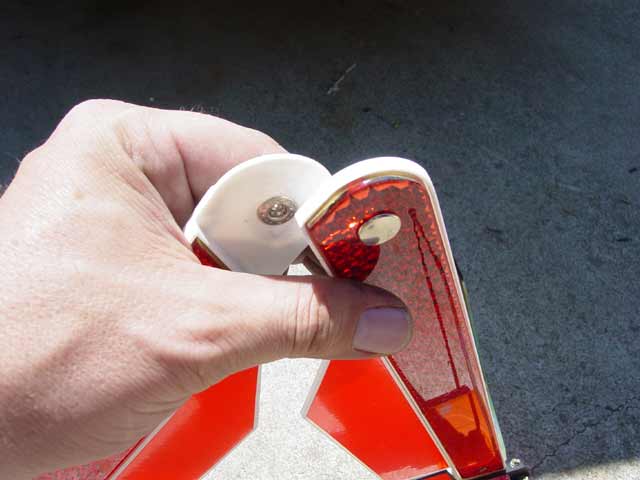
This shows how the legs fold up. When putting the reflector back in the case it's easy to pop one of the black plastic feet off, so be careful!
The metal legs are spring loaded so they swing out to the open position automatically. Then you simply pull the sides of the triangle upwards and snap them together at the apex.
And voila! This thing looks like it was designed to sit alongside the autobahn without falling over. Nice unit!