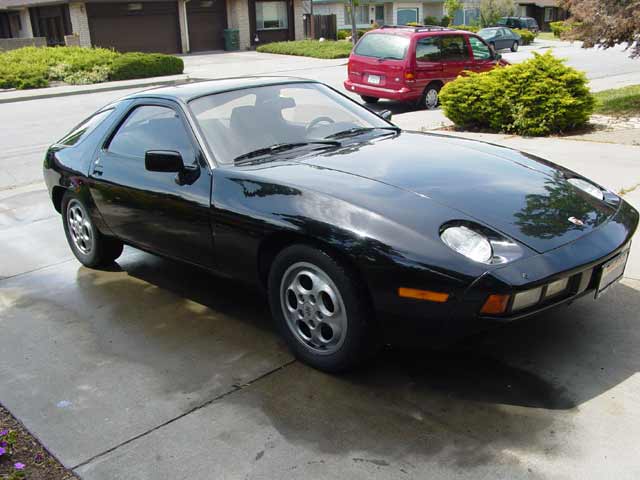
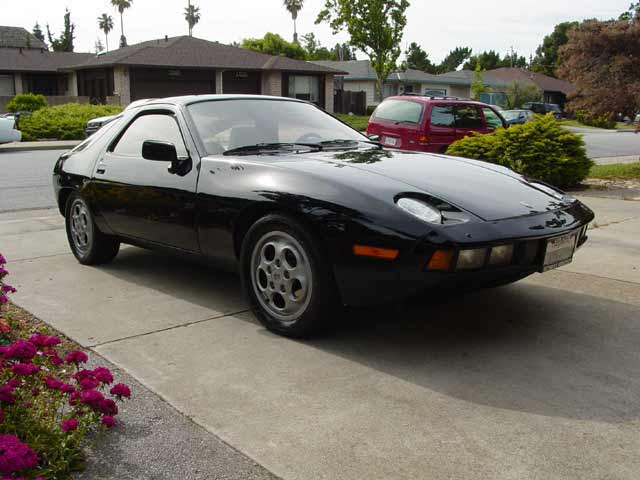
So the day finally came, I was so fed up with the crappy pinstripes on my shark that I decided they had to go... immediately. From a few feet away, they looked more or less OK(though I didn't like the fact that they were there in the first place):
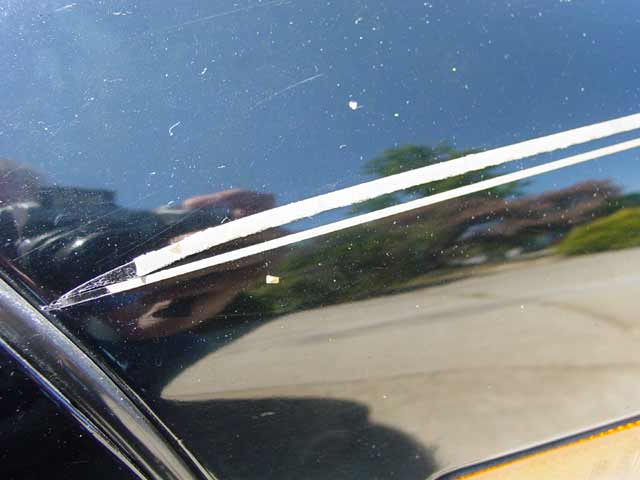
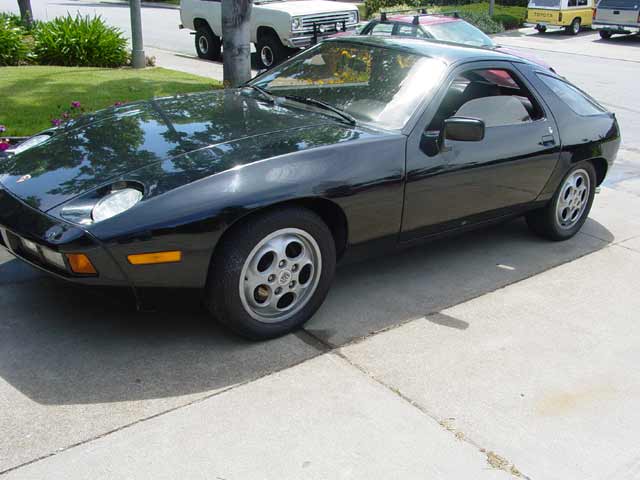
But you didn't have to get very close to see that they were in fact a disaster:
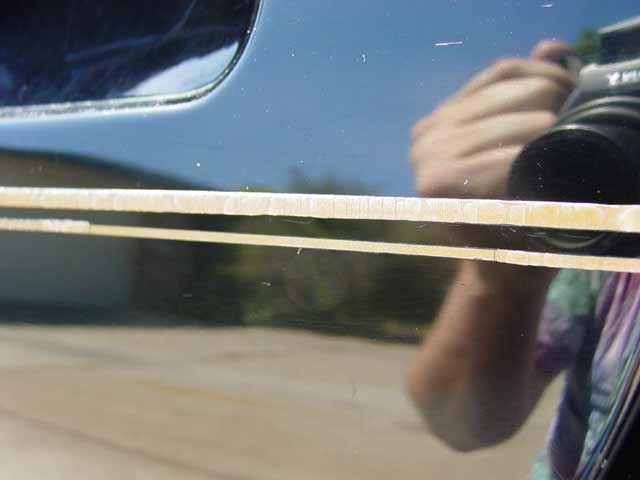
I had balked at doing the job initially... I had been preoccupied with more functional repairs, and I hadn't inspected the stripes very closely. My worst fear was that they had been masked around when the car had been re-sprayed, or that clear coat had been sprayed over the top of the stripes. Neither turned out to be the case, fortunately. I rinsed and wiped the side of the car with a soft cloth to get rid of any surface grit to help prevent scratches, and began the process of removing the stripes. At the time the below picture was taken, I had done some experimenting with heating the stripe with a heat gun and peeling the stripe off.
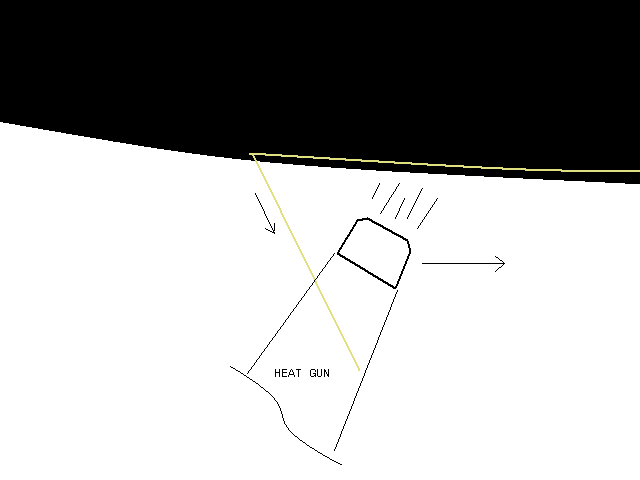
Now, with the particular striping that was used on my car, this turns out to be a very tricky task. Too little heat, and the stripe is brittle, and breaks easily. Too much heat, and the stripe that you are trying to peel off weakens and snaps. The difference between too hot and too cold is very little. What I am about to say may seem obvious to some readers, but for the rest I've included a diagram below. Yes, it would have been easier to take a picture, if I had an extra hand. I didn't have any help this day, so y'all get a diagram.

So, what worked best for me was to heat up the fender along about 3" of the stripe initially. Then, I could peel up the end of the stripe, giving me something to pull on as I worked down the side of the car. I pulled the stripe more or less perpendicular to the surface. Once started, I found that I had to angle the heat gun away from the point where I was peeling the stripe because hot air reaching the portion of the stripe that had just peeled away from the fender melted the plastic stripe and caused it to break. By the time I finished the first fender, I had a pretty good idea how to juggle the variables... of course you will have to experiment to see what works best:
- Heat gun temp setting, #9 on my model heat gun. - Maybe 1000°F
- Heat gun distance from body panel - About 21/2"
- Distance along stripe between heat gun nozzle and point of "Peel" - About 3"
- Speed of heating/peeling along stripe - Maybe 1" per second?
My last farewell to the pinstripes.... I won't miss them.
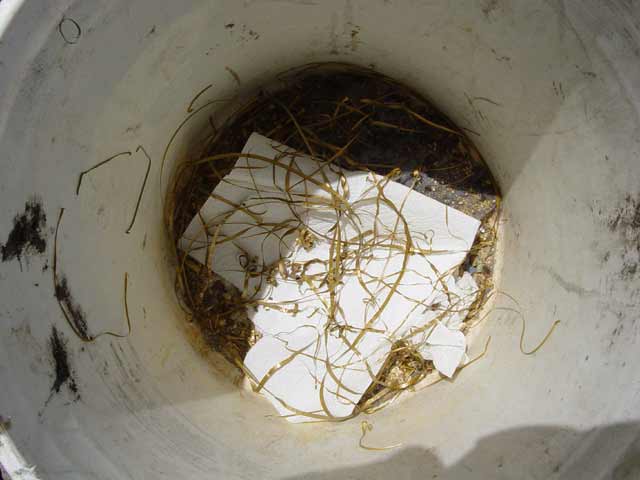
So, removing the stripe left me with these relatively thick strips of adhesive stuck to the paint:
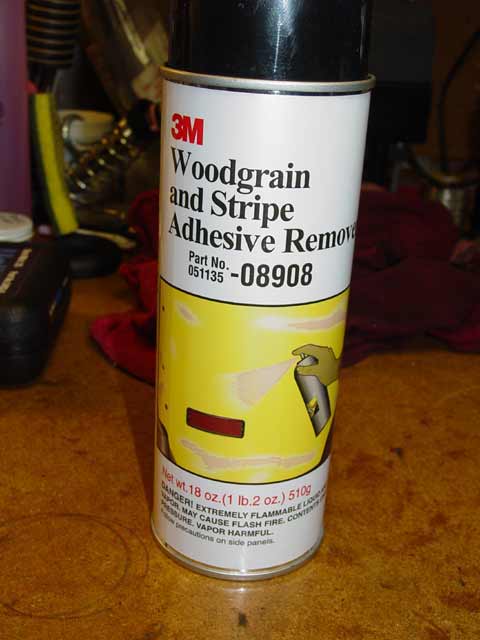
So, the next series of steps were relatively messy, and I kept the camera well clear. I want to re-iterate what I said above; all grit had been cleaned off of the paint before starting. This is very important, or you will scratch the paint. Also, you will want to make sure that the cleaner that you use will not damage the paint. My car has been re-sprayed at least once in its life so this was a complete unknown. I felt that it would be pretty safe when I realized that the adhesive remover was alcohol based, but I wanted to be sure. I tested by spraying some of the adhesive remover onto a small brush then applying it inside the gas cap where it wouldn't be visible and letting it stay on there for a good 10 minutes. If anything the paint was shinier after that, so I felt pretty confident.
So, with all of the caveats and warnings out of the way, here's how I removed the adhesive... first I sprayed about half of a panel's worth of adhesive with a thick layer of this stuff:
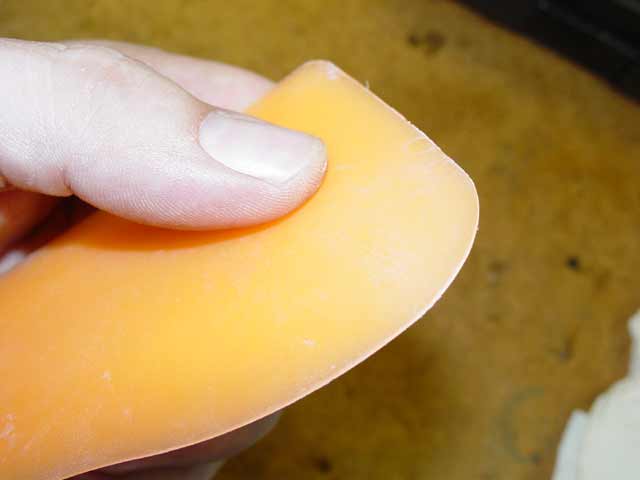
After letting it sit for about 5 minutes as recommended, I scraped it off with this sharp plastic scraper... it's sold in kitchenware departments for scraping teflon pans and it took the adhesive off in one pass:
After that I hosed off the nasty looking overspray. There's a bit of it visible at 10:00 on the driver side tire, but basically after the above two steps your car will look like it has a 6" wide stripe of christmas flocking sprayed on with the center 11/2" gouged out.
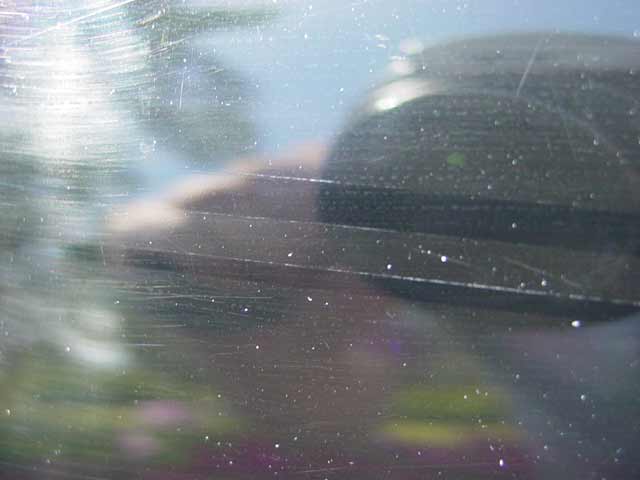
In the following extreme close-up taken right after the cleaning, the difference is visible but easy to miss if you're not looking for it.
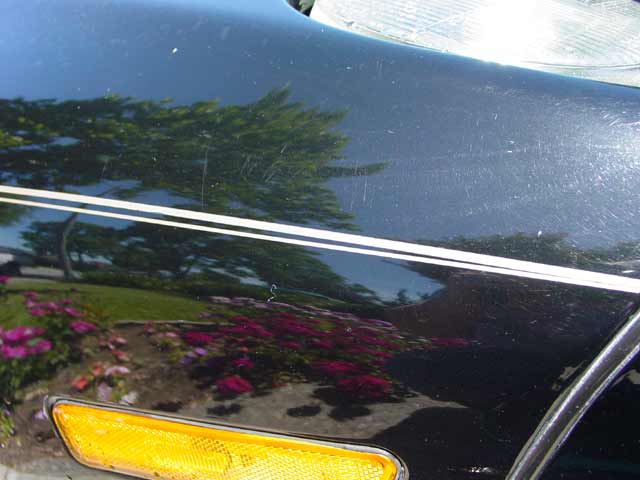
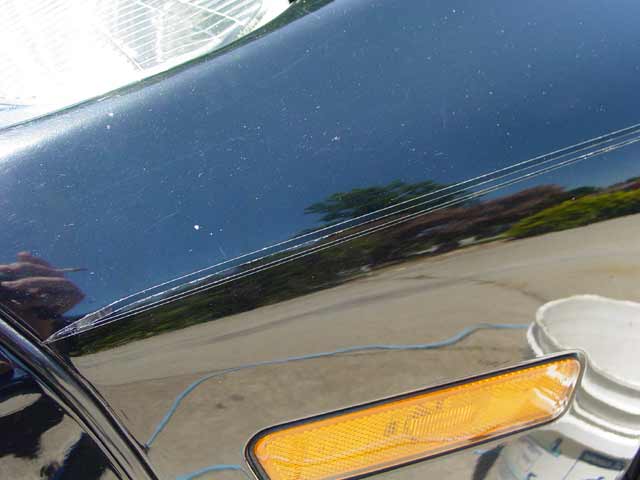
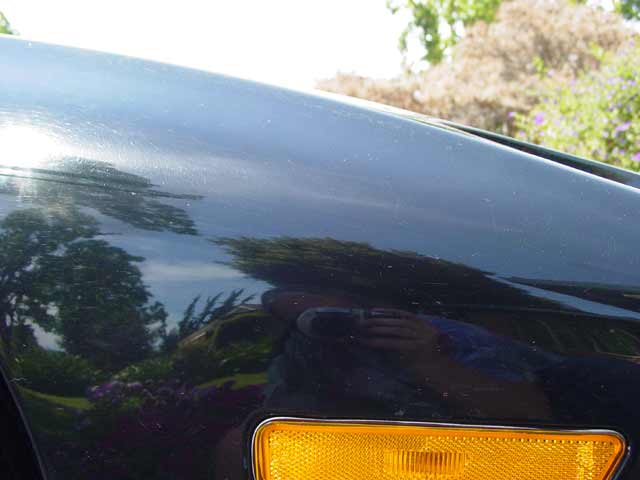
After stripping the rest of the wax from where it had built up alongside the stripe it became very easy to lose track of where the stripe used to be, as evidenced from the next pic. You can gauge the scale by looking at the size of the marker light in the pic.
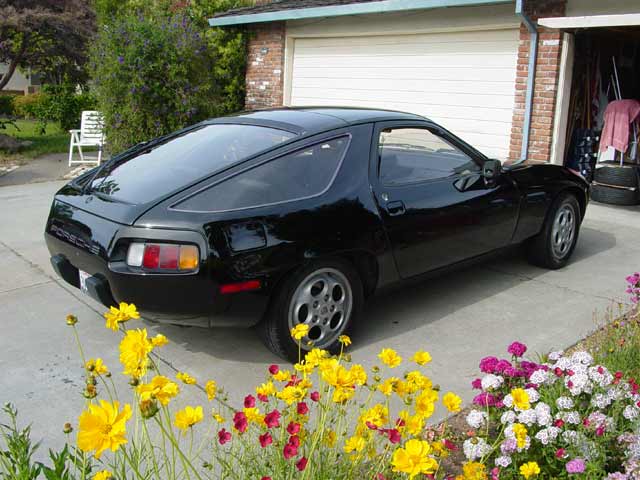
After a wash & wax, I can barely tell where the strip was. If I get my nose right down against it I can tell it used to be there, but it's very unlikely anyone will ever notice it.
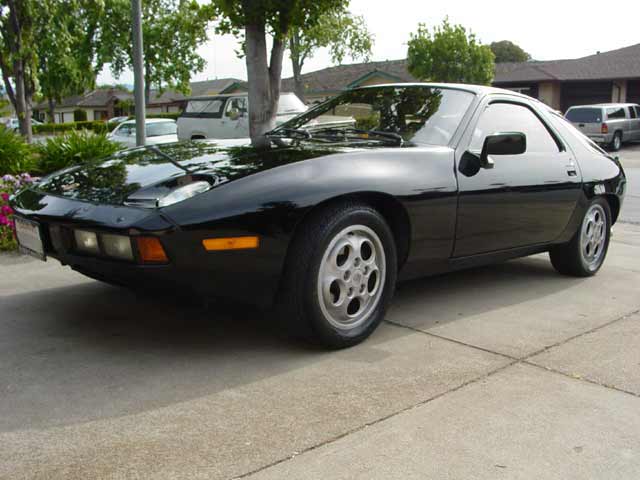
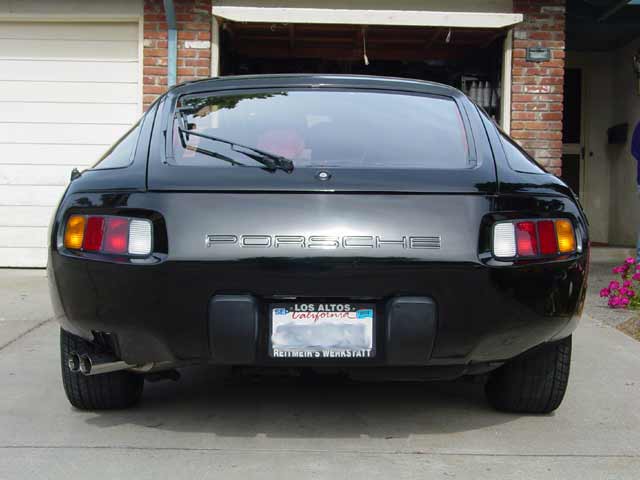
So, I did mention a wash & wax... Here are what must pass for "Beauty shots" for the moment... come back in a couple of weeks and you'll see what I have up my sleeve, the reason why I haven't bothered to take pics of the car in a nicer setting yet...

Oh, and by the way, I've been wondering how the heck to ask my neighbor about the following.... hmmmm...
Back soon... coming up, Leatherique treatment...