One of the greatest shortcomings of this garage, aside from space, was the fact that there were no power outlets and the lighting was horrible.
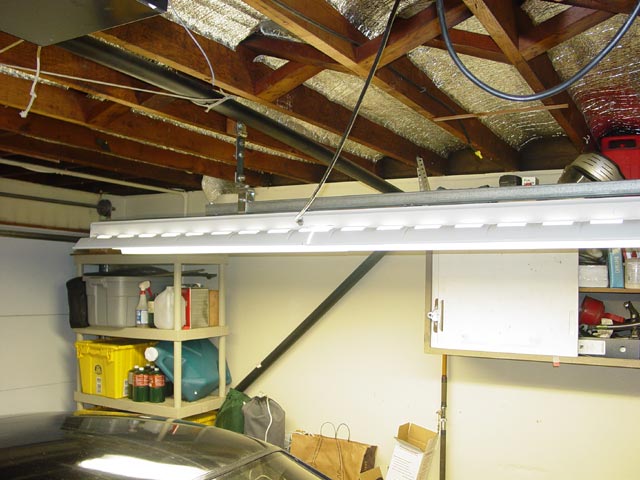
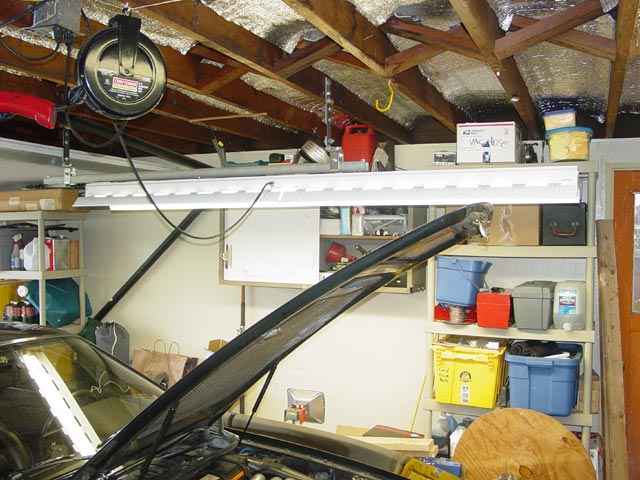
One of the first things I did was set up this 8' flourescent, wired to the incandescant socket for the original garage light. With the car nose-in to the garage, this throws a lot of light under the hood.
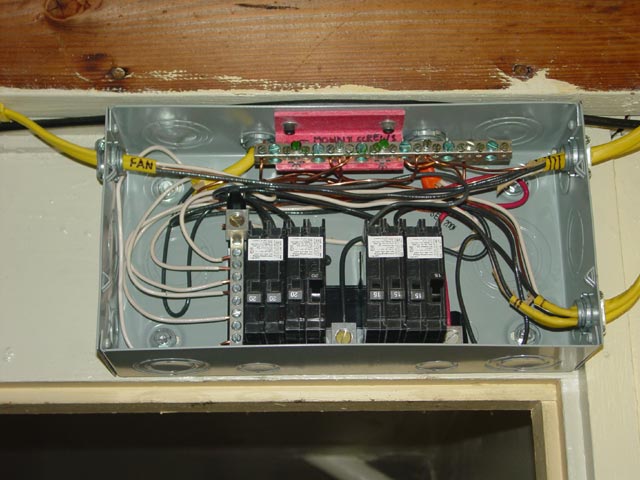
One of the goals of the Utility Room project was to take the 220V 30A outlet in the utility room and convert it to a feed for this load panel. The 220V outlet was useless since I have a gas dryer. The orange up above the rightmost breaker is the sheath on the 10/4 Romex. That feeds the main power busses for the breakers and connects to the neutral and ground bars. A grounding bar is not required in residential applications, but I added it because it is so much easier to work with than a grounding screw on the panel. There are 3 dedicated 15A circuits for the exhaust fan, the washer/dryer plus the outlet in the kitchen that runs the toaster, microwave and coffeemaker, and the added lights and garage door opener. The 20A circuits are for the outlets above the bench and the air compressor, which has its own dedicated circuit.
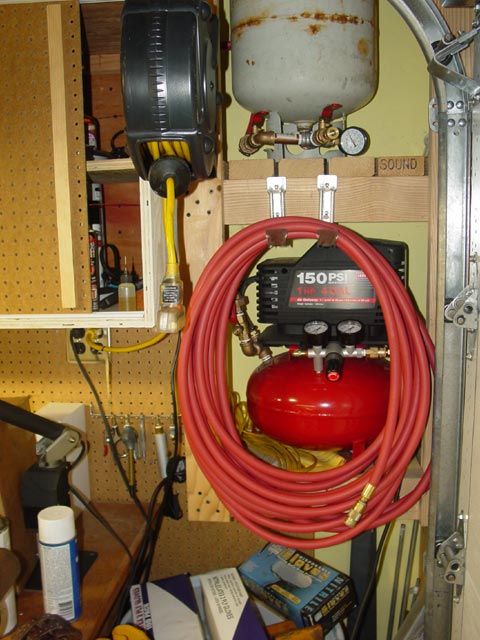
I set up the air compressor with a propane tank plumbed as an auxiliary storage tank which can be switched out of the air circuit if I want the small red tank to pump up quickly or if I want to disconnect the propane tank and carry it to a different location. As shown the air hose is connected to the OE regulator on the compressor, but it can be quickly connected directly to the propane tank to maximize the effectiveness of air tools. Both the air hose and the 12/3 cord reel will reach all the way down the driveway to the sidewalk. This setup would never keep up with air tools in a constant-use shop environment but it was entirely adequate for my Clutch-Torque Tube-Transmission project and all of the smaller jobs I've used it on. There were a few times that I had to wait for pressure to build but once the compressor kicked off I had more than enough air to run even my 1/2" gun at full power long enough to get the rear calipers off. It ran my compact 3/8" gun well enough to burn through everything I used it on with no issues. I think I had to wait for the compressor to pump up once per CV joint and a couple times on the flywheel.
The flourescent lights on either side of the car each have their own switches so I can have only one on if that's all I need. Since I was building from scratch I threw in a couple of outlets. This same circuit runs the garage door opener, eliminating the extension cord that ran to the back wall of the garage.
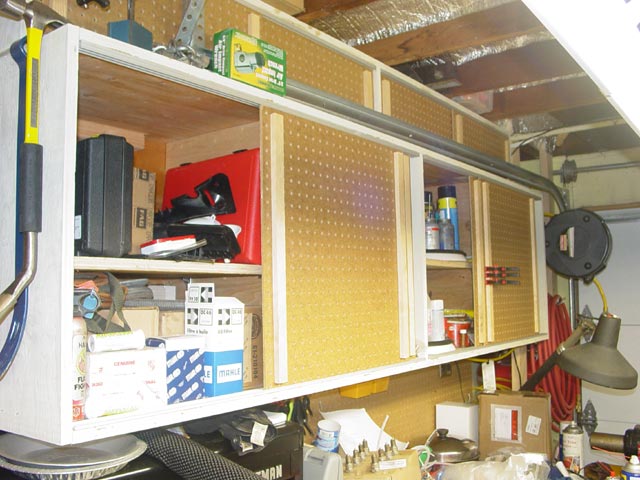
The cabinet over the bench was a bit of a challenge to build. I wanted it to be deep enough to hold these large lazy susans, but I had a problem with the garage door track limiting the working space. I ended up making two cabinets, the small one screwed to the ceiling joists and the wall studs, the larger one screwed to reinforced cleats in the small one and to wall studs at the rear. With the bench out of the way, I as able to hang on the bottom shelf and it didn't move.
I've installed my sliding flourescent light setup. This is one side, both sides are the same. Here, it's in the rear position, which throws a lot of light into the rear wheelwells and hatch area.
It clears the garage door nicely.
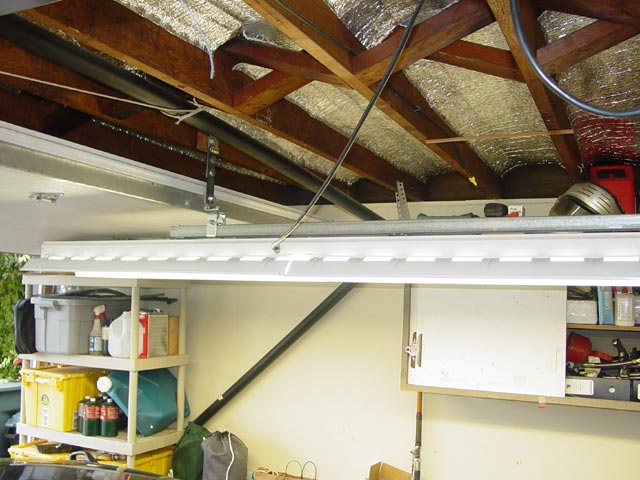
When moved forward, it throws a lot of light under the hood. With both lights pulled forward and the third flourescent on, I can see so well under the hood that I don't need a drop light.
To-Do: come up with a latch mechanism. This time I mounted the lights on hinges because of the low rafters. When finished, I should be able to swing them up against the rafters so I don't have to duck when I'm under them. I couldn't have mounted them more than an inch or so higher without the garage door coming uncomfortably close to them as it moves.
Stay tuned for updates...
