Next up, overhead lights and shelves. I knew that I wanted two 8' HO fluorescent strips, but in this particular garage there was a bit of a problem. First of all, some idiot had put sheetrock up over more than half of the garage ceiling, so there is no room for storage except down by the door. I wanted the lights to extend as far toward the door as possible, yet illuminate the area at the front of the car as well. One big problem is that the only storage access is just above where the lights would be hanging, plus that area ended up being about the only place where I could hang bicycles.
I came up with the bright idea of making the lights movable so I could have my cake and eat it too. Since the shelves would be right above the shark, I wanted to make them as strong and safe as possible, so that an earthquake wouldn't rain boxes of parts down on my car. I ended up using UniStrut framing channel, available at the local contractor's supply.
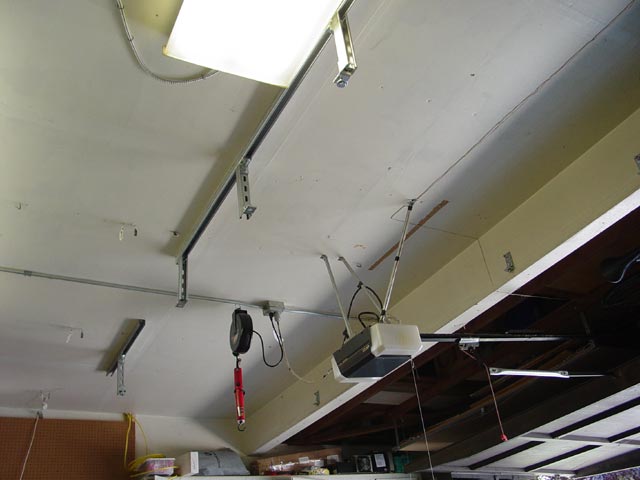
Step one of the project, after sketching up the design, planning the project, making up the material list and getting all the hardware, was to run a string line across the garage where I wanted the end of the shelf to be so I could mark mounting locations for the top stringer.
Then I bolted the stringers in place with 1/4" lag bolts into the ceiling joists. I'd have preferred to run one uninterrupted stringer, but didn't want to move the electrical conduit that was in the way. I ended up having to split it as shown to pick up at least two joists with each stringer section. I then drilled through the perforations in the channel on either side of each stud, and cut a short section of channel to lay across the top of each stud. These clamp through the drywall to the stringer below, effectively clamping the stringer in such a way that it can't come down unless 6 rafters all snap at the same time. This stuff has a beam load rating of over 1,100 pounds over a 3' span... plenty strong enough.
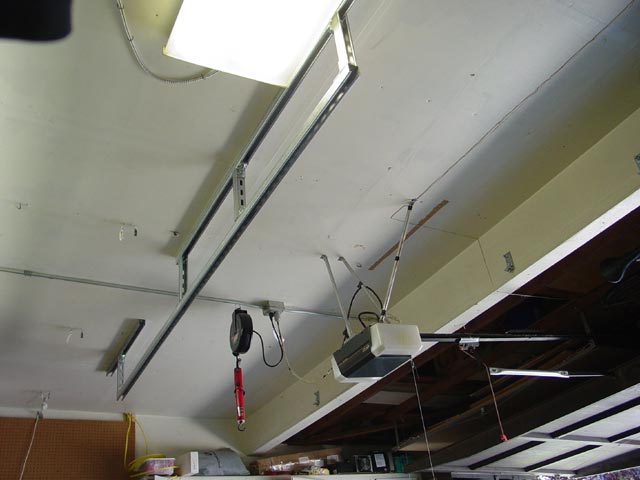
Next I mounted some angle shapes to the big beam across the garage for the runners that would make up the long edges of my shelves. It's a 4x12 glue-lam with a layer of sheetrock over it.
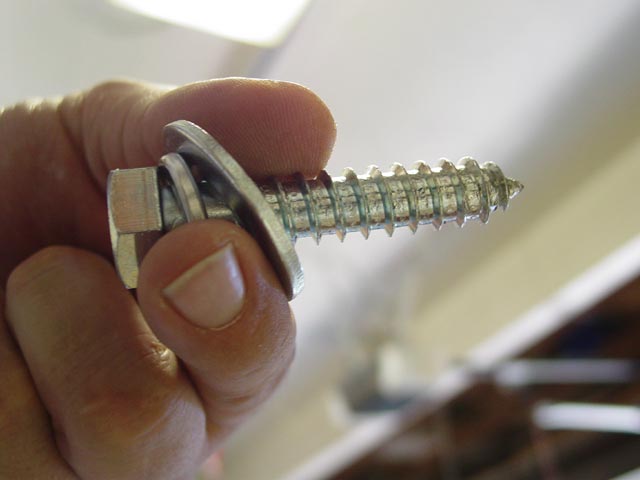
I used 1/2" lag bolts like the one below to mount the angle shapes to the beam, and additionally I drilled holes all the way through the beam for 1/2" allthread for the upper hole -- each angle shape has 2 holes on the vertical section -- and torqued them down with some big 1/4" plate washers on the back side. Again, these fittings will not come out unless the whole garage comes down.
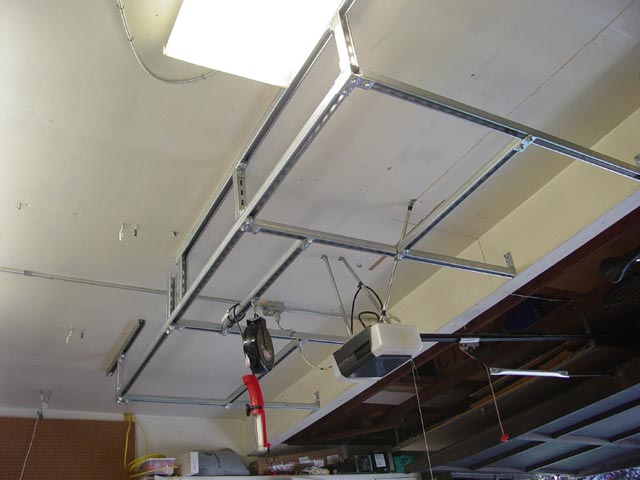
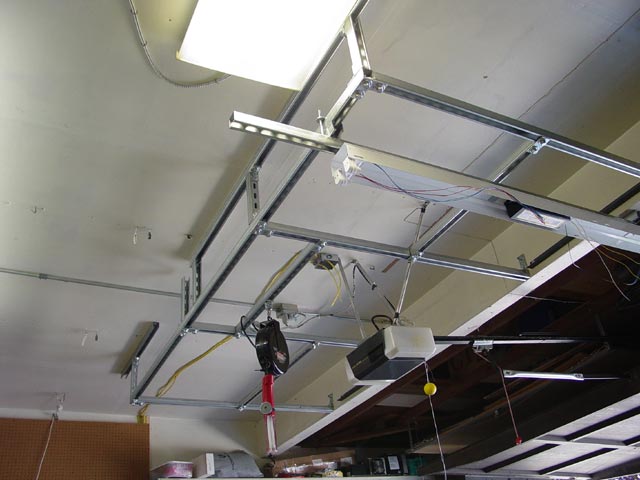
I then bolted all of the risers to the stringer...
And mounted the crossbar to them. This defines where the end of the shelf will be.
Next I installed the runners and some cross braces. While I was on the ladder, I went ahead and moved my shop light onto one of the cross braces.
Now that I had the basic structure in place, I went ahead and wired the junction box for the lights.

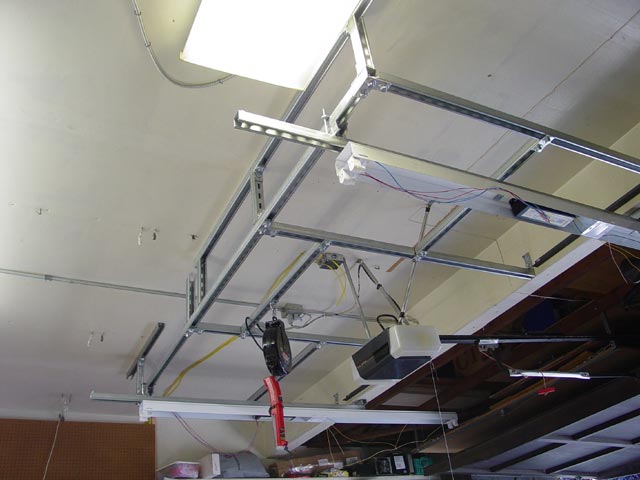
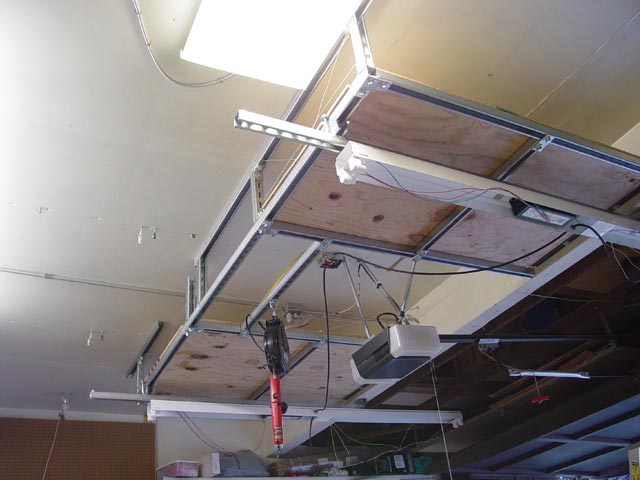
Next, I mounted some angle iron to the wood beam to help support the ends of the shelves. Also I mounted small sections of channel to the crossbar and the bottom of the beam...
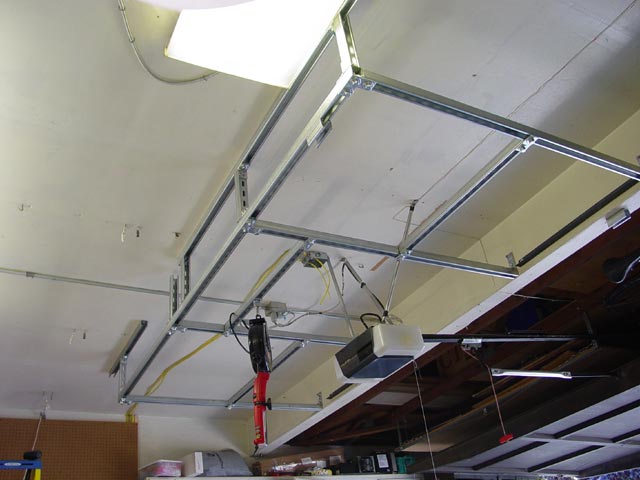
... which I then mounted another piece of channel to. The u-bolt on the near mounting point just clears the wheels on the "Trolley hangers".

These "Trolley Hangers" will run inside the channel and allow the light to roll freely along the channel.
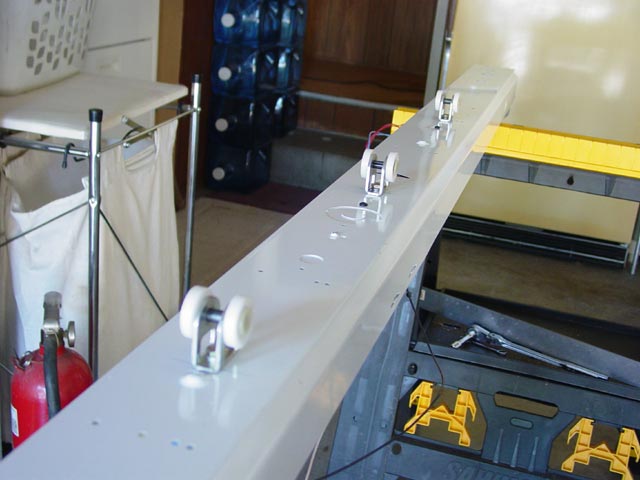
Here is how the trolley wheels mount inside the light fixture.

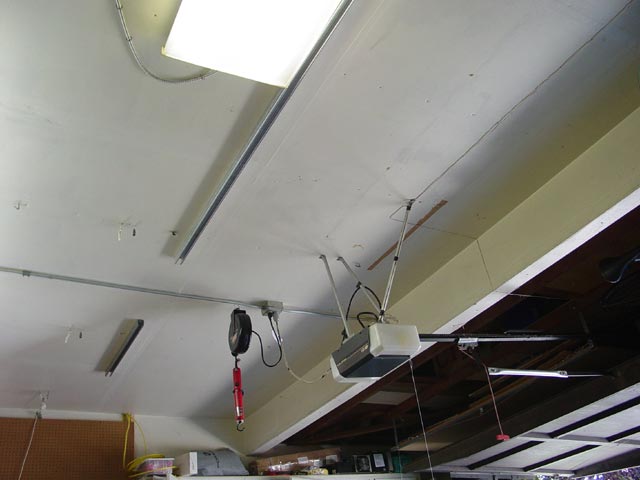
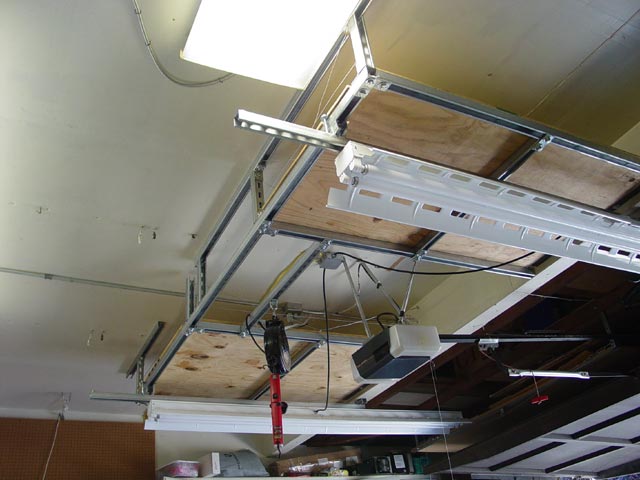
In this pic, I have the first light mounted. I just lined up the wheels and rolled it into place. I put a 1/2" bolt in the end of the channel to keep the trolley from running past the end of the channel.
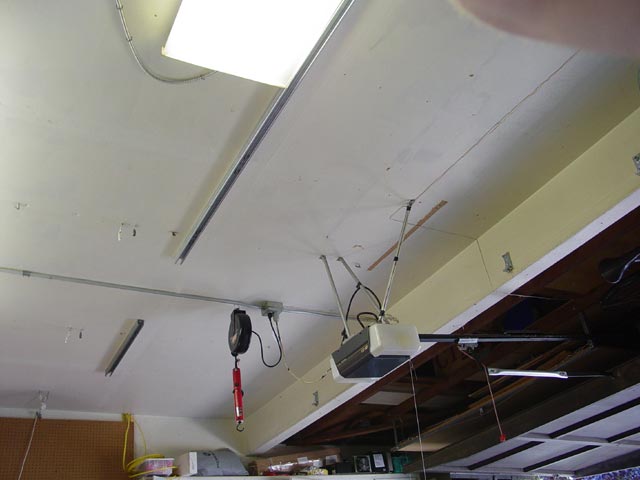
Second light mounted same way as the first.
Next I wired the lights to the junction box with drop cable, making sure there was enough slack to allow the lights to run over their whole range of travel without binding. Then I trimmed the plywood shelves to fit and mounted them using 1/4" hardware and fender washers.
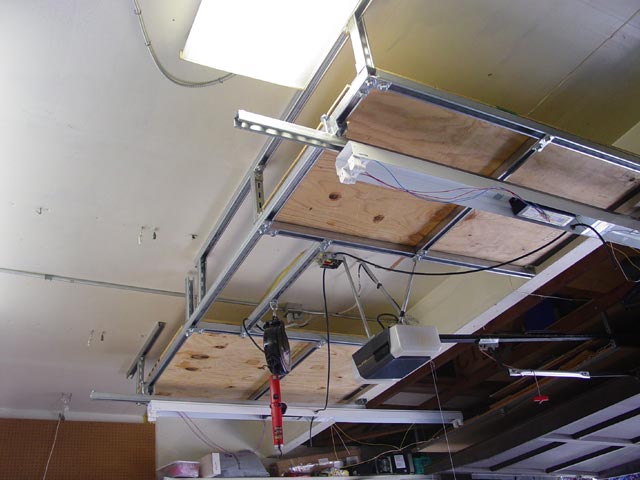
Then I ran some wire around the inside edges of the shelves, and the front side as well to help keep stuff from falling off of the shelves onto the car.
Then I assembled the lights, mounting up the reflectors and installing the bulbs.
It's hard to tell because of the way that the camera compensates, but those suckers are BRIGHT.
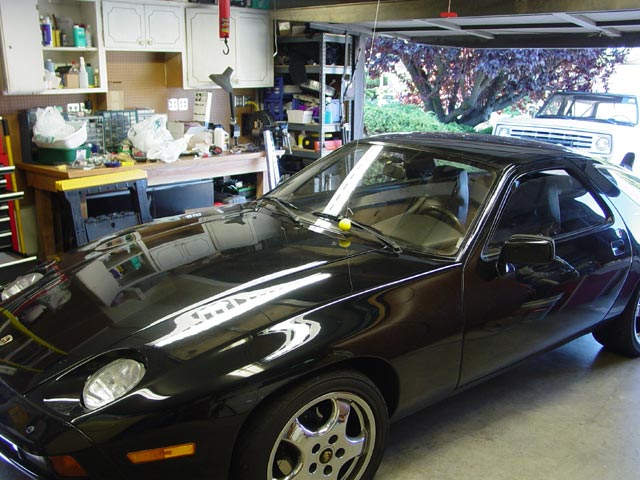
 In this position, with my car pulled nose in to the garage, there is plenty of light for working around the rear of the car, in the hatch area and the wheelwells.
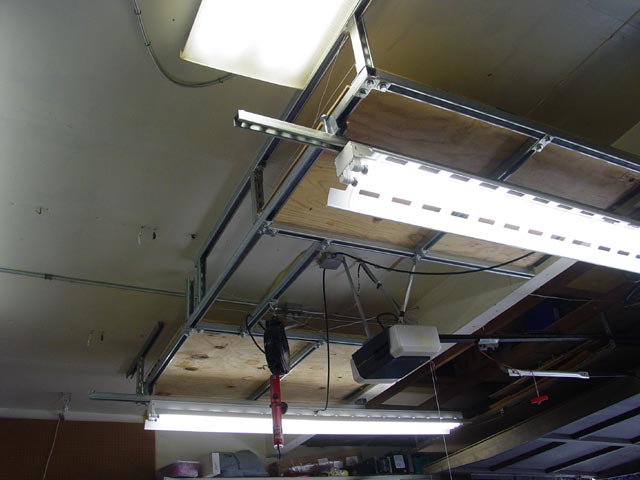
Moved to the front position, again with the car nose-in, and in combination with the 8' fluorescent that runs across the front wall of the garage, there is enough light that I can see almost everything under the hood without additional light. I can see the throttle body, the valley area, everything. I can see I have some cleaning to do.


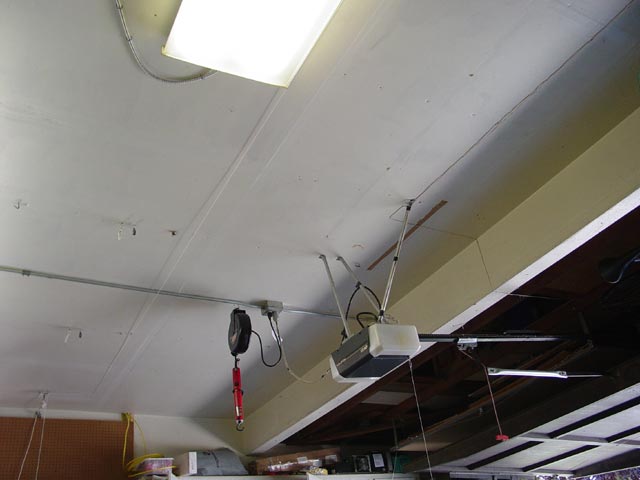
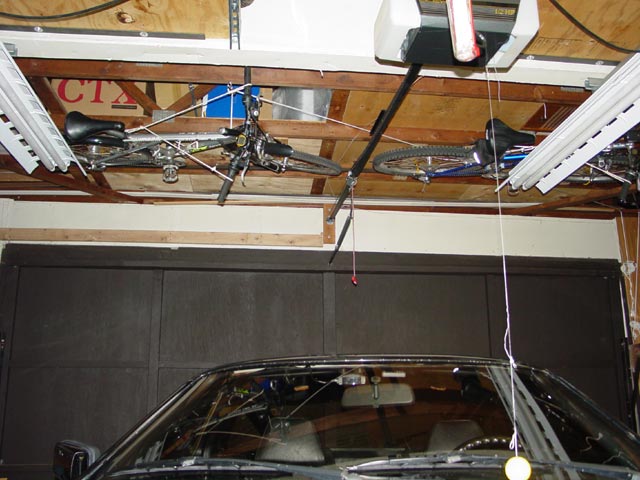
This pic shows some of the challenges that I had to deal with. Just above the silver bike's handlebars is the access for the storage area in the rafters. I couldn't permanently mount the lights where they would block access to storage. And, I had to kind of "thread the needle" on both sides, getting the lights to slide in close to the bikes with an inch or two clearance between the lights and seats, wheels, etc. It would have been somewhat easier if I had another spot for the bikes, but I still would have needed to find a way to move the light aside to get to the storage.
As you can see from this pic, the daylight outside isn't a whole lot brighter than the garage.
Having a well-lit place to work has really helped my productivity on projects. I was happy to be able to get several boxes of rarely-accessed stuff up off the floor too.
Animation of project construction showing light range of motion(2MB) .
)