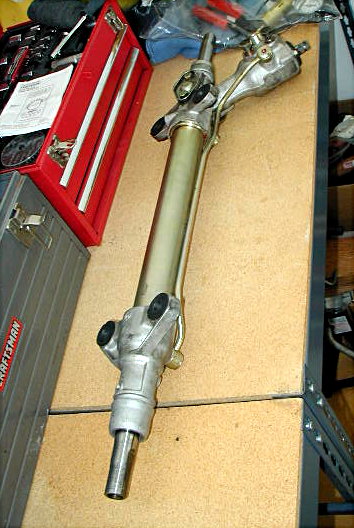
Steering Rack
A common problem with 928's is a leaking steering rack. Once the leak
starts it only gets worse. The car in this procedure began with a slight
drip and within two weeks was consuming a quart of fluid every fifty miles.
So give the leak immediate attention! Note also that the
power steering system uses Automatic Transmission Fluid, such as Dexron III.
There are two options - replacing the entire rack (about $400 for a
rebuilt unit), or rebuilding the rack with new rings and seals.
More information can be found in the
email keepers.
The Porsche workshop manuals include the procedure for the
steering rack on pg. 48-5.
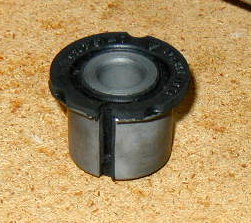
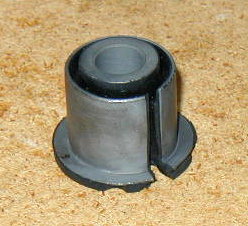
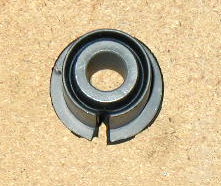
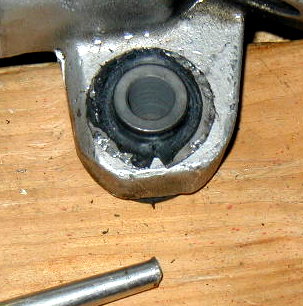
This is an absolutely ideal time to replace the
motor mounts.
If the steering rack needs service, the motor mounts probably do too!
Items needed:
- steering rack or rebuild kit
- 10, 13, 17, 19mm sockets and wrenches
- fluid catch pan
- pipe wrench
Procedure:
- Disconnect the battery ground strap (in rear of hatch).
- Raise the front end as high as possible.
- Remove the front wheels.
- Remove the belly pans if you have them.
- Remove the 10mm bolt from the wiring harness and position harness away.

- Loosen the 19mm bolts connecting the front sway-bar to the drop links.
- Remove the 17mm sway-bar mounts and allow bar to swing freely.
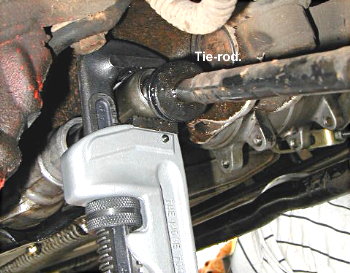
- Use a knife and cut the tie-rod boots from the rack (look out - they are
probably full of fluid).
- Use a pipe wrench and unscrew the tie-rods from the rack.
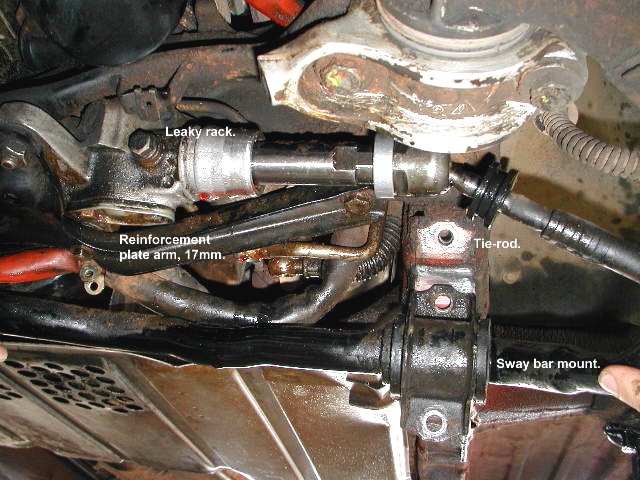
- Loosen the four 13mm nuts holding the steering rack reinforcement
plate to the cross member.
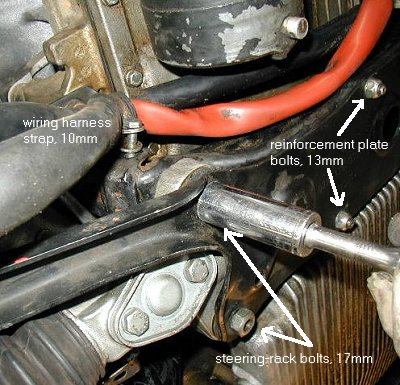
- Remove the 17mm bolt from the left of the reinforcement plate.
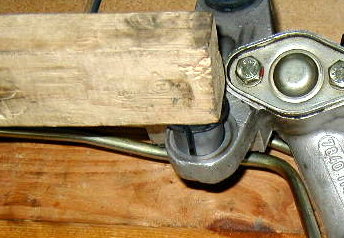
- Remove the four 17mm steering rack nuts. The bolts can be counterheld by wedging an
Allen wrench between the bolt head and the cross member.
- Remove the 13mm nuts and lower the rack plate.
- Remove the 13mm nut/bolt in the steering universal joint.

- Remove the power steering fluid lines from the rack and catch the fluid.
- Pull steering rack down and maneuver away.
- Wipe up the big mess.... including yourself!
- Maneuver the steering rack into place and fit the reinforcement plate, finger-tightening
the four 13mm nuts.
- Tighten the four 17mm steering-rack bolts to 33 ftlb (important due to the bushings!).
- Tighten the 17mm bolt on the left of the reinforcement plate.
- Tighten the 13mm reinforcement plate bolts.
- Fit the new boots and screw the tie-rods into the rack and tighten with the pipewrench.
- Remove the rubber plug/screw at the front of the rack and locate the dimple - this
centers the rack. Depending on the expertise of the previous alignment technician (good luck)
the wheels will be straight-dead-ahead. Center the steering wheel and reconnect the
universal joint. OR, match it up as best you can (and hope for a better alignment next time).
- Reconnect the power steering fluid lines.
- Position the wiring harness and tighten the strap (10mm).
- Position the sway bar on the mounts (this is a good time to grease the bushings) and
tighten the 17mm bolts.
- Tighten the 19mm sway bar drop links.
- Replace the wheels and tighten the lug nuts to 96 ftlb.
- Lower the car to a level surface.
- Reconnect the battery ground strap.
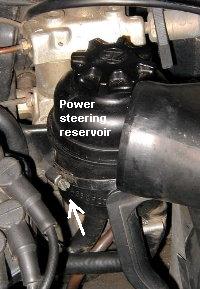
- Fill the power steering reservoir with automatic transmission fluid (Dexron III is fine).
- Start the engine.
- Turn the steering wheel slowly from side to side. Air will bubble to the top of
the reservoir - add more ATF as necessary.
- Check for leaks.
- Periodically check the power steering fluid level over the next few drives.
November 20, 2001