DIY: Momo shift knob w/o dust boot
This DIY documents the installation of a Momo shift knob in a 964 (1990 C2).
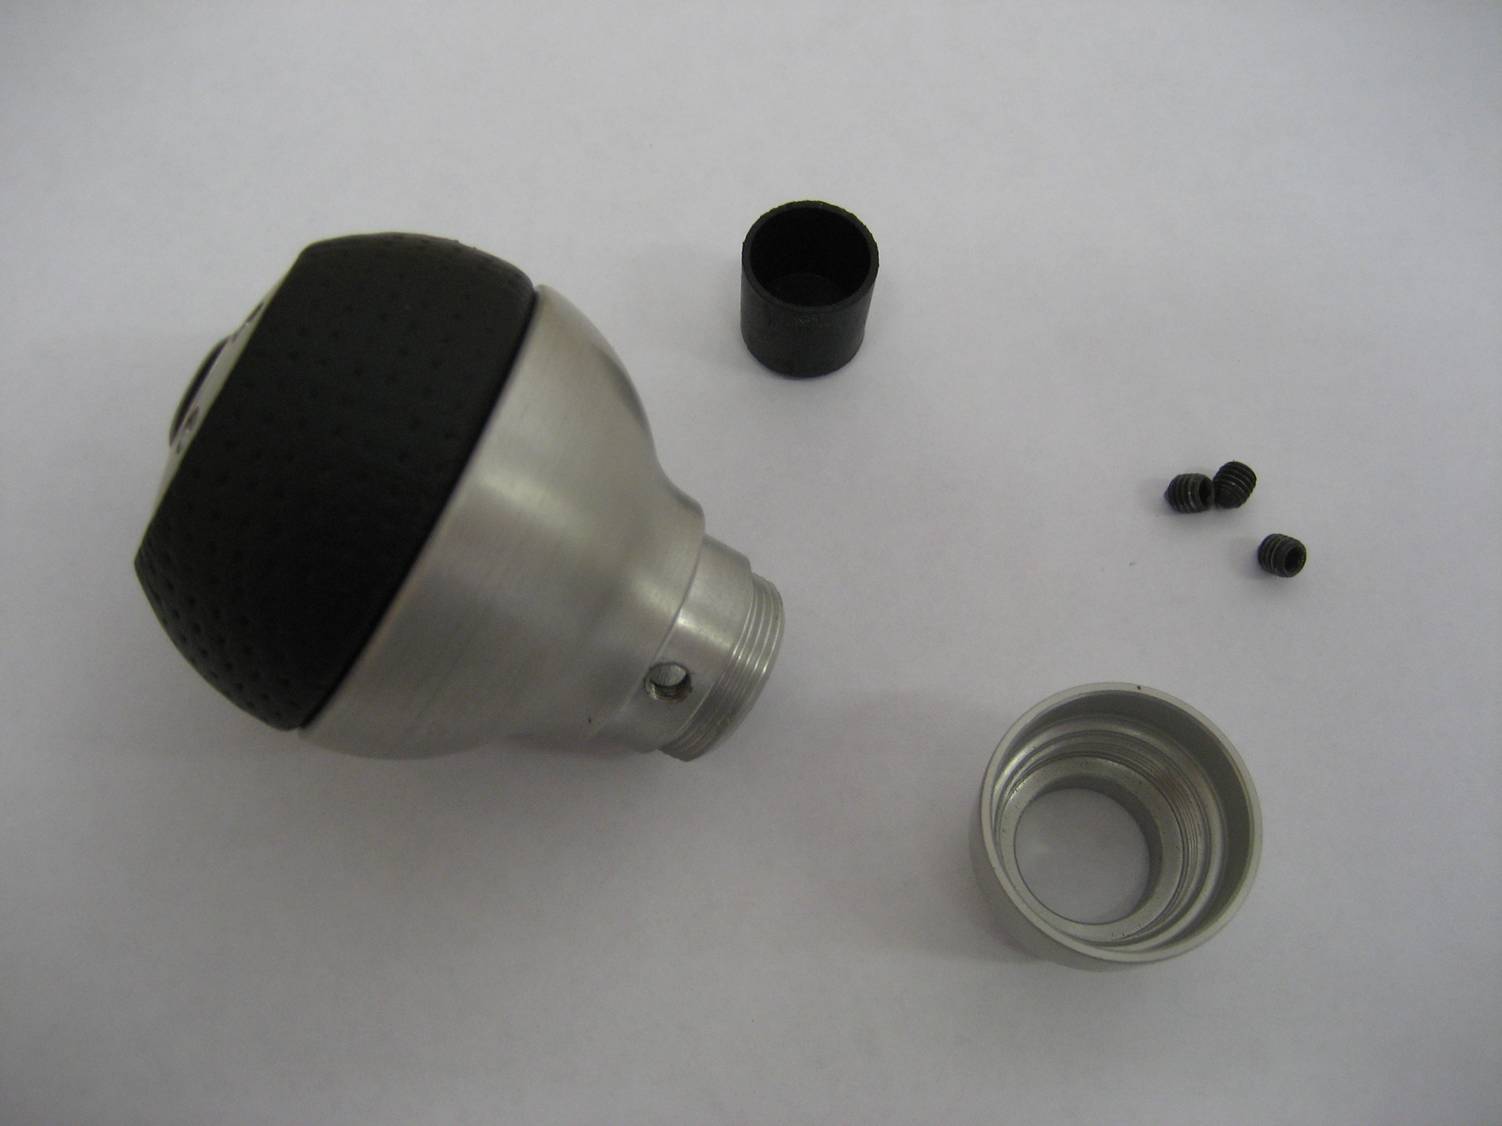
1. Take Inventory
Shift knob w/ bottom cap
My knob is a Momo Air Aluminum.
Rubber spacer
It came with a set of rubber spacers designed to accommodate various diameter round shift levers. The O.D. are all the same. I found the second thinnest (second largest I.D.) to work the best.
Set screws (3)
My knob came with two lengths of set screws. I found the longer set to work best.
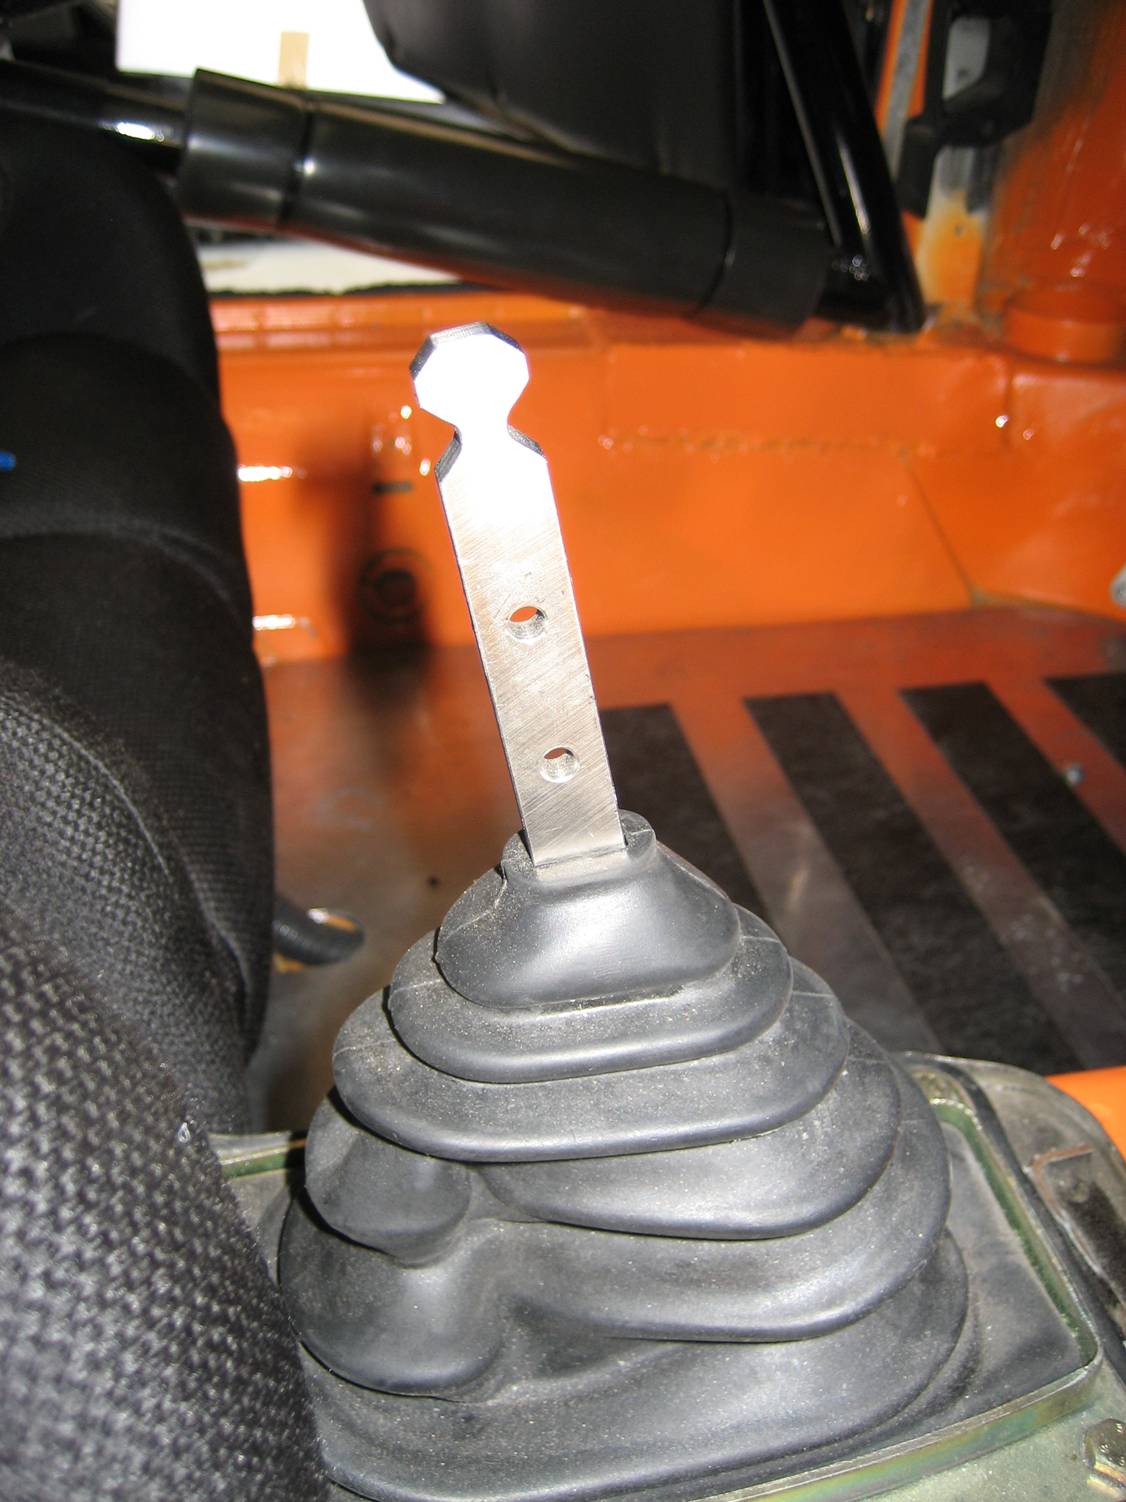
2. Remove old knob
My shift lever is from a B&M short throw shift kit, so it may appear more silver than stock, but the shape is the same.
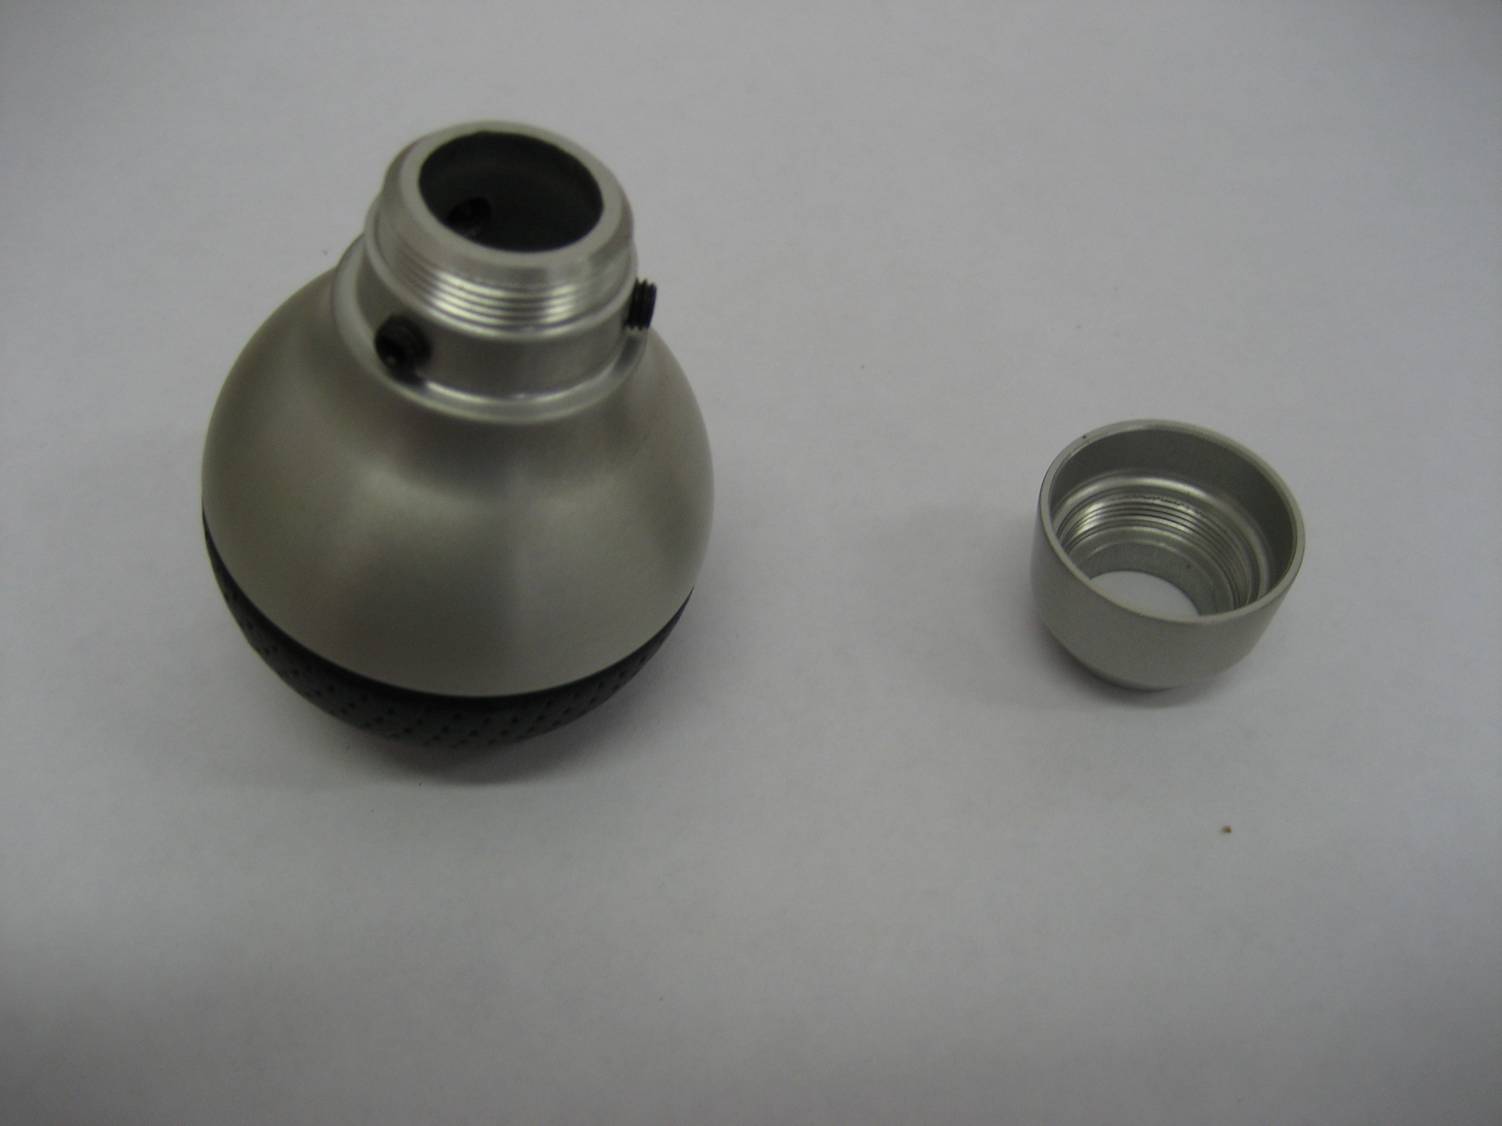
3. Prepare new knob
Insert the rubber spacer all the way into the knob.
Start the three set screws, but do not tighten too far.
4. Shim
Here is the trick to this entire install: we need to fit a round hole around a rectangular lever. Since there are only three set screws, we need a shim on the right side, as illustrated in this top view.
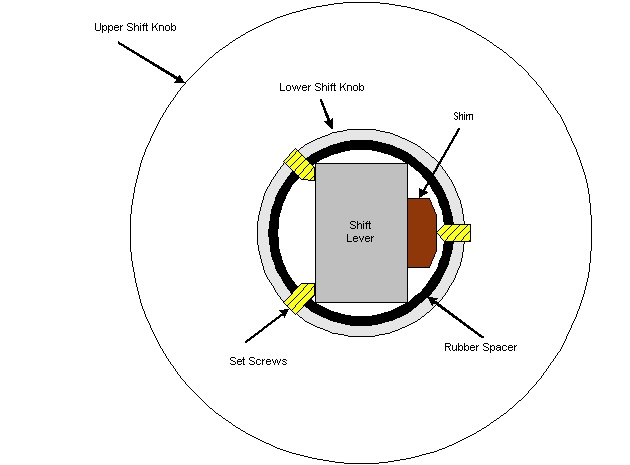
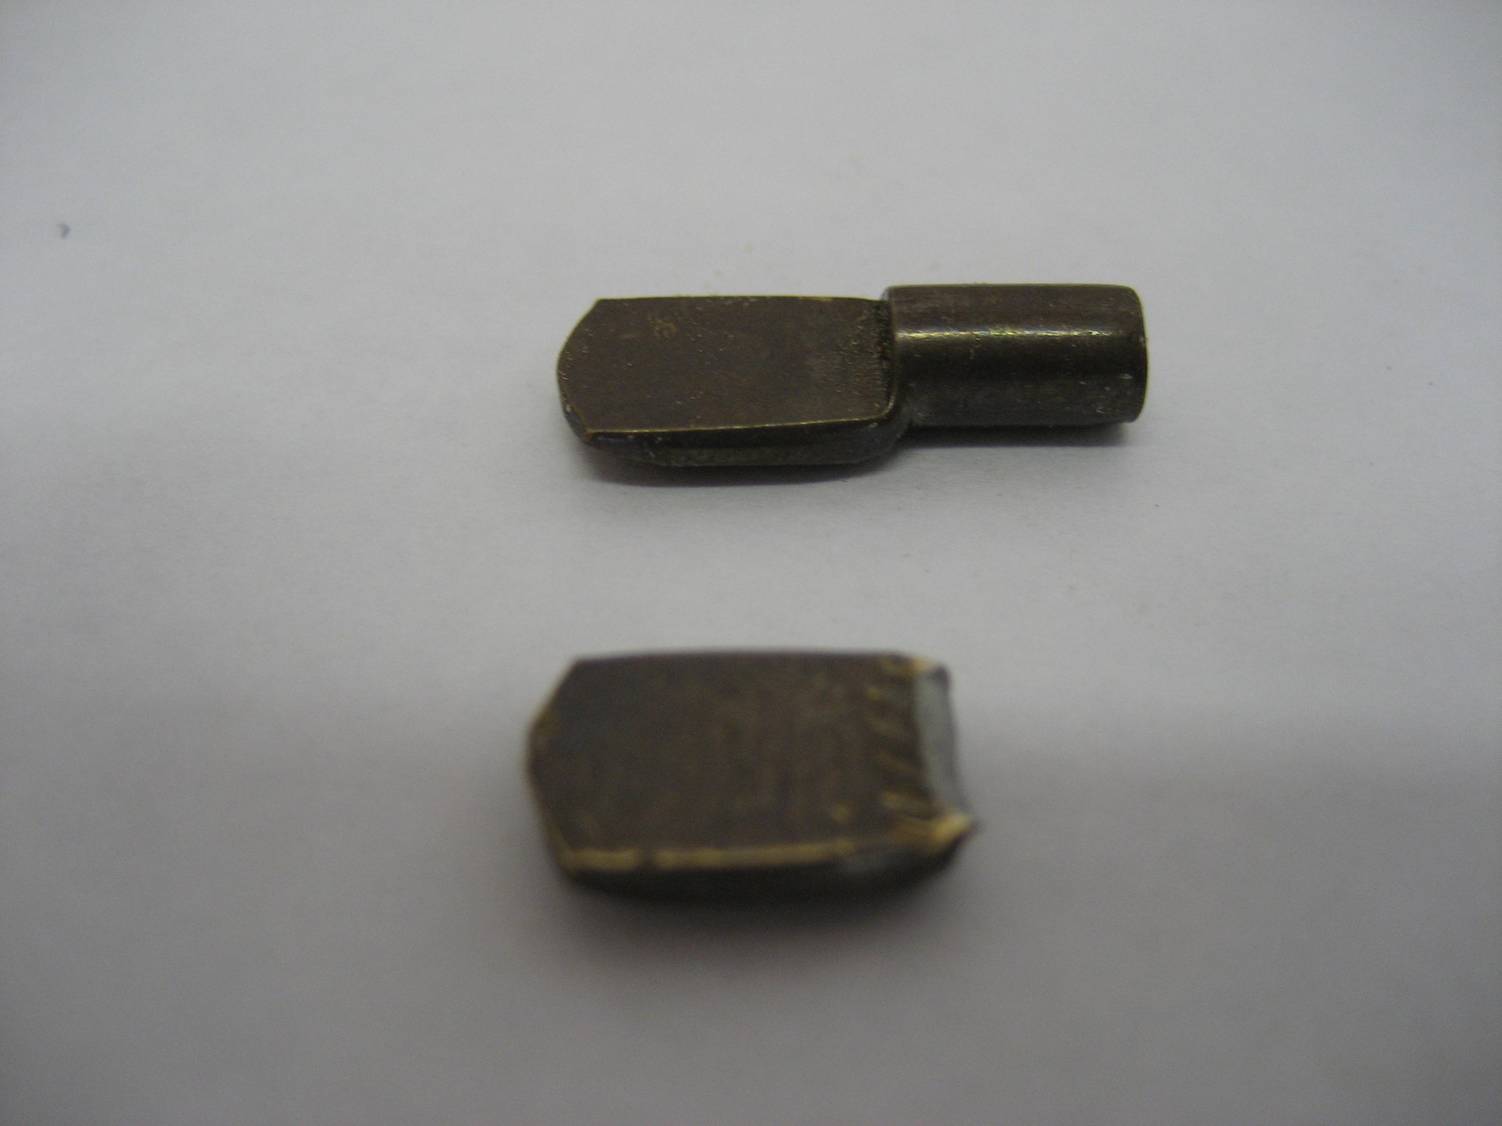
I used the flat portion of a shelf support; the kind you find in bookshelves with movable shelves. A few bends with pliers and the round peg portion will snap off cleanly, leaving you with a perfectly sized shim that is flat on one side and rounded on the other.
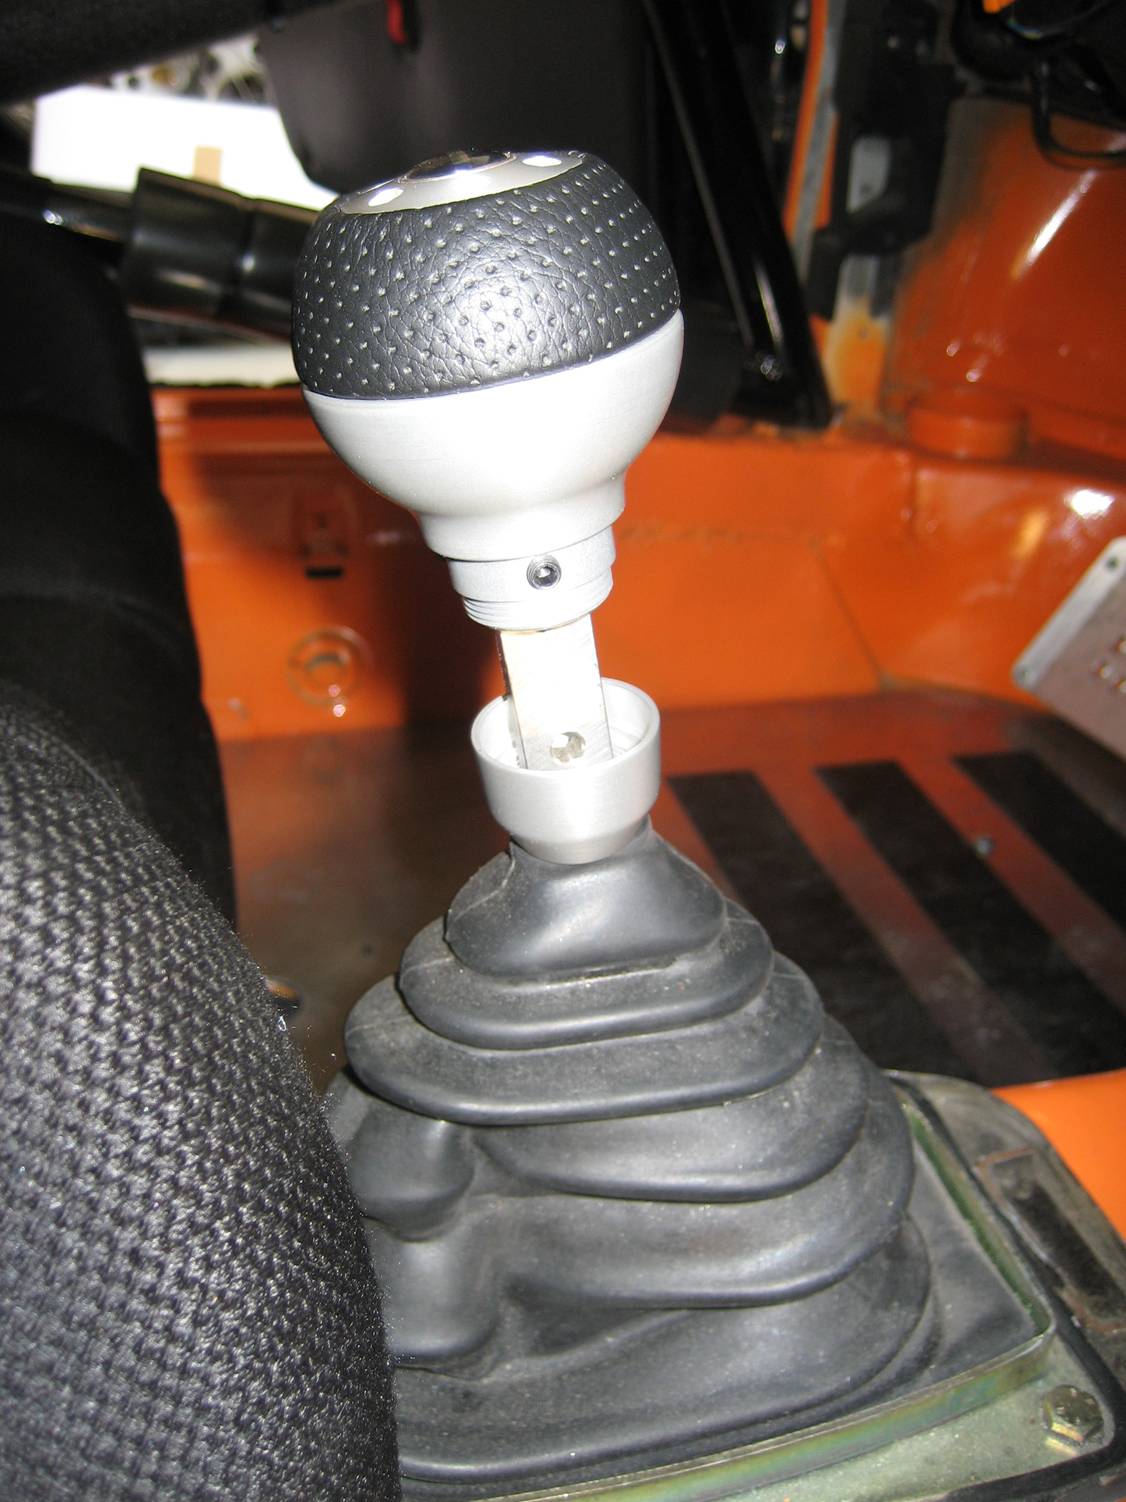
5. Position new knob
First put the bottom cap onto the lever (threads up).
Next carefully slide the knob onto the lever. The fit near the top will be quite snug due to the rubber spacer.
When the Momo logo is oriented properly, one set screw will
be at
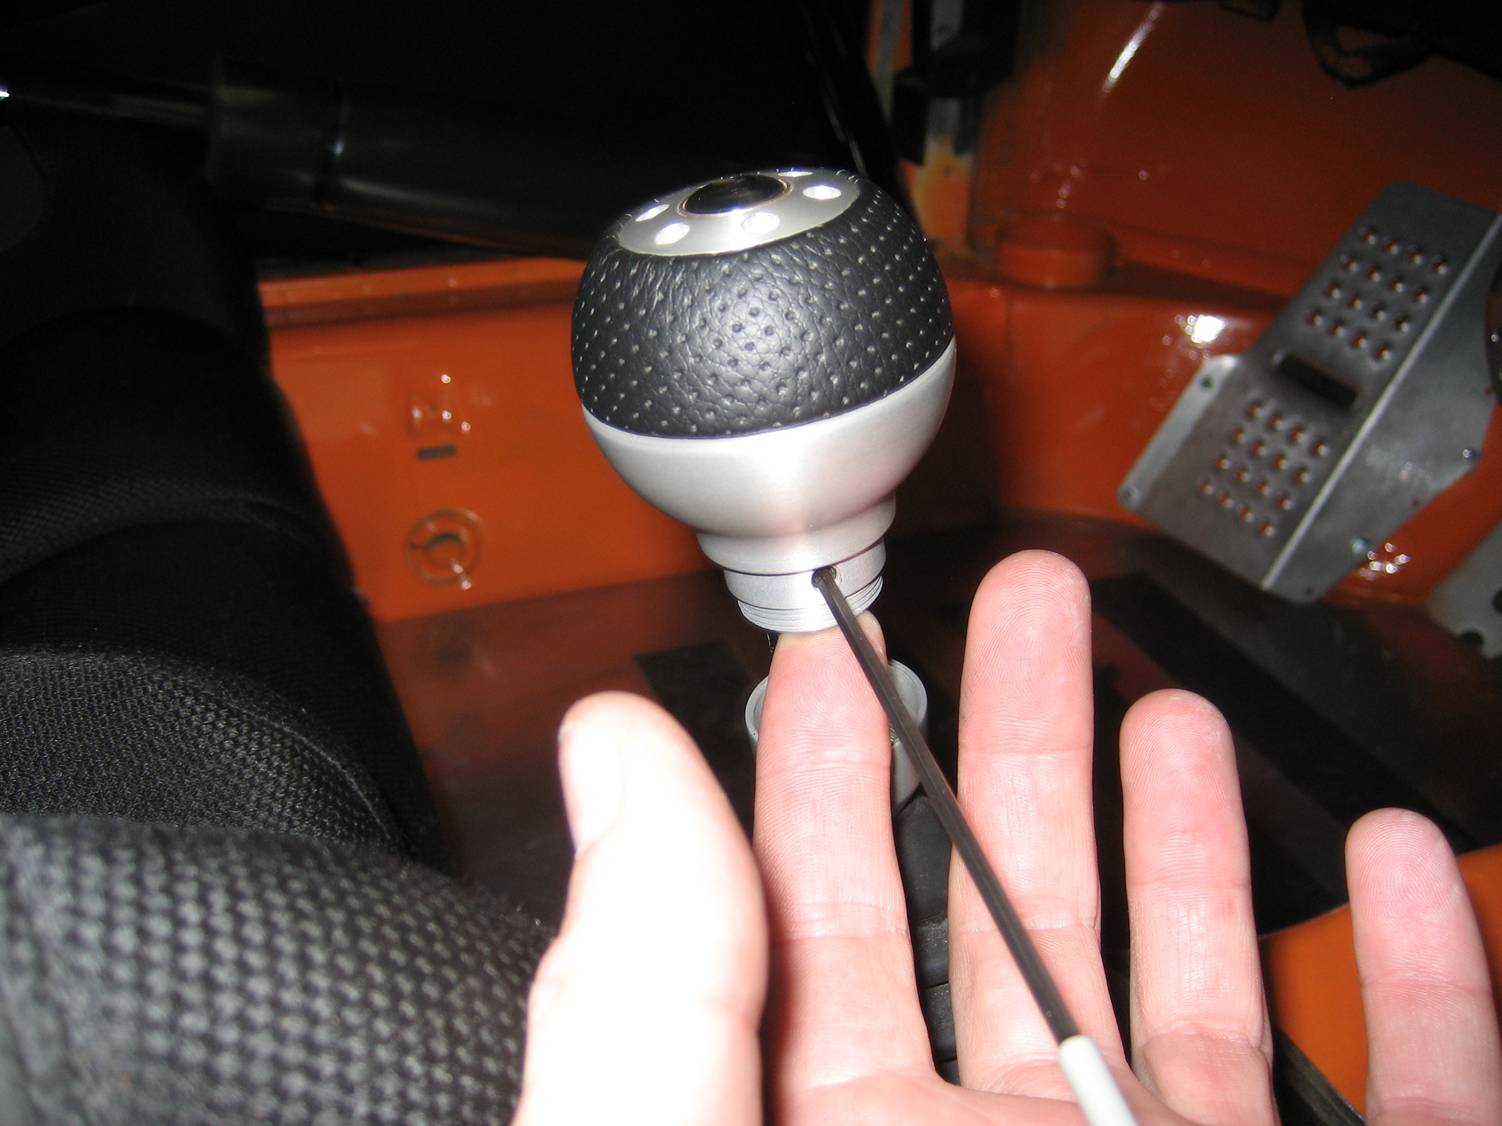
6. Tighten
Insert the shim under the set screw on the right side. Tighten just enough to hold the shim in place.
Next tighten the two set screws on the left side. To center the bottom of the knob left to right, you may need to loosen the right set screw a little (without dropping the shim!).
Tighten all three set screws firmly.
7. Bottom cap
Raise the bottom cap up and thread onto the bottom of the knob.
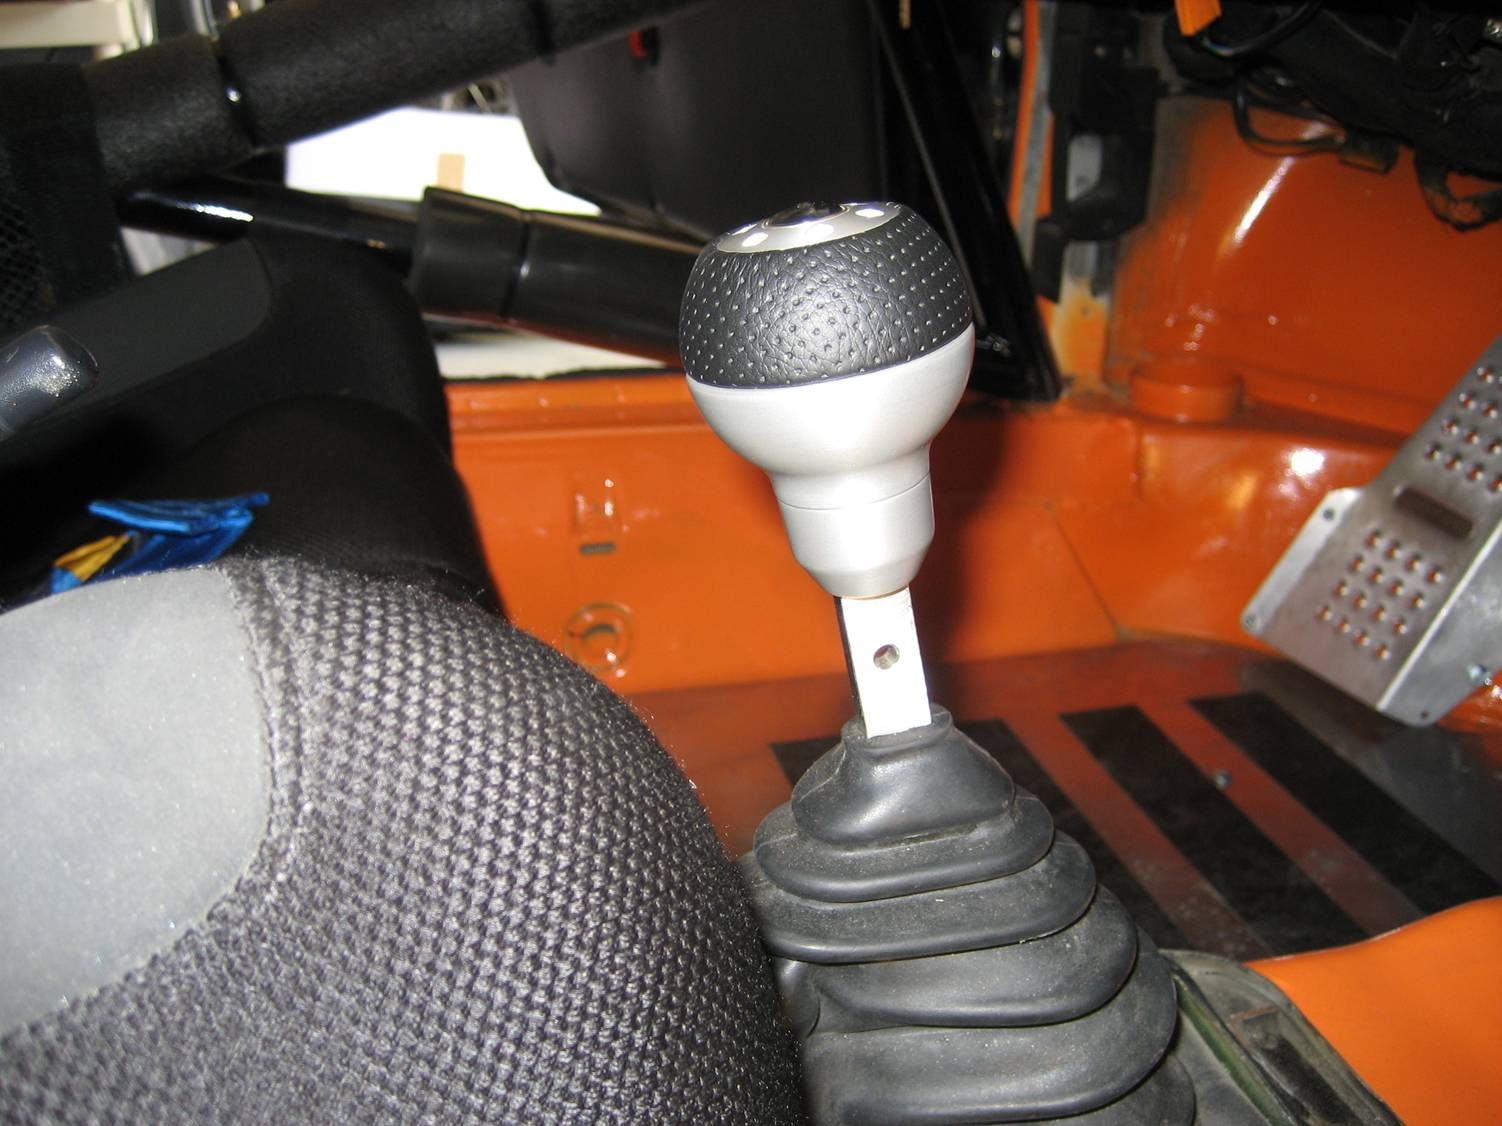
8. All Done!
Now go for a long drive and marvel at how solid the new shifter knob feels compared to the old wet noodle that was there before.