Clutch Replacement w/ Grenaded Pilot Bearing
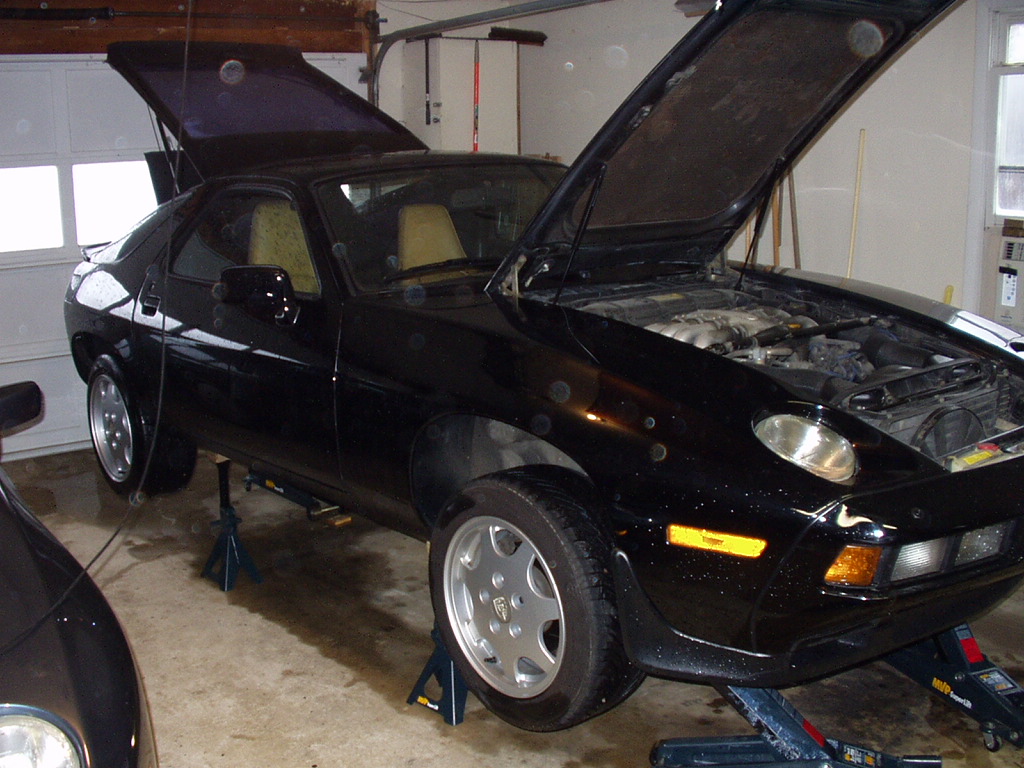
Car up and supported on jack stands
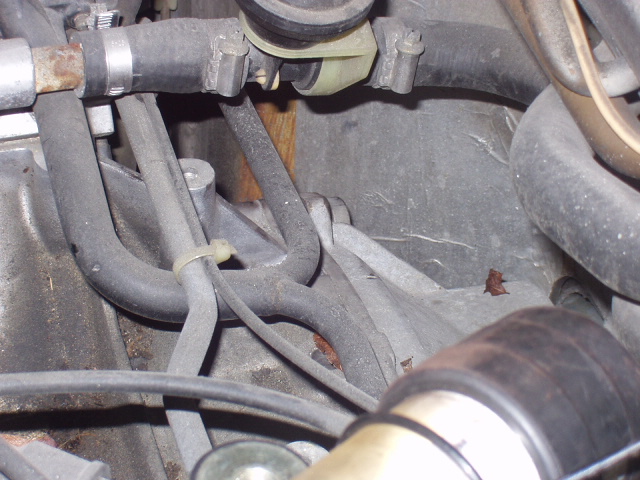
Remove catylitic converter and the lower bell housing

For cars with the long coupler, you will need to remove the support
bracket and the round
rubber plug seen directly under the shaft/coupler to remove the aft
coupler bolt.
With coupler bolts out, push the coupler back into TT housing.
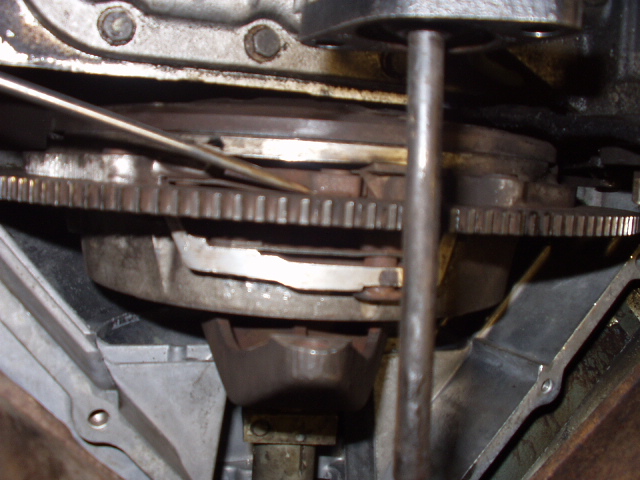
Remover bolts from guide tube.
Push guide tube forward. Install copper wire shims (one visible
above where pin goes through
pressure plate housing) prevents the clutch from releasing when you
unbolt the 6 bolts holding
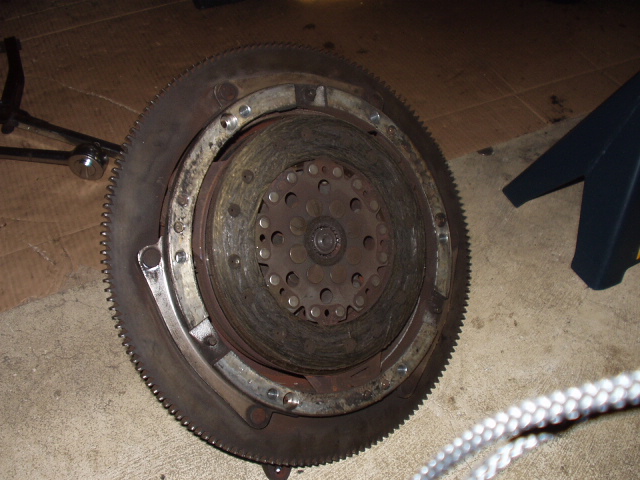
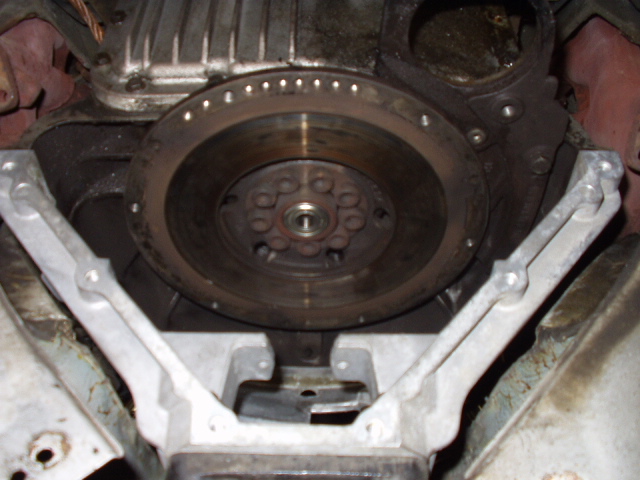
the clutch pack to the flywheel. The clutch pack should pull
back about 1/2" and drop out.
It should unless your pilot bearing has grenaded and the pilot shaft is stuck in the bearing.
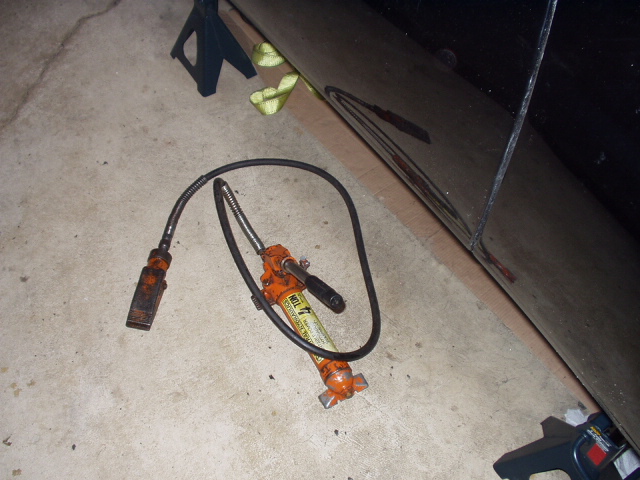
In that case you will need about 4 tons of gentle pursuasion (hydraulic spreader).
I said GENTLE!!!!!!! Remember not to use the bell housing.
Mount the spreader between the
coupler and the guide tube.
Once you get the pilot shaft free it just drops right out. Watch your head. It will drop quick.
Thenbroken bell housing will have to be replaced.
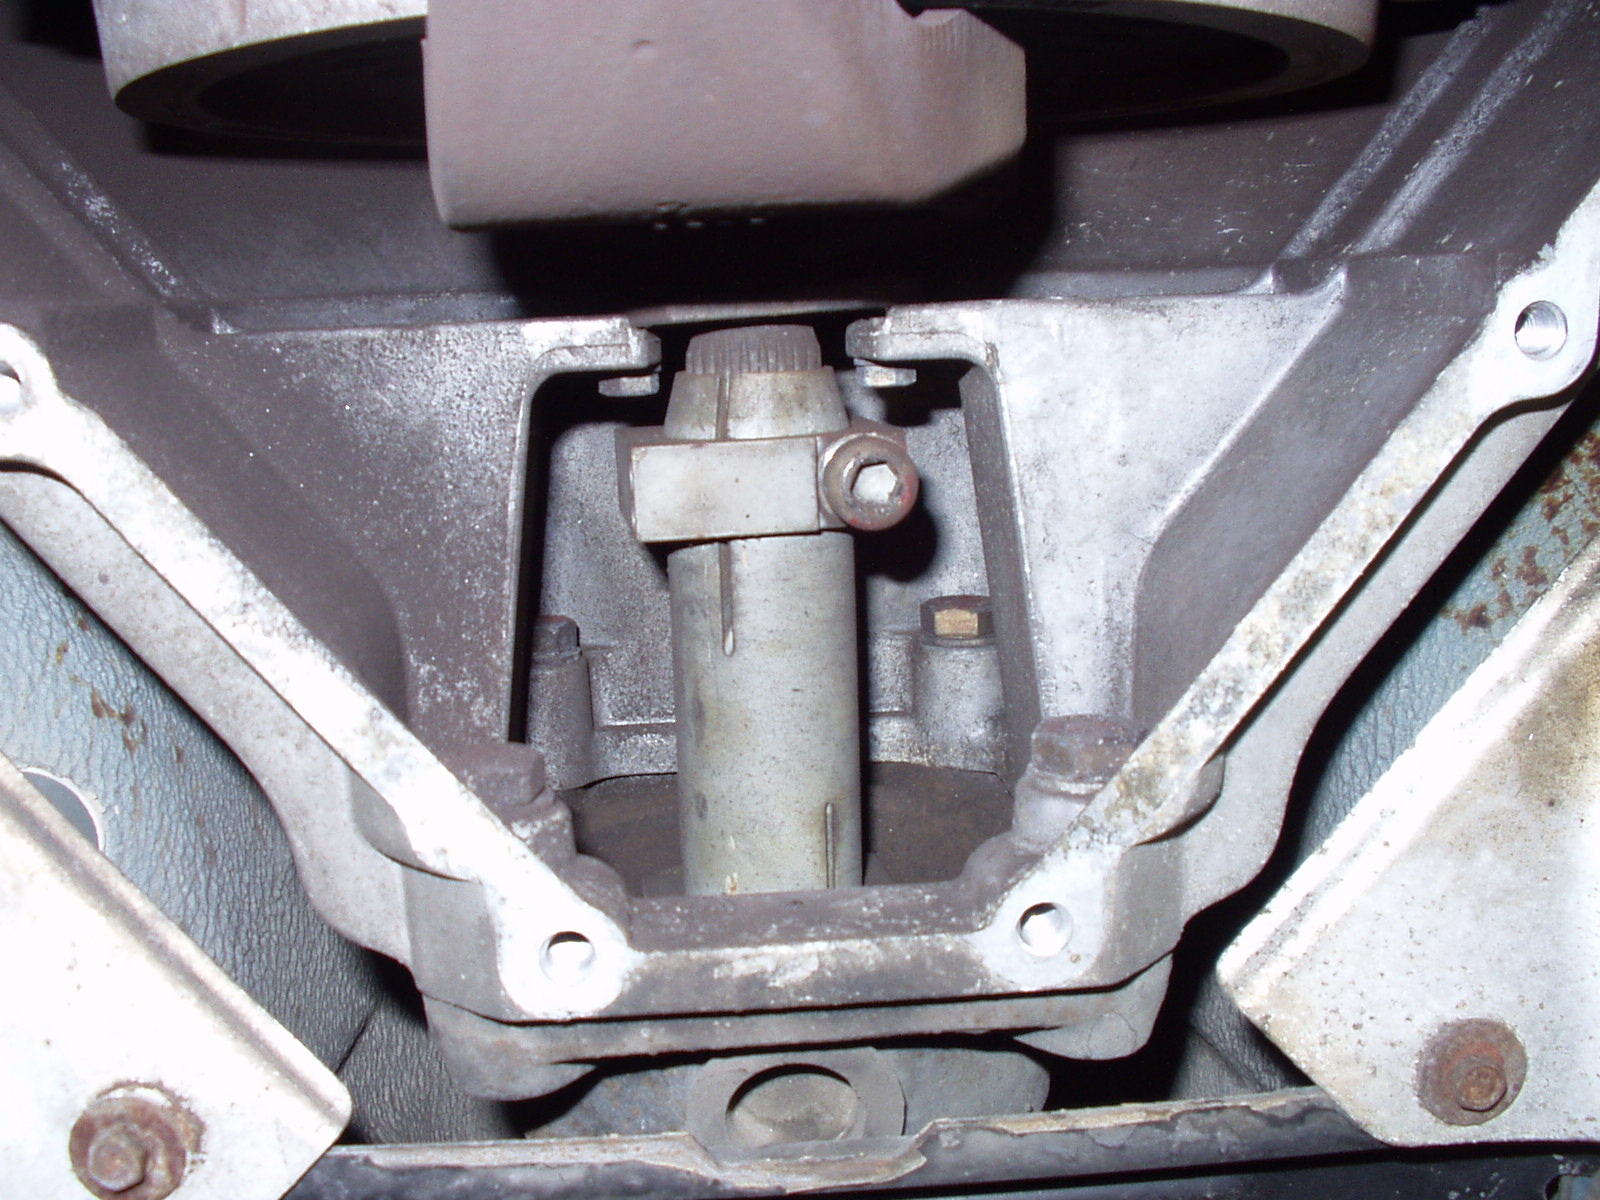
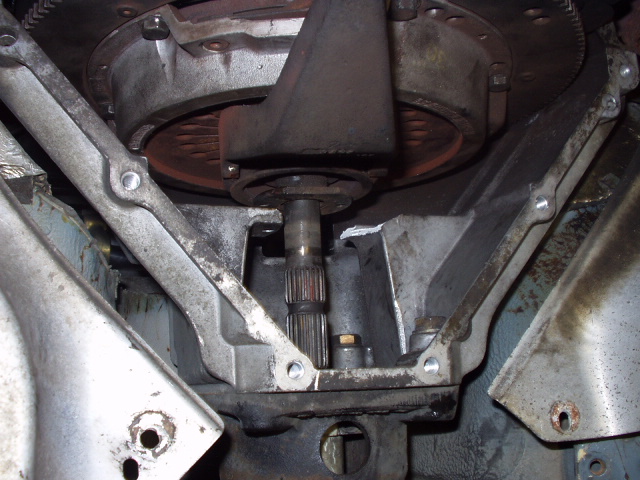
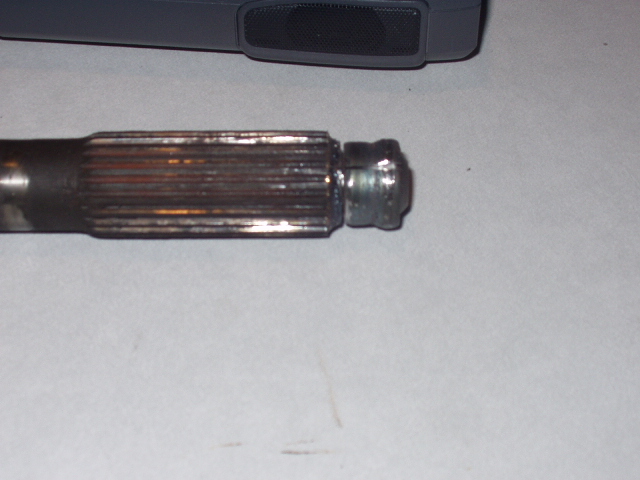
What pilot shafts get stuck on.
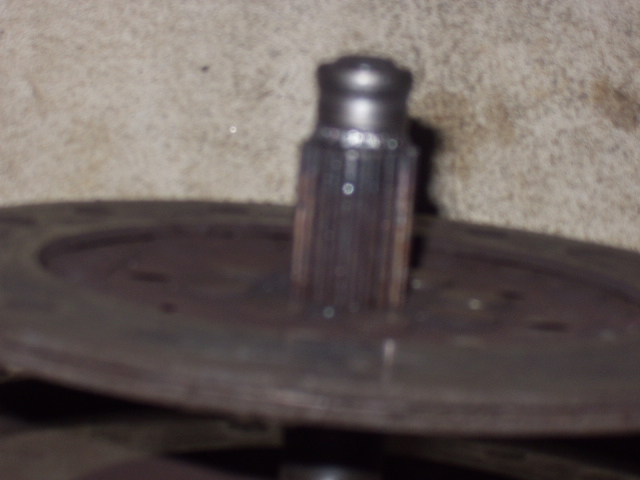
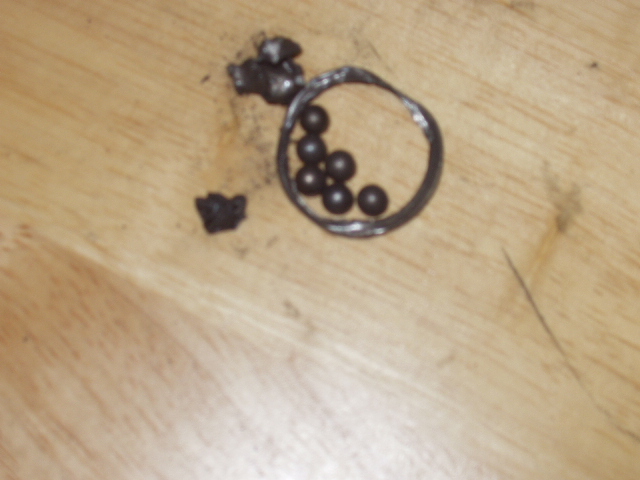
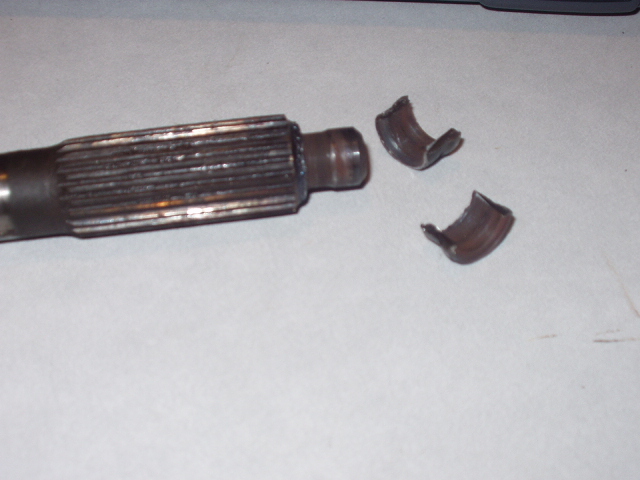
Inner race fused on pilot shaft.
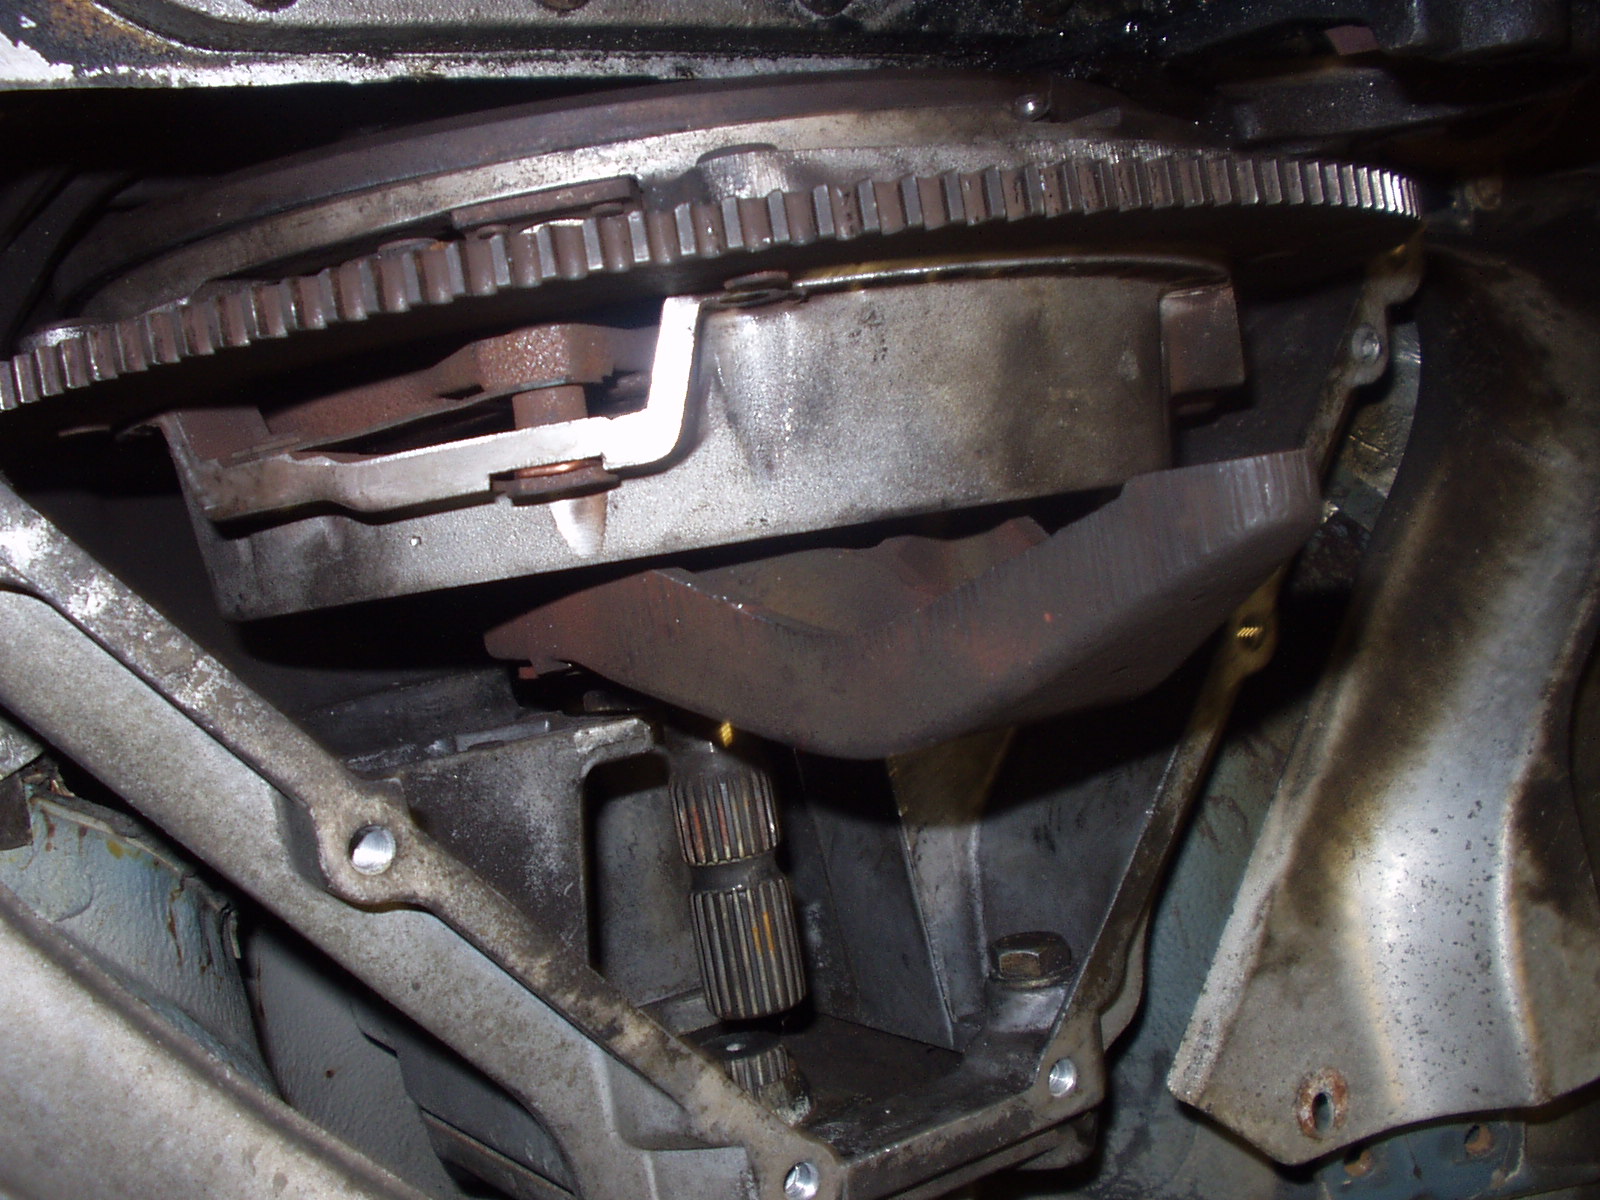
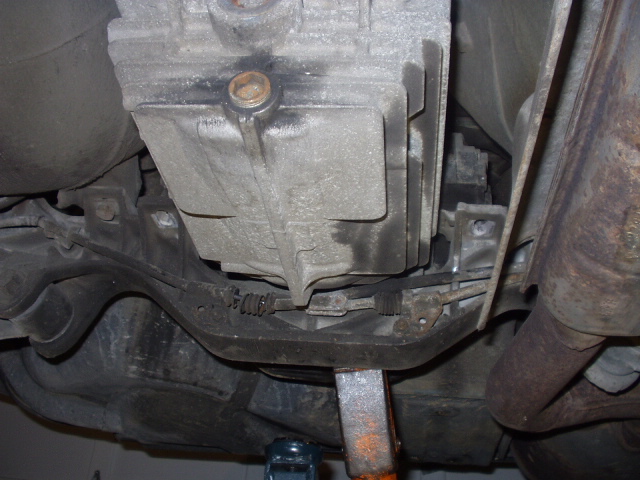
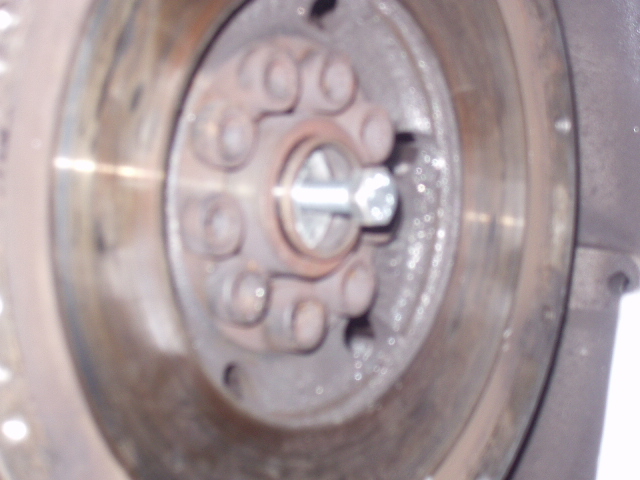
Location of one of the upper bell housing bolts.
Location of one of the other upper bell housing bolts.
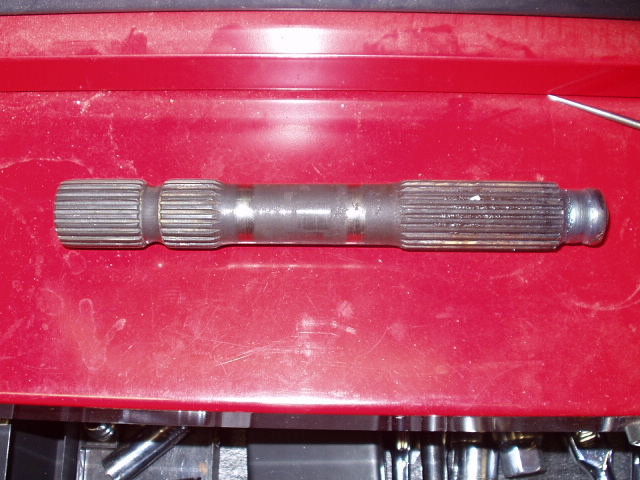
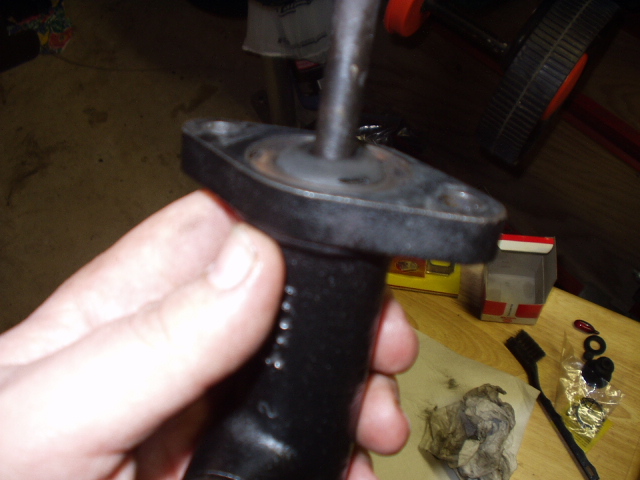
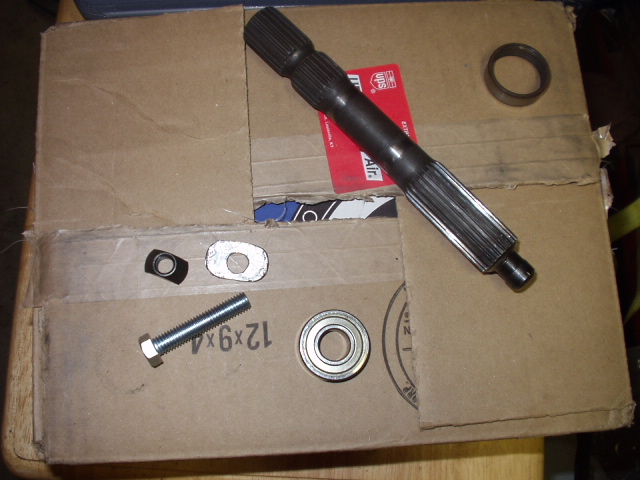
Pilot or "central shaft".

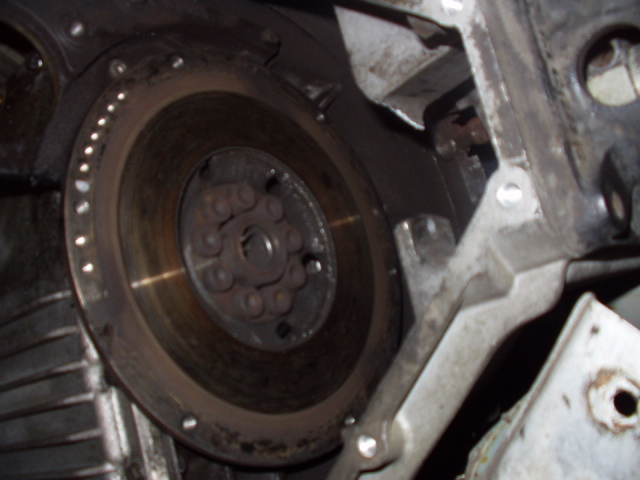
Detail of fused inner race of the pilot bearing.
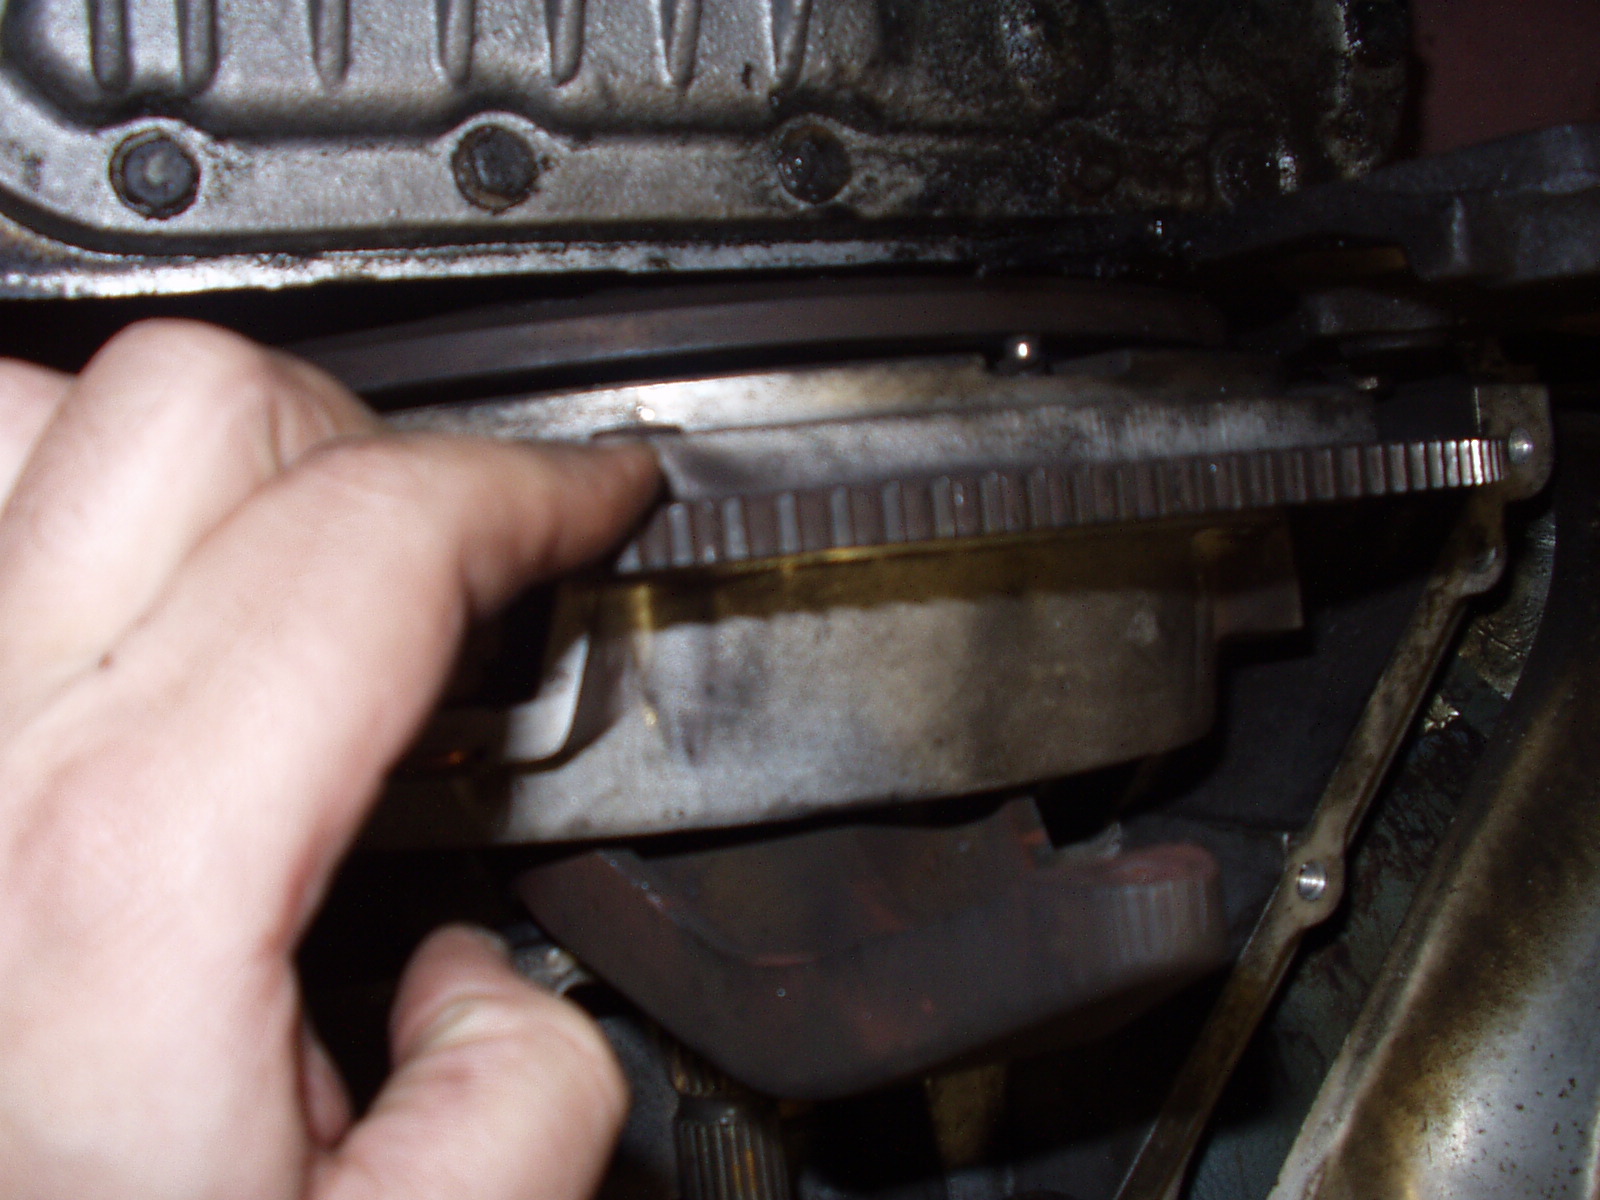
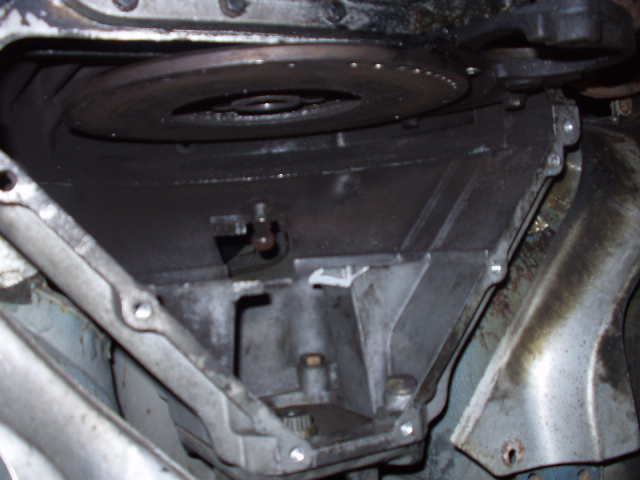
Bell housing removed.
That was facilitated by using the hydraulic spreader after removing
the two large monting
bolts and the 4 bolts mounting the torque tube to the bell housing.
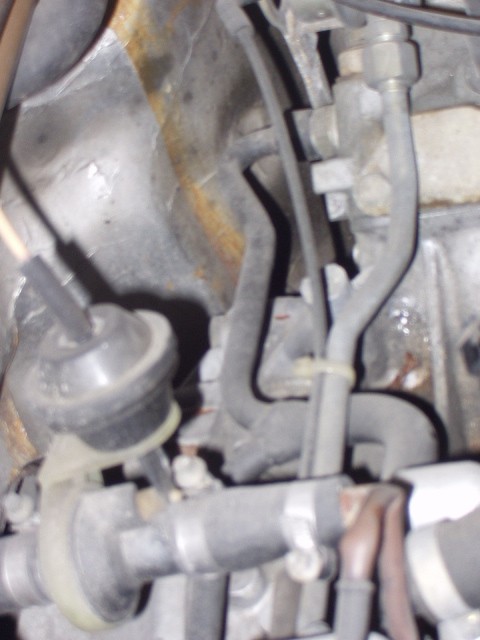
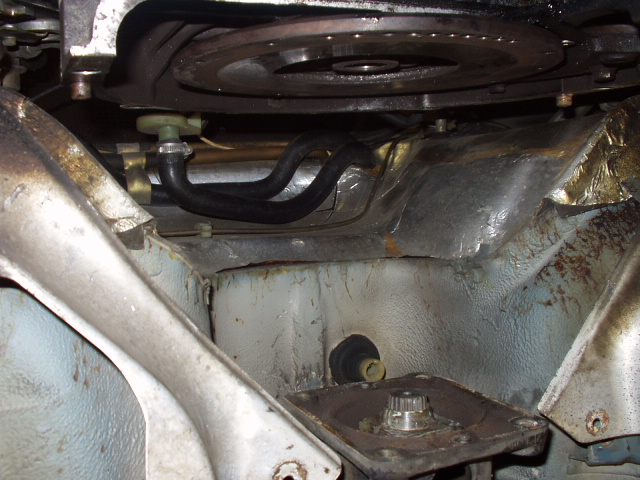
Slave cylinder with small tear in the gasket.

Rebuilt with kit.
Cutting off the inner race.
Modified pilot bearing extractor tool from www.extractorrus.com
used to remove pilot
bearing outer race. A very inexpensive and handy tool.
Clockwise (sort of): Pilot shaft, old pilot bearing outer race, new
pilot bearing, extractor tool screw,
extractor tool, onsite manufactured shim to modify tool and remove
outer race.
New pilot bearing in place.
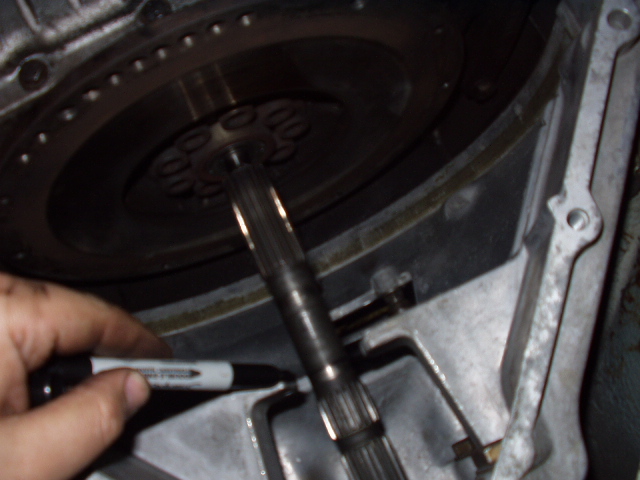
I marked the pilot shaft so I had an idea where the front of the shaft was during installation.
At this point you can see I have skipped a whole bunch of assemble items.
All pretty easy to do.
Pry the pressure plate from the intermediate plate. Remove the
clutch disks (Note: the yellow paint
dots on the new clutch disks mark the heavy point on the disk.
They should be mounted opposite
each other on installation). Grease the forward pilot shaft splines
with a Molly high temp grease.
REPLACE THE RELEASE BEARING AS WELL!! Grease the outside of the
guide tube with
high temp molly grease.
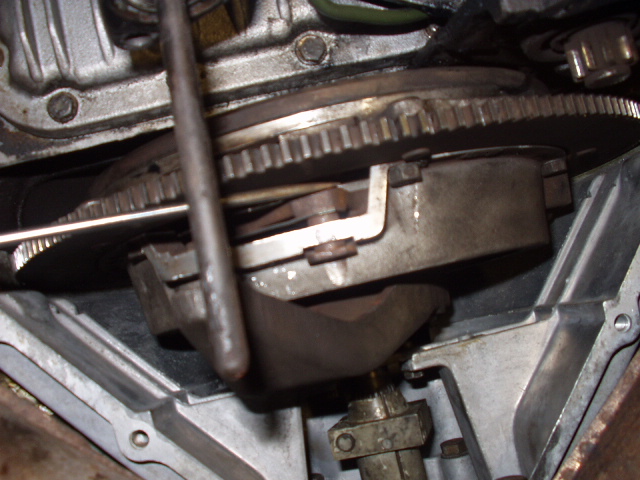
At this time you will need to adjust the clutch intermediate plate.
There are thre T shaped adjusters
attached to the intermediate plate. You can identify them as
the adjusters have a smal circular pin
about half the diameter of a penny facing at you perpendicular to the
outside of the clutch pack. I
used a pry bar and a long socket to place the clutch fork into the
release position. Then I used a
simple scewdriver to pry the T's out in the direction of the pressure
plate. Then I removed the
pry bar and did the same on the other two. Put the lower bell
housing back on and slave cylinder
and test the clutch with the car still on jack stands. The rear
wheels will stop when you depress the
clutch pedal. The gears will grind and you will not be able to
get the car in any gera if the clutch
plates T's are not adjusted properly.