|
CV boots are a pain in the ass to
replace. Repeat 10X. The work isn't the problem, but the
mess. And messy ain't the word for this job.
Have lots of that orange hand cleaner crap available & tons of paper
towels.
Spray the inner CV bolts liberally with a penetrating oil/cleaner a day in
advance. Repeat in the morning.
Then jack the car up on a strange but safe angle so you can get at the inner
joint with a socket wrench. A pry bar would be better but that might
require some really lofty jack heights which can get scary.
The bolts on 87s take a medium Allen wrench. Clean them well before
you slip the wrench in. You don't want to strip one. If you
have done any work on your car, you probably have amassed a good supply of
Allens. I used an Allen head socket that allowed me to apply some
nice torque both coming & going. You have to slide right under
the car - that's why it's on jack stands with a backup jack & a tire
or 2 under the car. Safety 1st remember. You won't save any
money if you're dead.
Pull on it firmly but gradually (as opposed to sharply) & it will come
out. You might mangle the boot a bit doing this so be prepared with
a spare if you don't like living dangerously. If you are doing the inner one, it doesn't matter of
course. You can only really get at 2 bolts at a time, so you have to
roll out from under the car & reposition the hub a couple of times because you need the
car in gear with the emergency on to apply enough leverage.
When they are out, just pull back a bit of the shaft & the inner end
of the axle will drop down. Now the fun really begins.
|
|
|
|
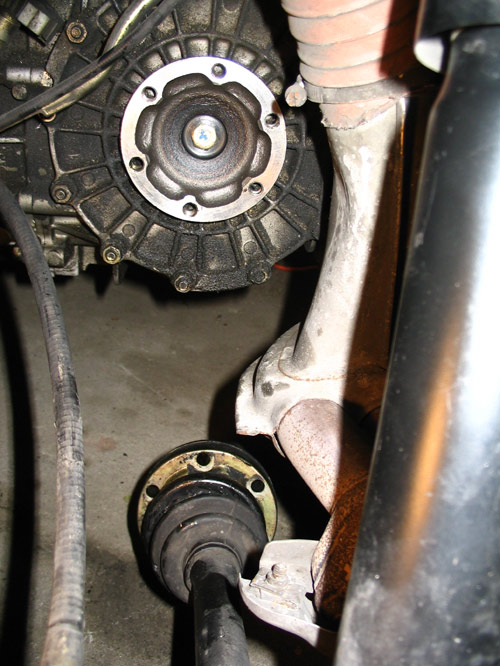
The CV joint separated &
dropped.
|
|
Remove the clamps on the front & back of
the inner boot. If stock, they might have a little metal flap that comes
thru a hole & bends down. Nice clamps btw. I ended up reusing
them because they seemed better than the ones that came with the CV boot
kit. If you are replacing this boot, just slice the damn thing &
yank the remnants off.
|
|
|
|
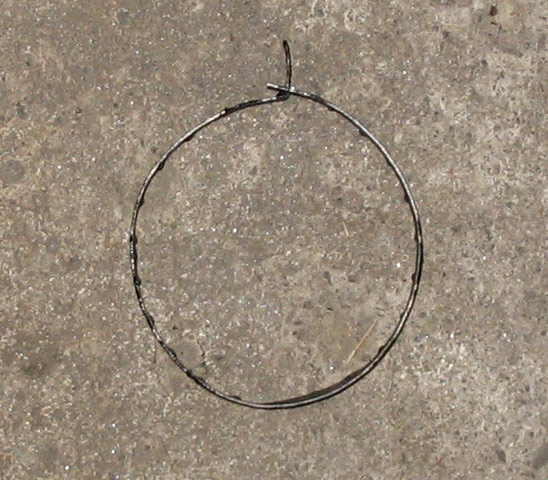
The CV boot clamp.
|
|
Now, you have to remove the brass colored end cap. A screwdriver on
the edge works well but it's no joy to do this or any part of this job
laying on your back. Push the CV forward & root around
in the grease for the circlip. You will have to wipe a bunch of
the black evil grease away to get at the circlip. The one on mine
did not have little holes but just had angle cut ends which the circlip pliers
dispatched with ease. When it's removed, slide the joint off of
the axle. The reality here is that you must beat on it with a
rubber hammer to slide it off. As everybody tells you, treat this
little puppy to surgical or near-surgical cleanliness. Of course,
you're laying on your back under a car with the greasiest lump of metal
you have ever seen gripped in your paws. Be careful not to play
with it too much in this position or you will have balls popping
out. While you're laying on your back . . . I did.
Clean the CV in a solvent bath & inspect the races. I would
suggest not taking it all apart to do so, since it appears to be a nice
puzzle to re-assemble. Wipe it clean & allow the solvent to
dry/evaporate completely.
|
|
|
|
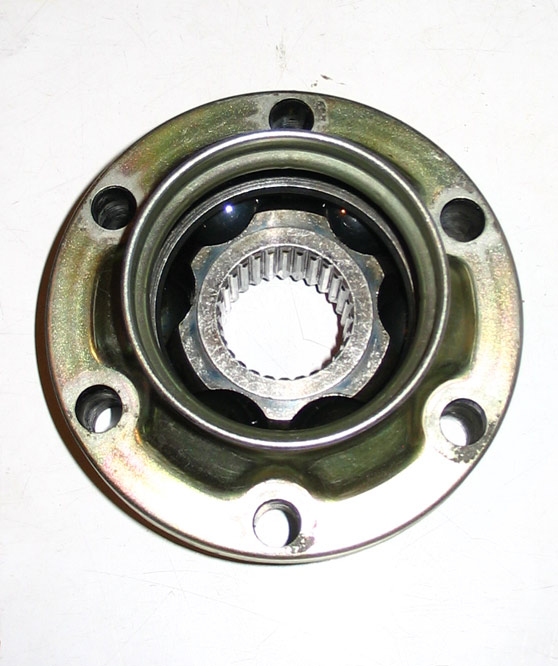
The naked CV joint.
If you roll that inner bit the wrong way, balls will come out.
|
|
If you haven't already,
remove the boot & clean the shaft. Clean it well above the
bump that holds the boot extended. Now is a really great time to
grease the boot & slide it on the axle before you forget.
Next up, I greased the CV & then pounded it back on with the rubber
hammer again. In hindsight, I would put it on without grease,
because it's not as messy getting the circlip on that way. But I
managed it the messy way.
Then lighten tap the new brass cap into place.
Install the new boot properly & clamp the ends. This job is humming
right along now . . .
Position the CV on the diff & bolt it
down not forgetting the 1/2 moon thingies. I re-used the bolts & the
1/2 moons but some guys insist on new. Torque is a problem on
these bolts since your 3 ft torque wrench won't fit under the car, so do
your best. Everybody, and I mean EVERYBODY recommends that you
check the tightness after 50 miles & again 100 miles or so after
that to make sure they stay tight. Then just keep them on the
routine maintenance checklist.
|
|
|
|
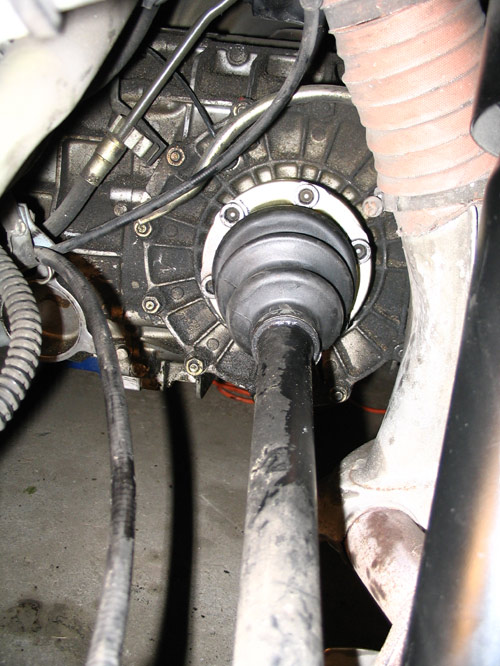
Done. The shaft is
cleaner that it looks . . .
|