Most cars from the South have issues with sun damage, and Porsches are no exception. My Cabriolet spent much of it's early life baking in the Florida sun, so you can imagine the dash pad was in a bad way. Unfortunately, there were two factors keeping me from correcting this:
I was afraid of doing anything with the windshield because they do tend to get brittle with age. This was solved for me recently when I developed a crack that could not be repaired. "Hello? Liberty Mutual?".
So the glass was only going to cost me $100, but I just didn't have the cash for a new pad. Instead, I took a trip down to Handcock Fabrics and procured a linear yard of UV stable, leather look, black vinyl (pleather); at a cost of about $11. This material is meant to do exactly what I intend to do with it. It's mounted on a fabric backing and is relatively pliable - perfect.
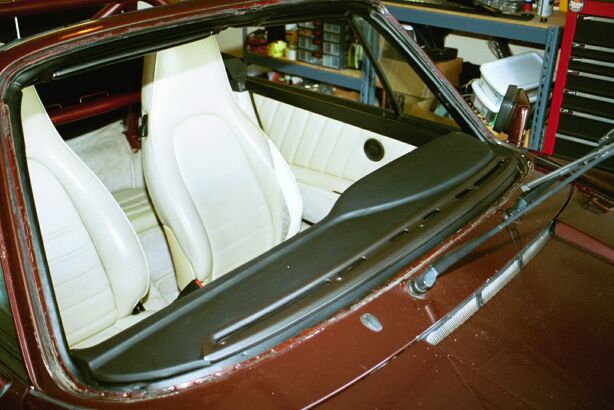
I then cut out my cracked windshield and removed the dash pad. I prepped the cracked areas and used a garden variety 2 part epoxy thickened with micro-beads to fill the cracks. I then sanded the entire dash pad with a heavy grit sandpaper. This was to pull up the 'dead' plastic and give the contact cement a bit of tooth to grab onto.
After cutting the pleather to the general size of the dash pad, I had a friend help me with cementing it to the dash pad. I used DAP contact cement and a hairdryer to speed up the drying process. We started by applying the cement to a 2" wide strip across the gauge binnacle, which located the pleather on the pad. We then moved to the toughest corner, which is the drivers side (immediately below). After that was done to my satisfaction, we did from the binnacle back to the defrost vent. Finally, we finished by slowly cementing the passenger side and corner.
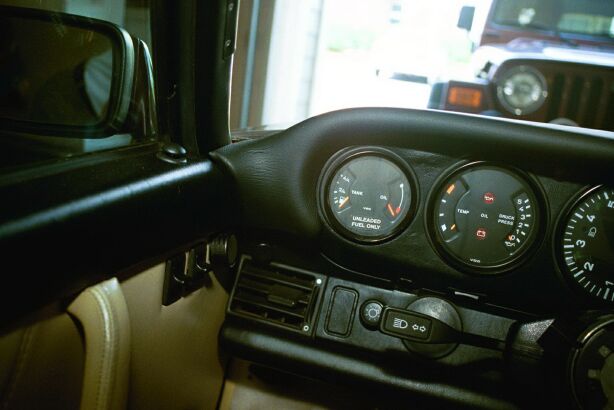
Unfortunately, I did not have easy access to a camera to document the work. My method of doing it was pretty simple: Do NOT stretch the material. Where ever possible, the material should 'lay' on the pad evenly, this is especially true around the ridge the binnacle forms that travels across the passenger side. There is a lot of stretching around the inner side contours of the gauge binnacle, but most of this area gets pinned in by the dash structure (fuel tank guage and 12 to 4 o'clock on the clock side). Thus the pleather is effectively clamped in place.
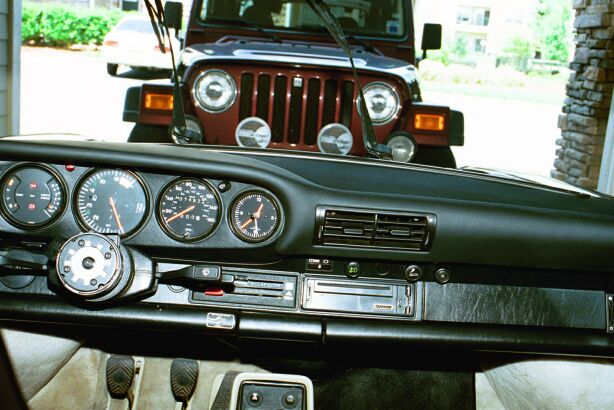
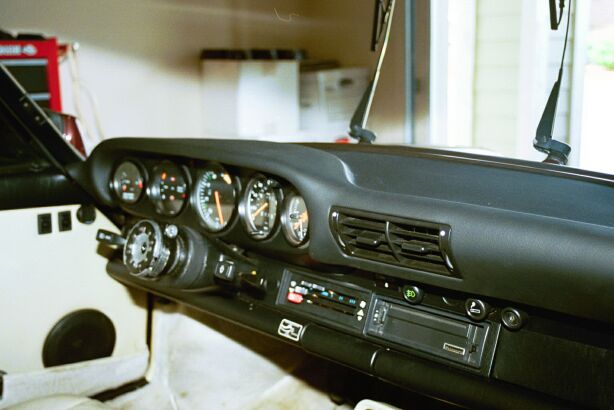
The result is outstanding! It looks BETTER than new. Covering the shiny plastic dash pad with a duller, softer looking material makes it look more modern, more like a padded dash. Time will tell if the glue will hold, but even if it doesn’t I'll surely recover it with a different glue instead of shelling out $$$ for a new pad.