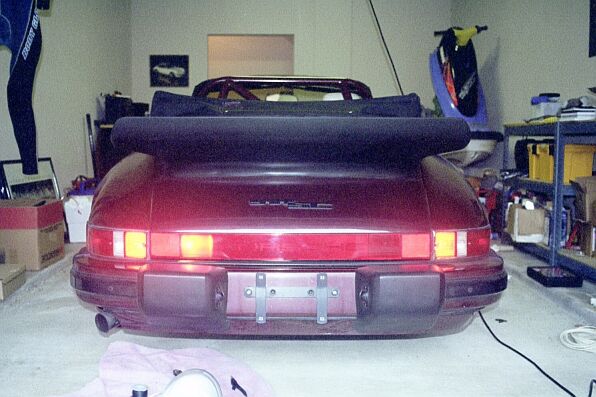
For a car that can stop as fast as a Porsche, you would think that they would have large, bright taillights to let the person behind you know that a rapid disparity of speed is about to happen. I made matters worse by removing my high mount brake light which wouldn't mount with an SC Whale Tail (at least I got my priorities straight). So fresh off of the success of my headlight project I decided to tackle the taillight issue.
You will also need a vise, drill, 1" hole saw, something to trim the aluminum (I used a large pair of tin snips), and a method for connecting wire (I used a soldering iron). The goal is to make light baskets out of the aluminum that will fit in the driving light opening for the euro cars. The comparison is seen below in a rather poor photo.
Notice that the driver's side has an additional light right of the reflector, while the passenger side is stock (no light).
Begin by making a pair of baskets out of the aluminum as depicted below. Start by trimming the width to fit in the rear cut out and then chuck the aluminum in a vise to make the bends. Trim the length, drill a 1" hole (keeping in mind that you don't want it too close to the plastic of the reflector), pop in the socket and bulb and your done.
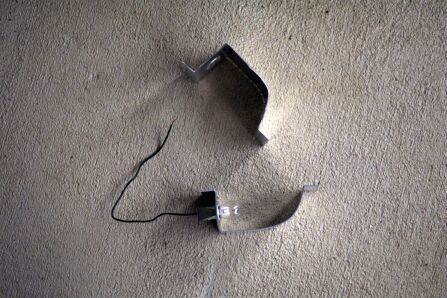
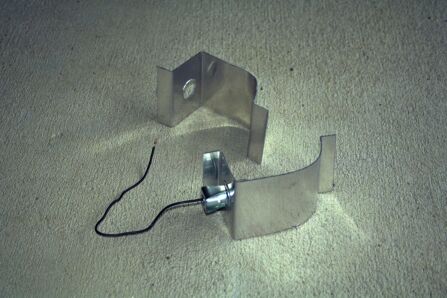
Mount the bulb to the outside of the car, which will actually give more room between the bulb and expensive plastic. The basket should be attached with two self tapping screws (not shown) after the wireing has been completed.
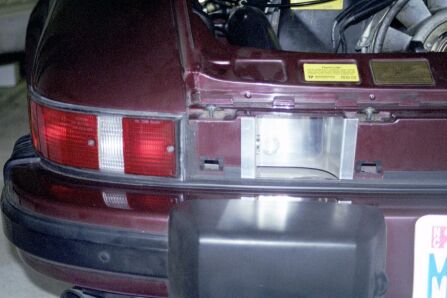
The wireing itself is pretty straight forward. If you have a high mount tail use it for the wireing connection. Otherwise you will have to take apart one of the factory taillights (see below). The cabriolet high mount light wire is located in the engine compartment, so I was able to make a very small hole and use a large oblong factory hole to pass my new wire into the compartment (just rear of the ac compressor). After drilling the hole from the outside I was able to deburr it with a large bit from the inside, which was tricky. I then inserted a grommet and wired up my new taillights.
You should be warned that the factory taillight assemblies are held in by bolts and 'clipped' nuts. These nuts will break free of the clips and you will need a small pair of needle-nose Vice Grips to both remove them and put them back on. If you have to do this use the passenger side taillight as you will have more room.
The last thing to do is to bring the rear reflector assembly into your kitchen and remove the paint for the new taillights. To do this use a brillo pad and water to raze the paint off of the textured plastic in the appropriate sections. This will leave a poka-dot pattern which will look just fine. When I was finished I checked the new lights for heat and I found that they ran cooler than the factory lights, so I'm not at all worried about melting anything.
Best of luck to you if you pursue this modification. It's so easy and inexpensive that anyone could (and should) do it. I wonder why the factory didn't