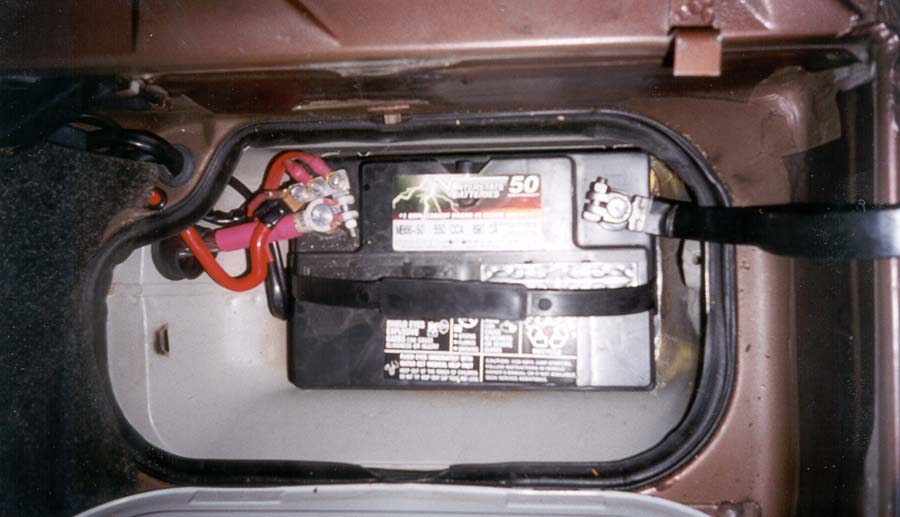
There are several areas of the electrical system in the 928 that I consider substandard. One of them being the battery cable that connects the battery to the starter. Porsche used a 4 AWG cable and I upgraded it to a 1/0 AWG, as I was able to measure a 1.5 volt drop from the starter to the battery. As you can see, from the battery compartment it looks a bit more beefy than the stock one. It is the one with the pink heat shrink. The battery clamp was filled with solder, and I heated it up with a torch. While the solder was still hot, I jamed the stripped end of the cable into it, until solder was coming out around the insulator. I held it into place until the solder cooled. Its in there! The other red cable is the amplifier power cable.
Below, I used larger insulated cable holders, which I found at a marine supply, and used all of the factory locations to secure the cable to the car, as seen below.
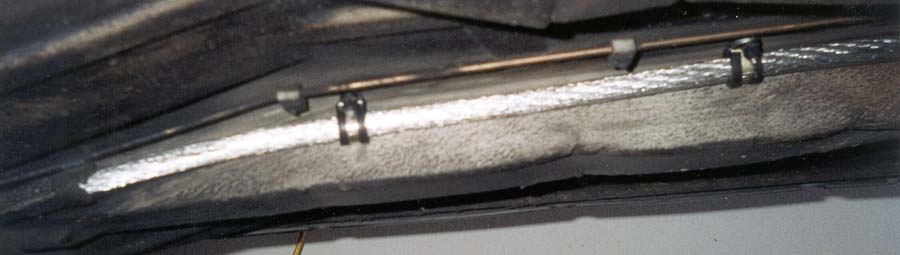
Below, you can see that I routed it using the factory route, substituting larger clamps. It looks close to the differential where it comes out of the battery box, but it is actually about 3 inches away from it.

With all of the engine performance modifications, I decided that a bit more information in the cockpit was imperative. I found these 1 1/2 inch gauges, and installed them in the place of the factory rear air controls. I have installed a rocker switch for each gauge, so I can monitor oil temp and transmission temp one gauge, and fuel pressure at the pump, and on the fuel rail on the other.

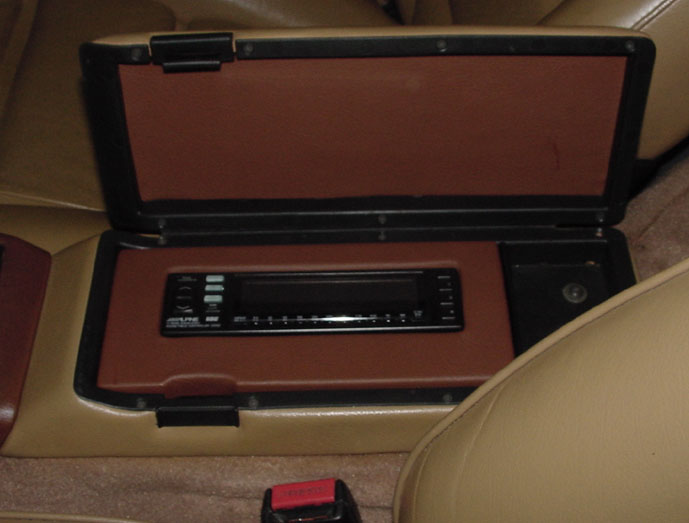
And what else do you need to help enjoy a car like this? I added the ultimate sound system to my 928. I went with the Alpine 7985 3 Disc in dash changer, (above) the Alpine 3342 EQ, (below) and the MRV-353F Amplifier, with a JL Audio 10W6 in a custom enclosure, pictured in phases below. Speakers all around are MB Quart, with competition crossovers.
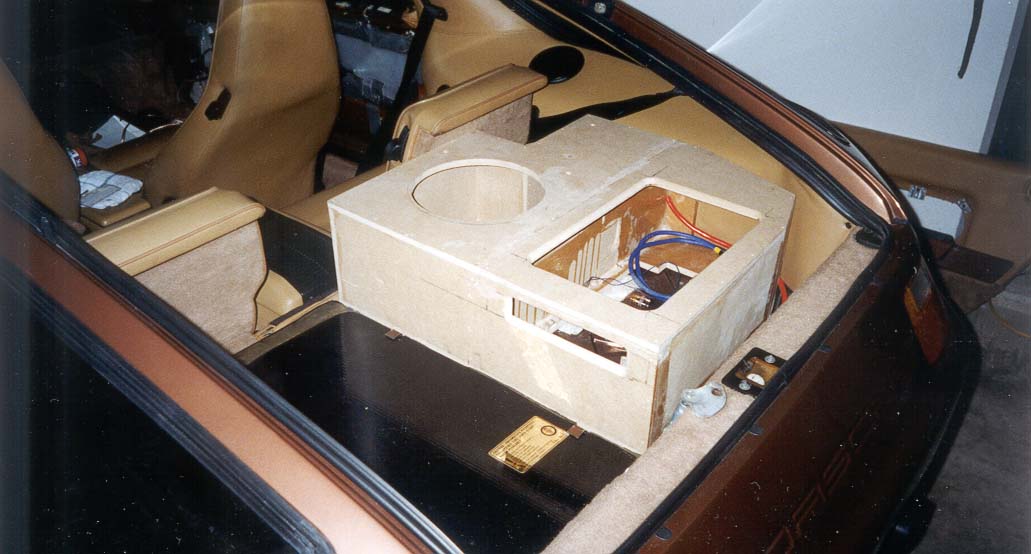
Below, you can see the custom enclosure take shape in the next 3 photo's. First a template was cut of the area that I wanted the box to cover. Then the volume of the woofer enclosure was measured. This determined the depth of the enclosure. The sides were glued & tacked on with a nail gun.
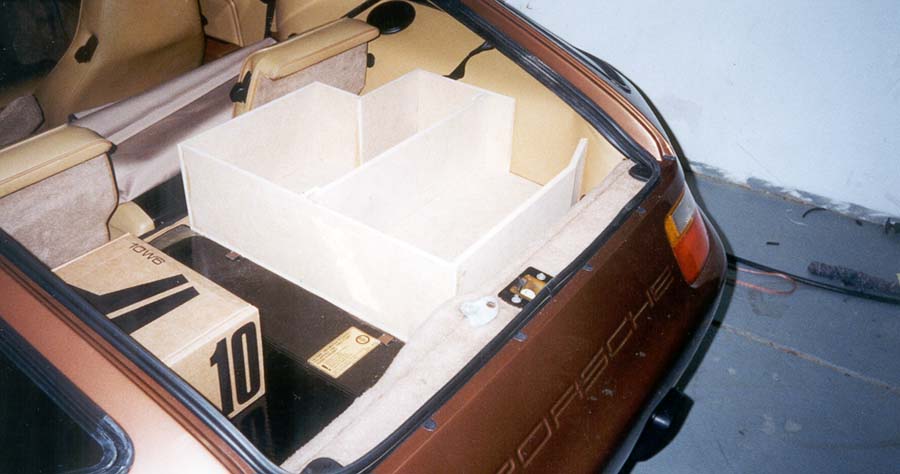
Then I cut the top out, leaving access to the right side strut adjustment for the Koni Strut. Then I cut out the openings for the woofer and the amplifier. Next, I routed the edges and smoothed all of the seams. I also added several coats of resin to the inside of the woofer portion.
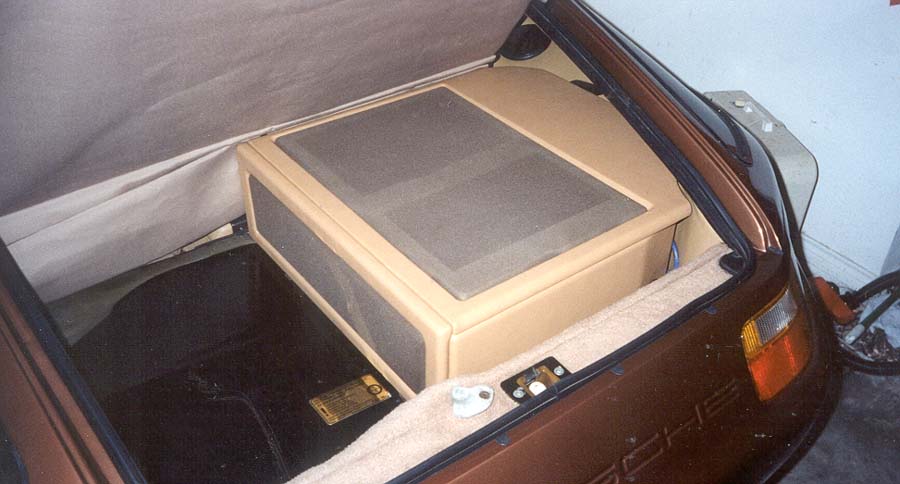
A friend stretched the vinyl for me, then I installed the JL Audio 10W6, and the Alpine MRV-353F amplifier.
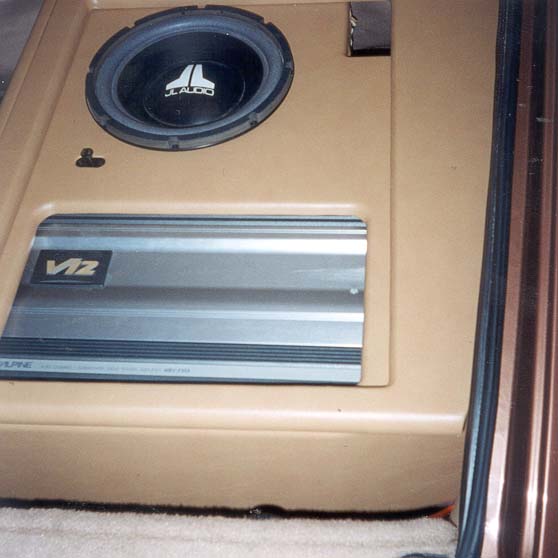
Then, I made the grills. The one on the side allows adjustment of the amplifier without removal of the amp. I also cut two holes for cooling fans, if needed later.
Below, you can seen the bottom of the amp, the capacitor, and the associated wiring.

Block
Heads
& VarioCam