|
Targa Top Recovering |
||
|
Difficulty - |
||
|
Many things have been written about replacing the skin or Targa top material. I am one of those guys that look at this type of project and figure I'll give it a try and if everything fails the worst I'm out is about $70. I am lucky in that the hardware in my top is in very good shape compared to some of the stories I have heard on the RennList. None of the webbing was bad and even the foam was in good shape. I ordered a replacement top from Original Fit Interiors that was the domestic type. I like the look of it and it was relatively inexpensive. |
||
|
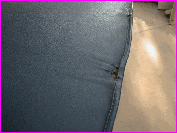
The old top was torn at the folding points. The seam along the front edge was turned up far enough that it caught the wind and made considerable noise while driving. |
||
|
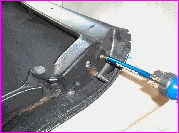
Removal of the hardware is pretty straight forward. Being anal about these things (and not wanting to find out later that there are specific left and right parts) I used masking tape to identify the parts. |
||
|
When removing the clips you need to be aware of the "floating" nut plate that is behind the panel and not let this drop out. I used a piece of duct tape to secure them to the back side of the panel. |
||
|
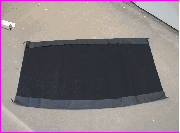
Here is the skin - patiently awaiting it's turn on the Targa top. The quality and fit was excellent and there was plenty of extra material to grab on to on the sides to stretch the top. |
||
|
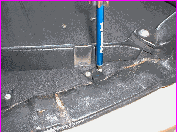
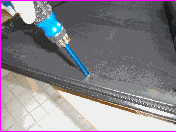
Take care in removing the screws from the seals. The screws are buried in the small holes and the rubber will tear if your too brutal with your screwdriver. |
||
|
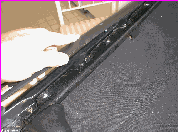
After removing the screws pull the seal away from the top and you will see the attachment screws for the rain gutter. The material is attached to the top with this rain gutter rail. |
||
|
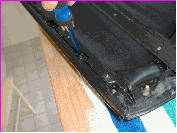
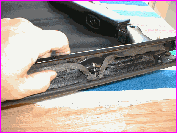
Remove the screws from the rain gutter and pull it away from the top. You will now see how the material is "trapped" under the rail. A couple of the screws were in bad shape and were replaced. |
||
|
I don't know if my top had been replaced before, but I found weather striping under the portion of the rail where it meets the roof - not in the gutter itself. Good idea for sealing out the rain. |
||
|
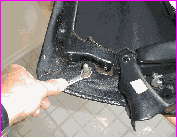
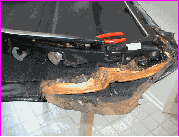
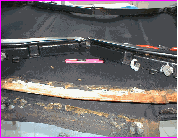
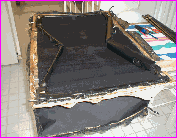
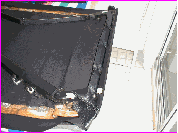
Here is the top with all of the edges peeled back and ready to remove. I later used spray glue to reattach the edges of the foam. |
||
|
You will need to remove the alignment pin from the top. The cover shown is easily removed by carefully prying up from underneath the plastic plug retainer pin. |
||
|
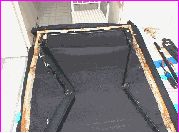
As I pulled back the old material I was careful to keep from destroying the foam that is glued to the edge. Peeling back the top I used a razor to separate the two. |
||
|
Following the same procedure across the top I was able to keep the old foam from tearing and the old material came right off. No glue was used past the edges. |
||
|
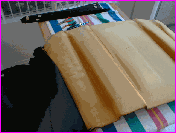
Here is a good view of the foam on the top side of the roof. It is in great shape and I didn't see any need to replace it. The edges just needed a little glue to attach it and keep it from bunching up later during reassembly. |
||
|
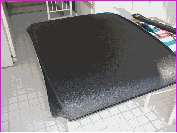
Laid out on the table I checked out all of the edges to ensure I had the top centered and that the corners matched up with the hardware on the corners. I kept the arms unlocked during the recovering so that I could achieve a good tight fit. |
||
|
I attached one side first using the rain gutter as shown, then the other side. I locked the arms out to check the fit. It seemed a little puffy so I put the top in the sun for 20 minutes to allow the material to loosen up. |
||
|
After sunbathing on the patio I unlocked the arms and pulled the material as tight as I could while attaching the rain gutters. This gave me a very tight fit when the arms are locked it popped right into shape with no sign of wrinkles. |
||
|
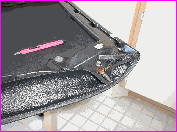
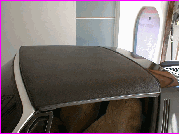
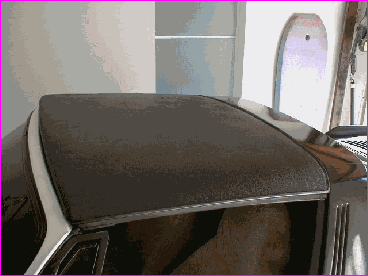
With the arms locked out I went down the edges applying contact cement and ensuring the seams lines up with the front and rear edges. A quick fit check on the car and your ready to reattach all of the hardware. |
||
|
|
||
|
|
||
|
|||||||||||
|
Forward |
||
|
Back |
||