
|
Difficulty - |
||
|
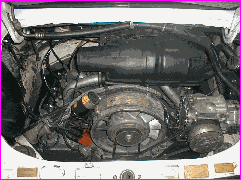
<----From this |
||
|
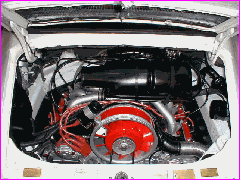
To this ------> |
||
|
|
||
|
|
||
|
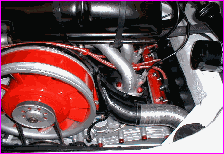
This project was put off for the longest time because of the fear of removing the alternator - a perfectly functioning one at that ! The removal of the alternator is a project all of it's own and because it has been covered in many other places I am not going to go into it in depth as a separate subject here other than to say it just was not that hard. In fact, it was not the demon that I had built it up to be. |
||
|
|||||||||||
|
Before and After |
||
|
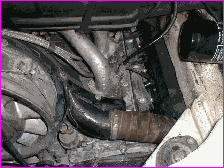
Not exactly a shot from the sales literature. Although nasty looking it is not greasy and oily so clean up will not be too much of a chore. |
||
|
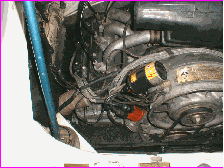
The paint on the body portion was flaking off in some spots and the wiring was a rats nest. The A/C is first on the list to go. |
||
|
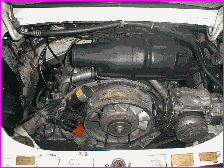
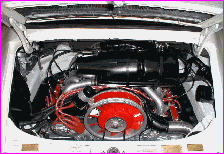
With the A/C out there is a little more room to work. It didn't work very well and this is a Targa so most of the driving is top off anyway. |
||

|
|
||
|
|
||
|
|
||
|
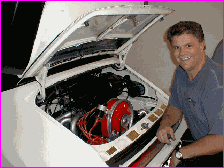
A shameless, self indulgent photo of me smiling because IT STARTED AND RAN after having torn it apart. |
||
|
|
||
|
Back |
||
|
Forward |
||