|
Carpet Installation |
||
|
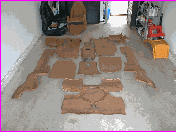
After removing all of the carpet from the car I laid it out on the ground in the same general order in fit in the car. |
||
|
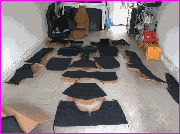
I laid the new pieces of carpet over the old ones to ensure the I had all of the pieces and that they were the same. |
||
|
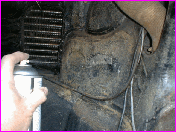
For the map pocket area I sprayed the glue on the car floor because of all of the irregular surfaces. |
||
|
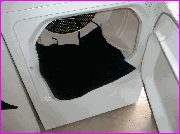
The new carpet was a little stiff so I put them in the dryer for a few minutes to loosen up before installing them. |
||
|
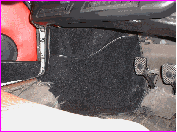
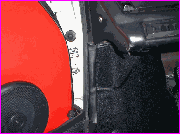
Line up your carpet and press into all of the creases and bends ensuring a good bond. If there are any areas the didn't stick pull back the carpet and spray on some more glue. |
||
|
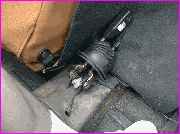
Cut the shifter area in a pie shape out to the edges of the tower. Once the holes were OK , I applied a light coat of glue to hold it. You may have get in there someday ! |
||
|
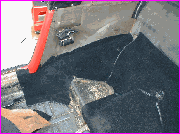
The map pockets are the most difficult because you have to get the carpet to conform to a number of curved surfaces and glue the material into the channel in the door jamb. |
||
|
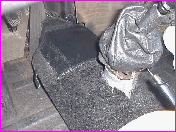
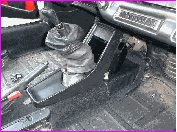
The console area will have a couple of holes cut in it for the shifter and the seat belts. Align the carpet edges with the seat tracks and mark the position of the item and cut - carefully! |
||
|
After checking the fit of the carpet over the tunnel I reinstalled the console and hooked up the defroster light. |
||
|
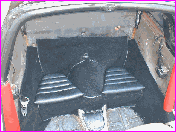
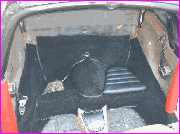
The completed rear carpet with the lower seats installed. Once the carpet is in I installed the side panels and rear deck . |
||
|
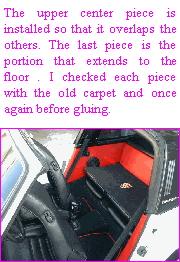
The rear seat area has to be installed in a specific order so that the pieces overlap correctly. The center piece over the hump is first followed by the side pieces. |
||
|
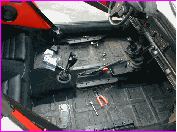
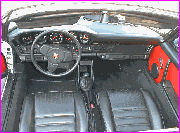
After the rear seat and map pocket areas are complete install the door sill pieces. They overlap the others and have a very nice finished appearance with the edging. |
||
|
The completed rear seat area. I got the mat with the Porsche crest from a local company that makes them to order. |
||
|
After all of the edges are carpeted the floor mats are just laid in place. Do not glue these as you will want to be able to take them out for cleaning periodically. |
||
|
|
||
|
Forward |
||
|
Back |
||

