 AFTER........
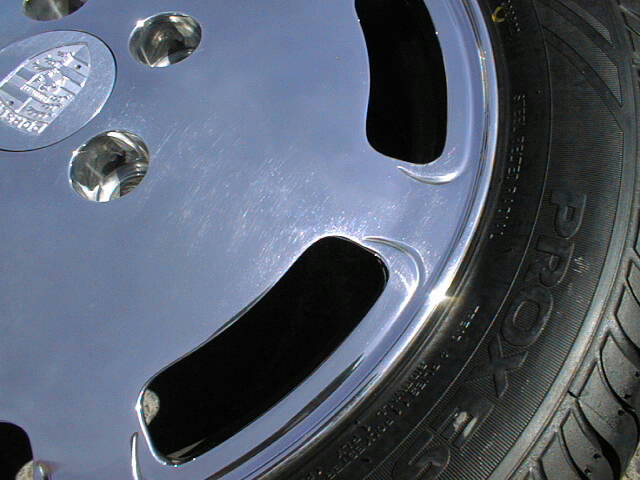
SLOTTED RIM & CENTER CAP REFINISHING
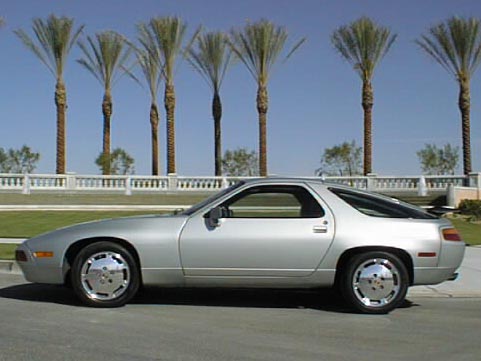
This is just a short page that shows what can be done to those old weathered Slotted S4 rims....with a few extra bucks.
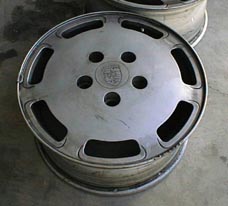
As you can see the rims came to me in pretty crummy shape. The car previously spent most of its time with an owner who in my opinion didnt take care of the cars appearance. The rims where badly weathered and had a bit of "curb rash" on them....I dont think they had ever been properly cleaned or cared for.
I started by having the all the tires dismounted and then took them to a high pressure car wash. I used the high pressure hose and some engine cleaner and brake dust remover to remove 13yrs of caked on CRUD on the inside of the rims. This alone made a marked difference in the way the rims looked (even though you cant see the area normally).
From this point I took the rims to a place in Las Vegas called "The Shine Shop" . I dropped them off in the morning and they called me to say they were ready the following afternoon. I just about fell over when the guy brought them out!! I think my exact words were "HOLY S#!^....no way...I dont believe it!!!" The guy just laughed and said "yup, they came out fantastic, one of the best sets we have seen!!!"...Looking at the before and after pictures you can see why ! They charged $70.00 per rim, which in my mind was the best "bang for the buck" I have spent on this car to restore its appearance. WELL WORTH IT and I recommend it to those that want to spruce up there cars appearance without buying new or different style rims. Anyone price NEW SLOTTED RIMS LATLEY!!! (these now look new and FLAWLESS!!)
Let the pictures speak...................
BEFORE................... AFTER........
YES......that is the area of the rim minus curb rash and scrape on the flat surface!!!!
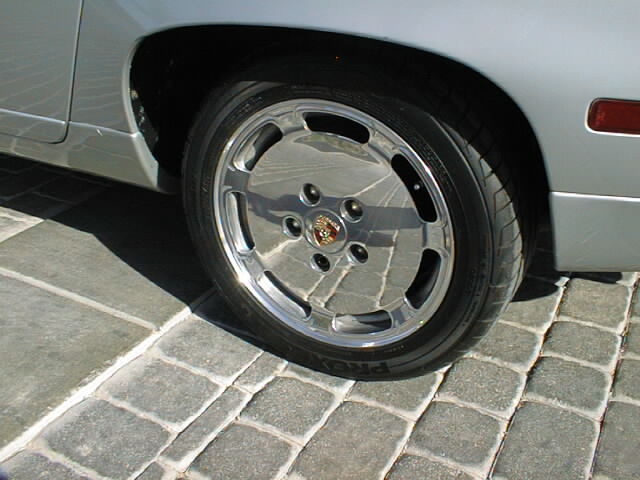
The next thing I did for the restoration of my rims was to paint the center caps. The caps came back from the shop all polished as well. They looked BRAND NEW and if you choose they can be left polished, however, I prefer the painted ones so I went to work.
Things you will need.
-wet n dry sand paper 1000-1500
-Testors paint pens from a hobby store
Paint thinner for the screw ups : )
A steady hand.
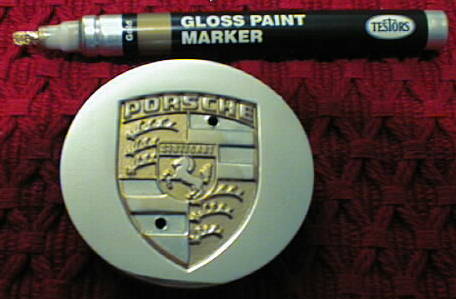
I started by carefully scuffing the raised surface on the crest to allow the paint to stick better. Then it was just a matter of a steady hand and some time. I started with the lowest areas first, in this case the gold . Any mistakes you make can easily removed with paint thinner. After the GOLD dried I added the RED areas...then the BLACK. Thats all there is to it!!
 Step
1....."scuff" the high areas on the crest carefully
with some fine Wet n Dry paper..
Step
1....."scuff" the high areas on the crest carefully
with some fine Wet n Dry paper..
 Step
2......add the GOLD
Step
2......add the GOLD
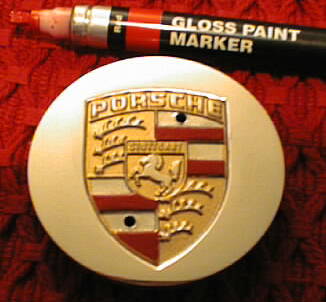 Step 3....add the red areas
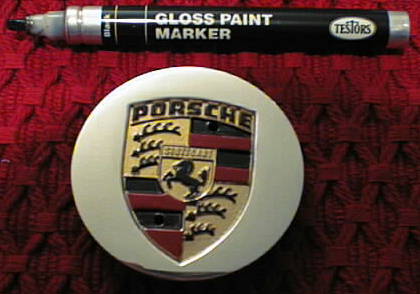 Step 4 ....add the black areas ( i later removed the black on the
PORSCHE lettering and left it gold...it looked better that way i
thought)
Step 4 ....add the black areas ( i later removed the black on the
PORSCHE lettering and left it gold...it looked better that way i
thought)
Step 5...optional....mask the crest off and clear coat.
I didnt clear coat mine and so far they have held up fine in everyday driving! If they do chip or fade etc etc...just get some thinnner , remove the paint and do them again!
The only time constraint in painting the crests is letting the paint dry between coats. They can easily be done in a afternoon!