Tom Tweed's Boatbuilding Pages
Page 2- Laminating
Once the mold was finished, laminating of the hull skin began. We used something like 50,000 bronze staples and about 30 gallons of W.E.S.T. System epoxy to lay up the hull. Here's how it went:
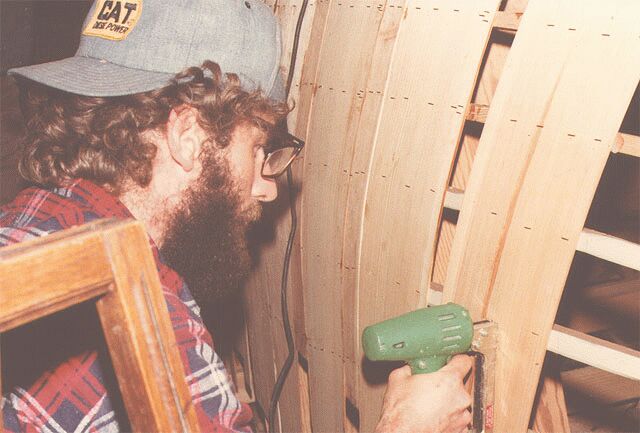
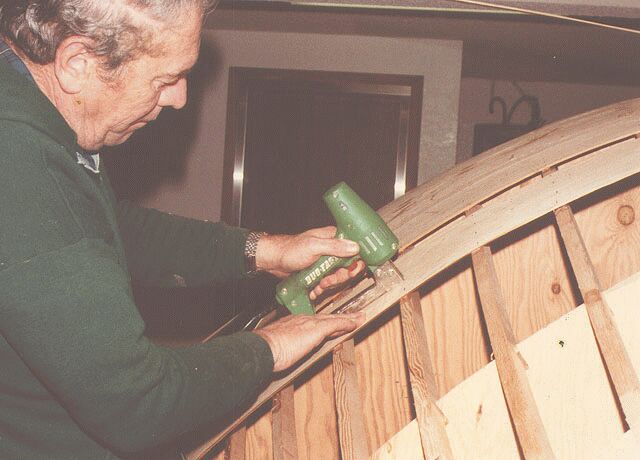
The first layer of veneers were put on essentially vertically, from sheer to sheer in one piece, and glued and stapled to the longerons, the keelson, and any permanent bulkheads each piece crossed. That's me shooting another staple above, and my Dad doing the same below.
Due to the compound curvature of the hull shape, the challenge with this kind of "planking" is shaping each piece to fit against the next, or "spiling", as it's called. In this case, we devised a unique tool and method for getting a continuous, fairly accurate, joint at each seam. How this was accomplished is illustrated in the two pictures below:
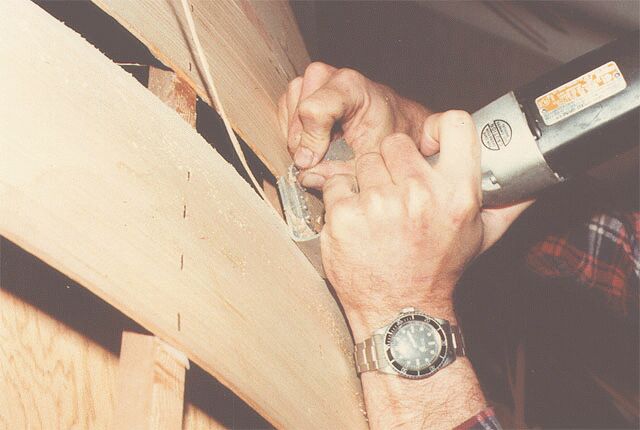
Each full-width plank was laid up with a gap between it and the next which was never allowed to exceed 2". The gap was then routed to a uniform 2" width using a pin-mill bit mounted in a die-grinder, with a home-made aluminum fence (attached to the die-grinder and set for a 2"-wide cut) riding on the edge of the neighboring plank. Once the gap was cut to a uniform 2 inches everywhere along the length of the seam, it was easy to rip some 2" widths of the cedar veneer to fill in the gap.
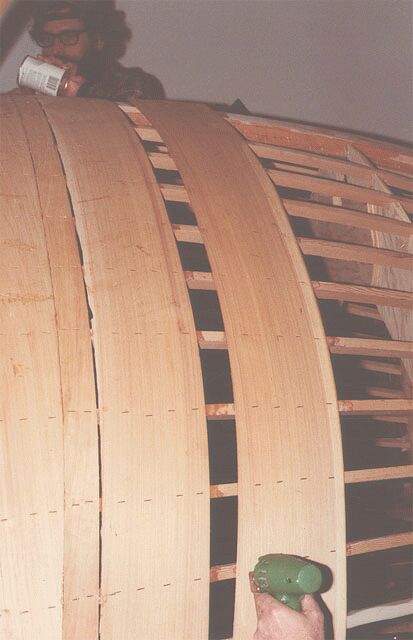
Here you can see the alternating wide and narrow planks on the left, with a 2" piece glued in the gap. The next wide plank is being laid to the right, and the gap between will be routed to a uniform 2" and filled, and so on....
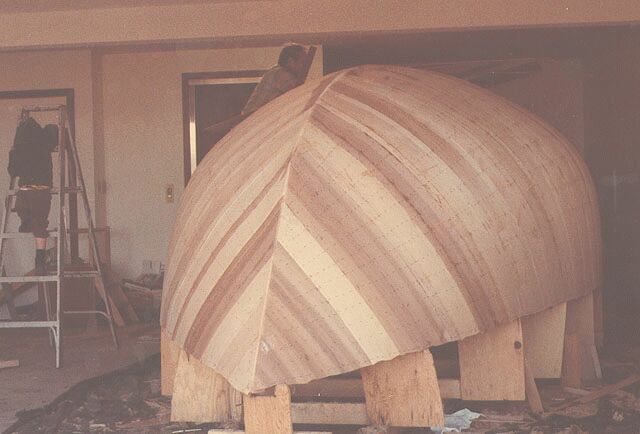
Here, the first layer of veneer completely covers the mold. The next layer is put on with the grain of the wood running at a 45-degree angle, and then the next running perpendicular to that, and so on, for each succeeding layer, until we finally had five layers laid up to a thickness of approx. 3/4" (below).
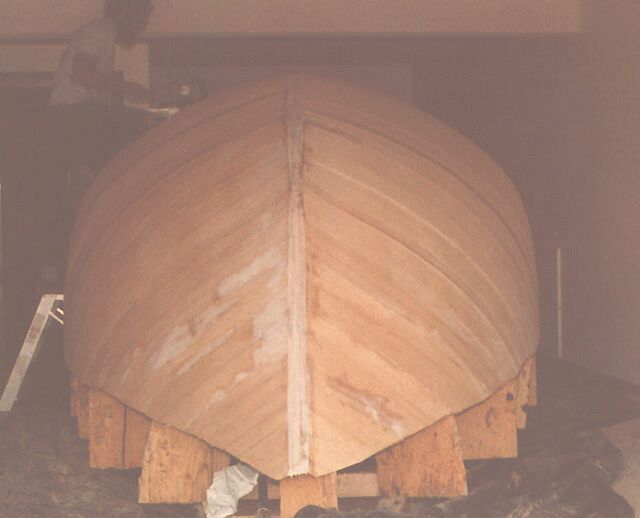
Once all five layers are glued up, the finishing of the outer surface of the hull begins.
To the NEXT PAGE
Back to HOME