Car Improvements, Spring 2000
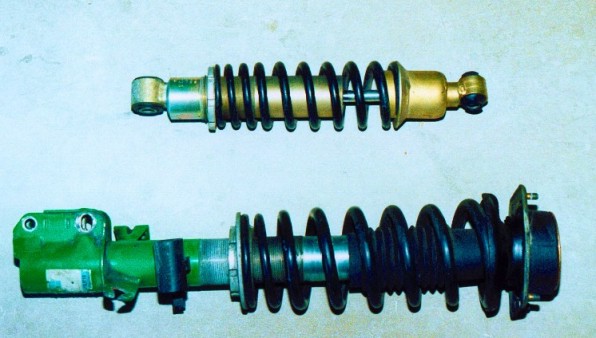
Here's a shot of the "Turbo Cup" Bilstein units. The rear shock with coil over helper spring is at the top. The front strut / spring assembly is at the bottom. The interesting things to note are that both come with ride height adjustable spring perches. Turn the collar, and you can raise or lower that corner. Should make corner balancing a snap!
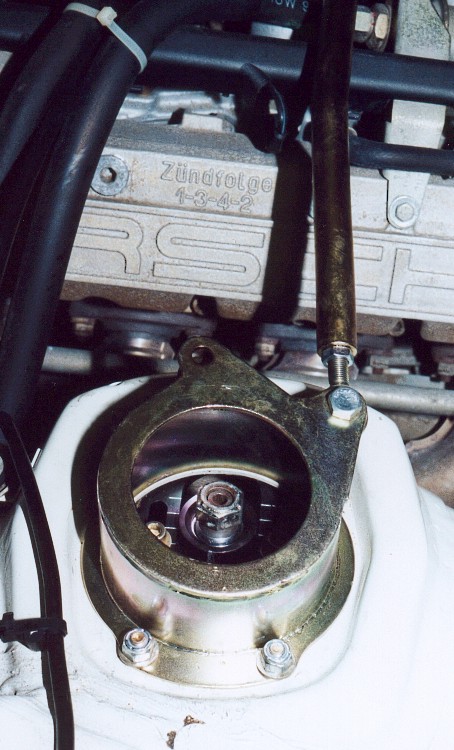
Once I removed the front strut from the car, I had to remove the stock upper spring mount. The turbo cup unit is made from stiffer rubber than the standard turbo unit, but rubber, on a race car, is still bad. And I wanted the camber plate for adjustability.
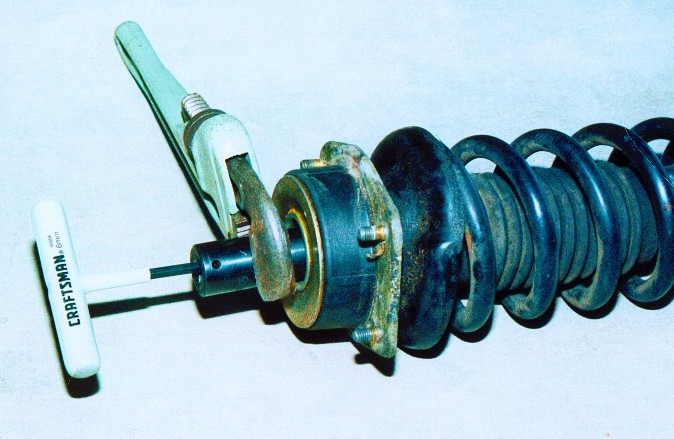
Here's a shot of one way to remove the upper strut mount. I used my air impact wrench to remove one mount, but the other just spun. So, a deep socket, with a pipe wrench to turn it, and an allen key through the socket, worked well enough.
Lets see, since the shocks and struts have to come off, might as well add camber plates at the same time.
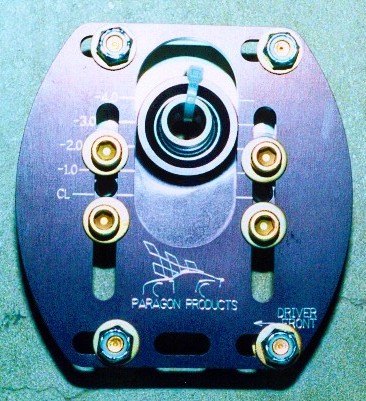 These
are the Paragon Products camber plates. They look very nice, were affordable,
and easy to install. I can very easily recommend Jason at Paragon for parts.
Very good prices, excellent service.
These
are the Paragon Products camber plates. They look very nice, were affordable,
and easy to install. I can very easily recommend Jason at Paragon for parts.
Very good prices, excellent service.
Well, to re-index the rear torsion bar, the brakes lines have to be disconnected. Guess I should take this opportunity to rebuild the calipers. Hey, if the calipers are getting done, might be a good time to install Speed Bleeders, so bleeding the brakes is easier. And I needed a new 5 point driver harness, mine was 5 years old. And I bought a camera mount, have to install that too. Oh yeah, the RV and trailer both need tires, and and and .
WILL I EVER HAVE TIME TO DO ALL THIS WORK????
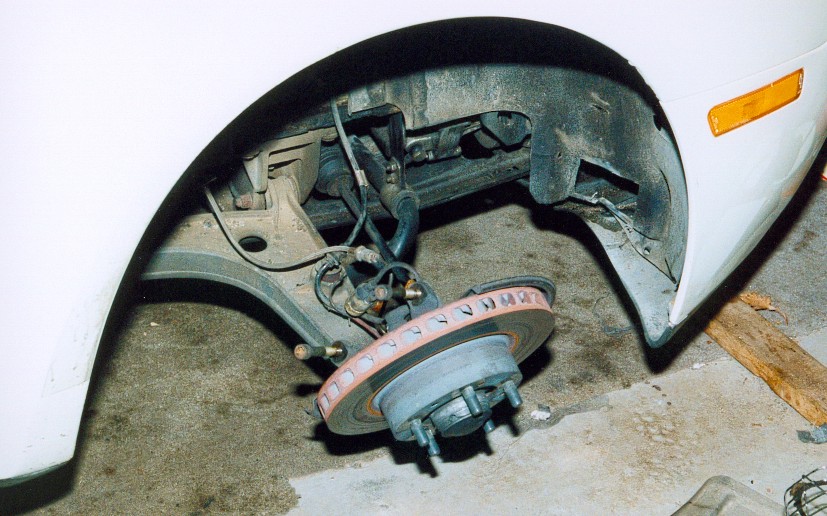 Here's a shot of the
front with the strut, caliper and other assorted pieces missing. Plenty
of room to work in there now!
Here's a shot of the
front with the strut, caliper and other assorted pieces missing. Plenty
of room to work in there now!
My first driver ed event of the year was to start on Saturday, April 15, and Monday, the 10th, found me in the garage at 2:00am, finally finishing the car. I was too tired to install the track tires and drop it off the jackstands, so those would have to wait until the
Here are two shots of the finished job
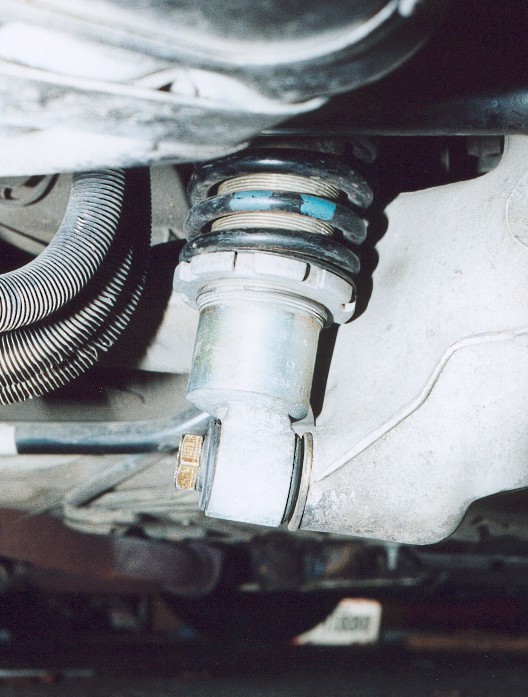
The pic on the left shows the complete strut, installed in the car with the camber plate and strut brace. THe pic on the right is the coil over rear shock, installed on the control arm. You can see the lower spring perch with the adjustable collar.
Tuesday finds me bolting on the track wheels, and lowering it to the ground, but my wife was not around in the eveing, so I didnt get to drive the car. Wednesday, after charging the battery, I started it up (boy, an unmuffled car is loud), and went out to see how it handled. Well, it was not good. Lots of vibration, it pulled during braking, rode like a truck, and just about made me cry. After I got home and thought about it, I realized that I had set the chamber, but didnt check the toe setting. I bet that changed, and needed to be adujsted. So Thursday I checked the toe and found the left front was toed in by almost ½ an inch. I set it to 0 and started packing for the trip.
By 7:00PM Friday, I was on the road to Pocono. You
can read about it here.