Sideview Mirror Repair

The sideview can sometimes become loose. Here's how to tighten it again.
TOOLS NEEDED:
Phillips Screwdriver
Large Phillips Screwdriver
Protective Cloth
8mm Socket
Extension (Minimum 2")
Ratchet
Putty Knife
Flash Light
CAUTION #1:
Prior to starting, disconnect the battery ground cable located behind the tool cover in the
rear hatch. It is connected to the car with a large wing-nut.
CAUTION #2:
Place a suitable protective cloth over the door under the mirror to
prevent the mirror from scratching the door.
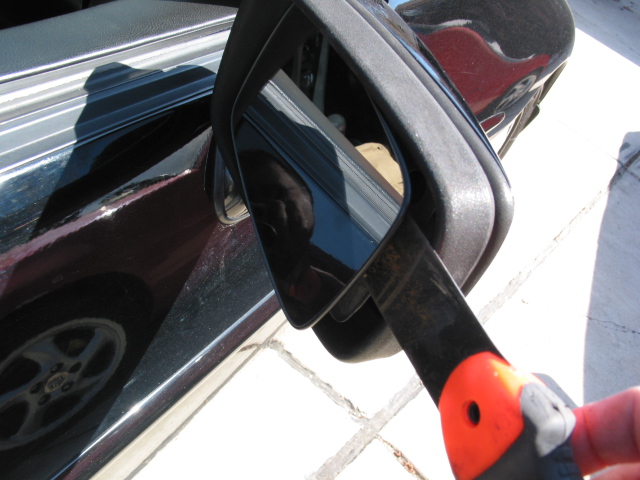
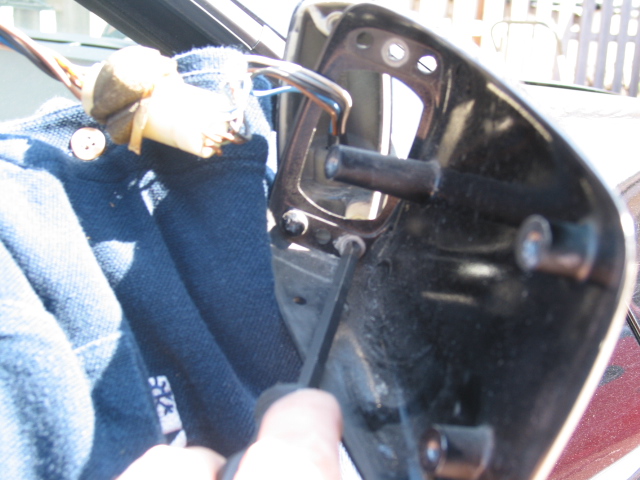
STEP 1:
Pry mirror off of base with putty knife. There are 3 clips to pry
mirror off of base.
There are two clips towards the inside of the mirror, one of the clips is
towards the top of the mirror, the other clip is towards the bottom of the
mirror. The third clip is towards the exterior of the mirror in the center
of the mirror.
Let mirror dangle gingerly on cloth.
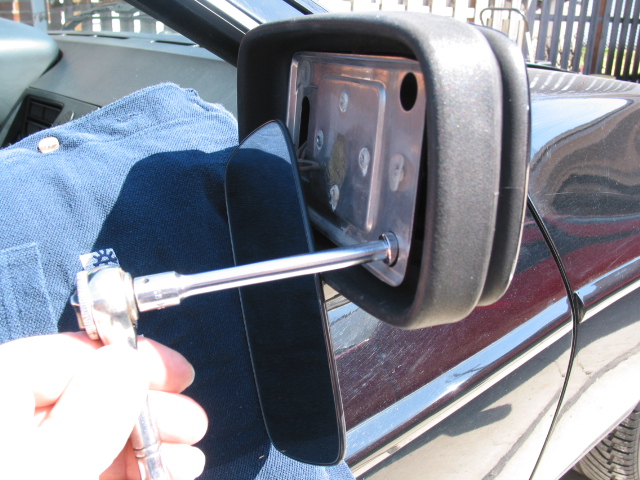
STEP 2:
Remove three 8mm socket head cap screws to remove base of mirror from
mirror casing. One of the socket head cap screws is towards the interior of the mirro, centered
from top to bottom. The other two socket head cap screws are towards the exterior of the mirror.
One is on top and the other is on the bottom.
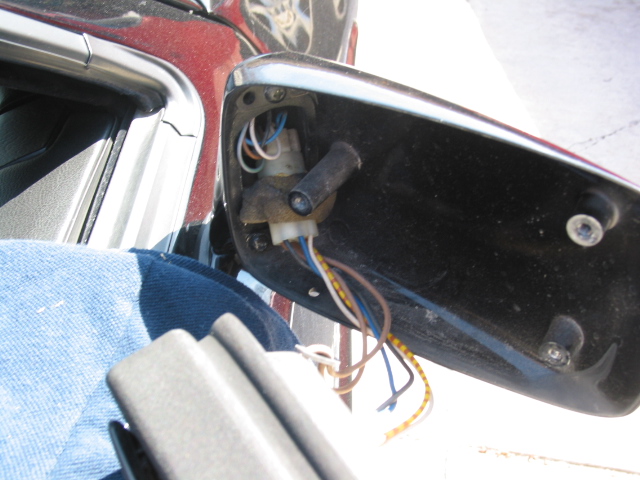
STEP 3:
Unplug the plastic romex wire connector.
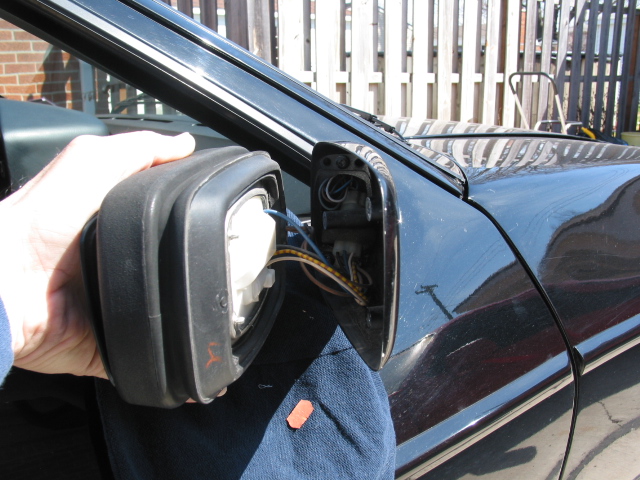
STEP 4:
Remove three Phillip head screws to remove outer mirror from mirror
vertical stalk.
STEP 5:
Remove inner door panel.
STEP 6:
Tighten mirror by turning threaded rod. This can be done several
ways.
CAUTION:
Be careful not to pinch wiring.
STEP 6A:
Inside the door: One is by placing a large phillips head in the
center of the stalk and turning the threaded hollow bolt till tightened or
Step 6B.
STEP 6B:
Remove wiring from mirror, either by removing the electrical pins
from the connector or BY THE LEAST FAVORITE WAY! By cutting the wires. Not
the best way.
Now tighten threaded hollow bolt.
Then replacing-soldering-water proofing the connections when finished.
Reassemble in reverse order.